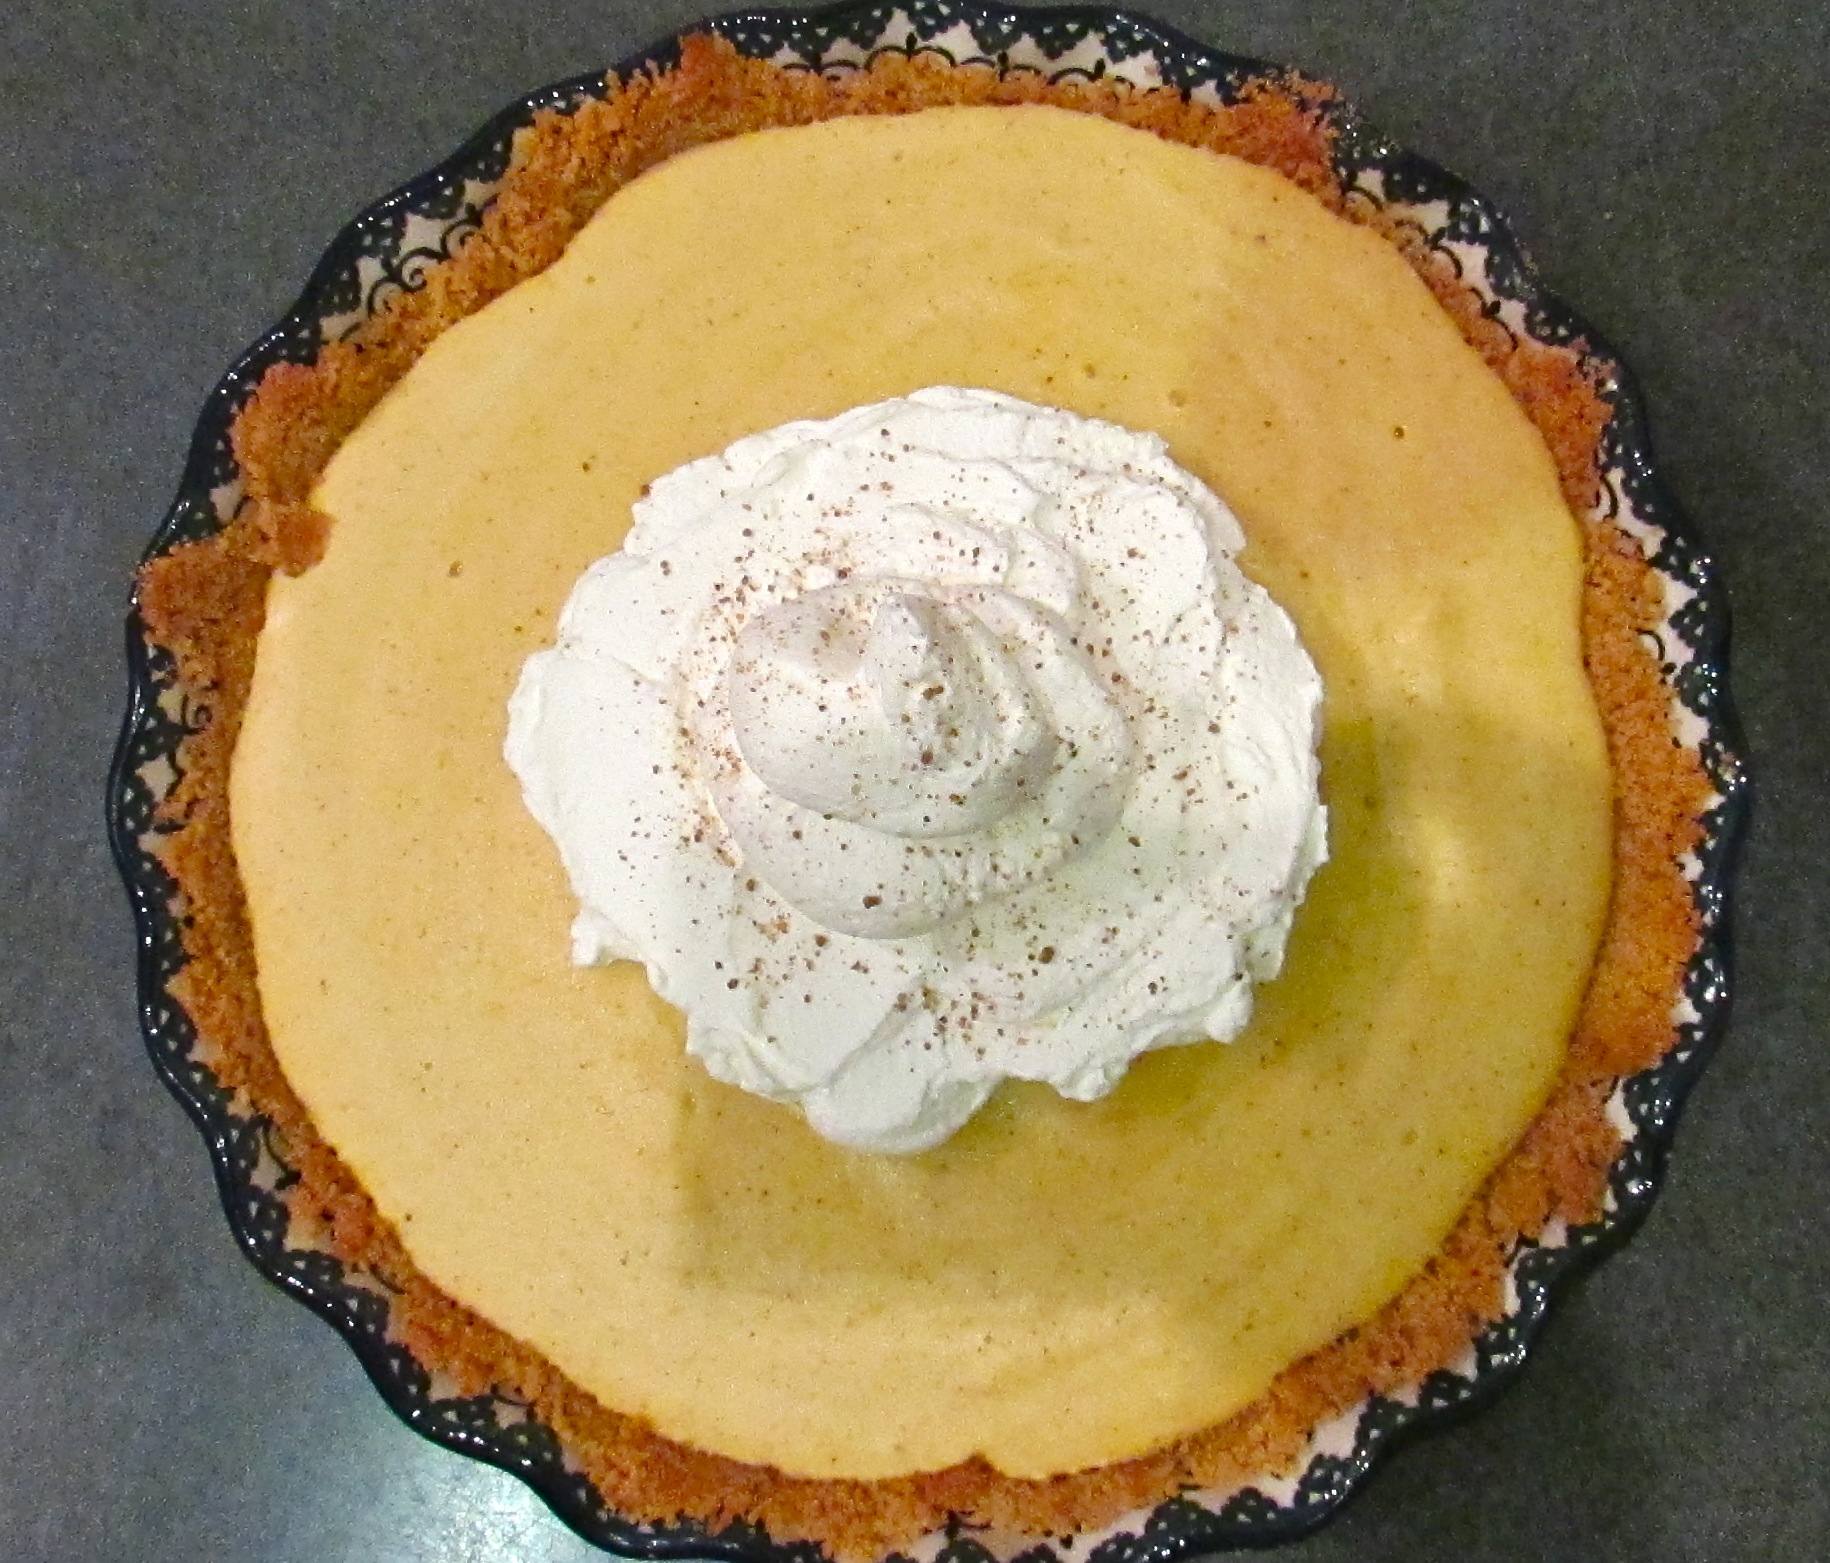
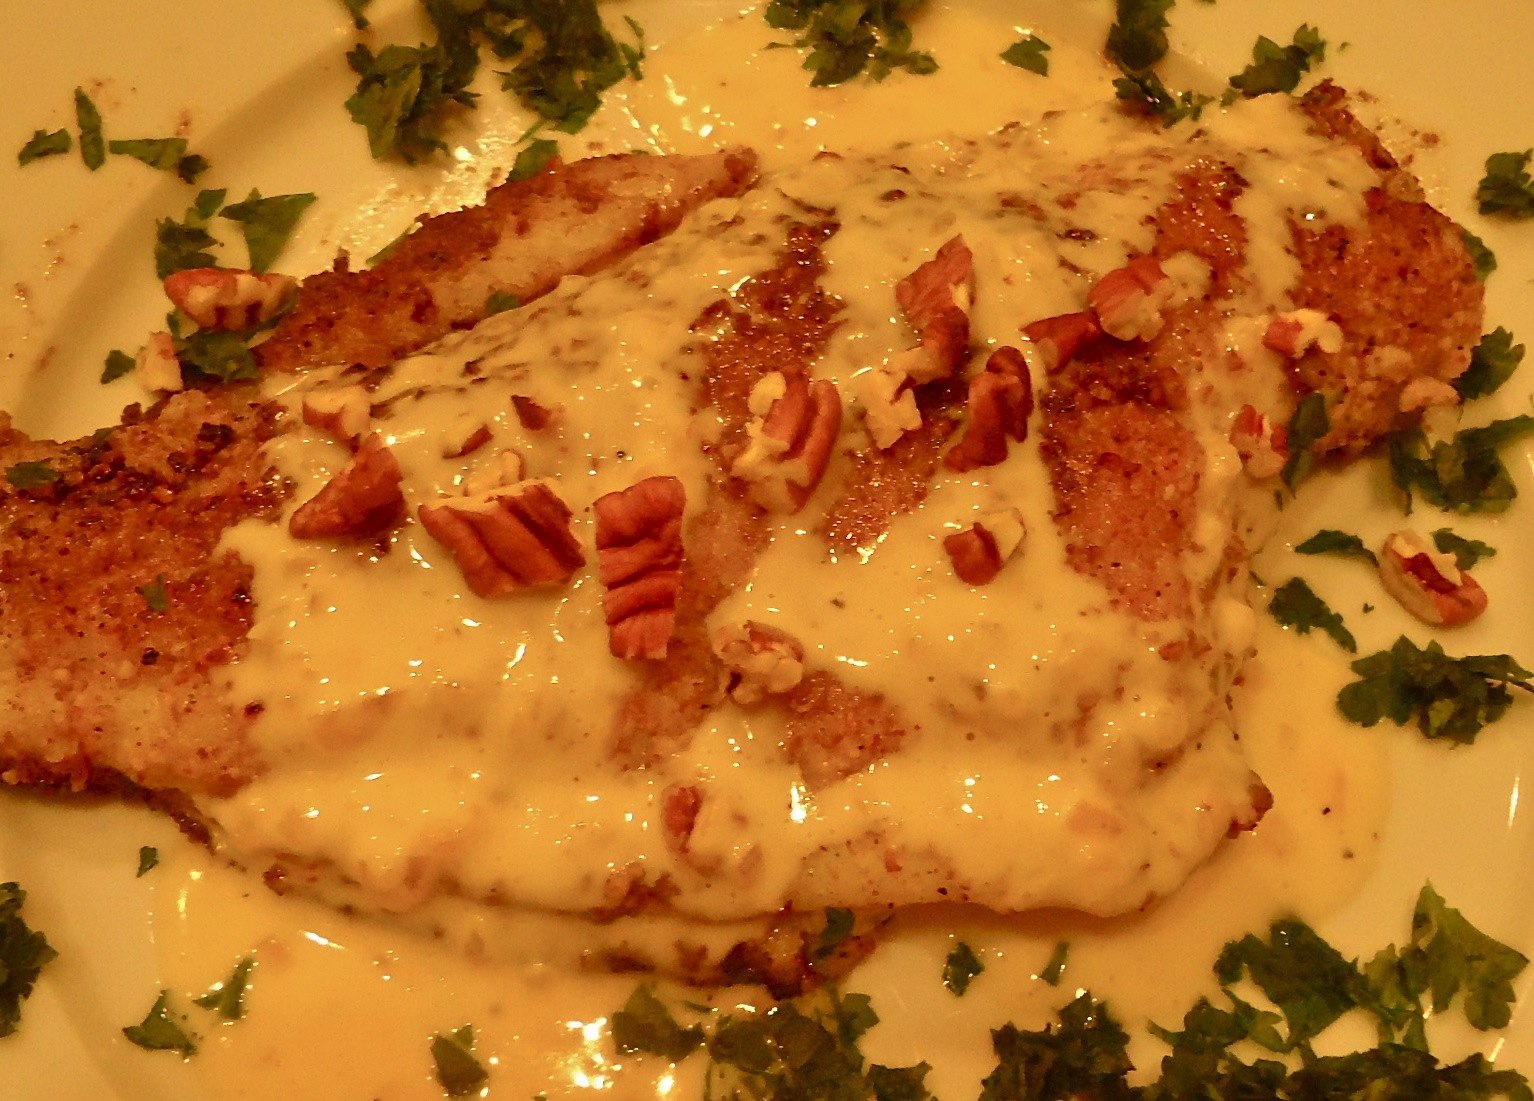
Are you up for a challenge? For the bakers out there, today’s post may, or may not, be just that. For those of you who forcefully pronounce ala Rachel Ray “I do not bake”, you may as well not click through, even if the image above is deliciously enticing. And, add to that if you’re in a hurry go on and pass by my post today…
What I’m offering up today is a challenge that requires several hours of your time and an oven. If you’re not scared yet, then by all means please read on…
Before moving back to the Lowcountry of South Carolina my family and I lived in Birmingham, Alabama for approximately 2 years. While the time there had both challenges and some good times, I did learn at least two things: there’s NO place for me to live happily but the Lowcountry and Savage’s Bakery in Homewood makes the best danish I’ve ever eaten.
Savage’s is a hole-in-wall type place (aren’t all the best places?) on the southern edge of Birmingham, a sort of suburb called Homewood. It is “sort of” a suburb because you’re simply ‘over the mountain’ (literally a 1,000-foot-high chunk of rock) and you are in Homewood, rather than technically B’ham. Homewood is cute, Pottery Barn cute, where what used to be called “yuppies” propagate numerous chill’in (Alabamanese for ‘children’), drive university-collaged SUV’s (‘Bama or Auburn) and are lucky to dine at some of the best farm-to-table restaurants in the country.
Within approximately a ½ mile area, exist all of the following bastions of southern eating:
- Saw’s BBQ
- Jim ‘N Nick’s Bar-B-Q (the original)
- Dreamland BBQ (outpost)
- Highlands Bar & Grill (Frank Stitt*)
- Chez FonFon (Frank Stitt)
- Bottega (Frank Stitt)
- Hot & Hot Fish Club (Chris Hastings – James Beard 2012 Best Chef in the South)
- The J. Clyde (70 years old and still rockin’)
- Savage’s Bakery (home of those meltaways)
Plus, travel afield in any direction and within 15-20 minutes you’re among farmsteads that many times sell their produce and products to local restaurants and/or at any of the numerous farmers markets. There are indeed a lot of “foodie-centric” reasons to like B’ham. Anyway back to Savage’s…
I passed by their storefront every weekday (twice a day!) taking Girly Girl to preschool. Right after we moved there, I stopped in to pick up a few treats for incoming out-of-town company, and that was it. Those meltaways were a carbohydrate drug. Dear Hubby and I determined early on which one was our favorite “ flavor” – almond. We tried them all, believe me, over those 2 years. I was told that the recipe was super-secret. While I lived in B’ham, I bided my time deciphering their taste, look, texture, filling consistency, size and glaze.
Now ensconced in Beaufort for the last year and half, I feel secure that I can reveal my own doppelganger meltaway recipe. My advice centers on three things: use the best butter you can, don’t over bake, and take your time – this recipe is the opposite of a “quick bread”. Oh, and don’t expect to serve just one per person – that would be both impossible and extremely disappointing for the eater!
* If you enjoy upscale Southern food then you should thank Frank Stitt! Frank Stitt is a James Beard awarded chef and cookbook author. Having worked for Alice Waters at her restaurant Chez Panisse, he met Richard Olney. Influenced by Ms. Waters, Olney, Julia Child, Jeremiah Tower and others he met while working there, he came back to his native Alabama to open Highlands Bar & Grill in the early 1980’s. Here, he elevated Southern cuisine and advocated the “buy local” and slow food movements, influencing a myriad of chefs, including Chris Hastings, in the South and across the nation.

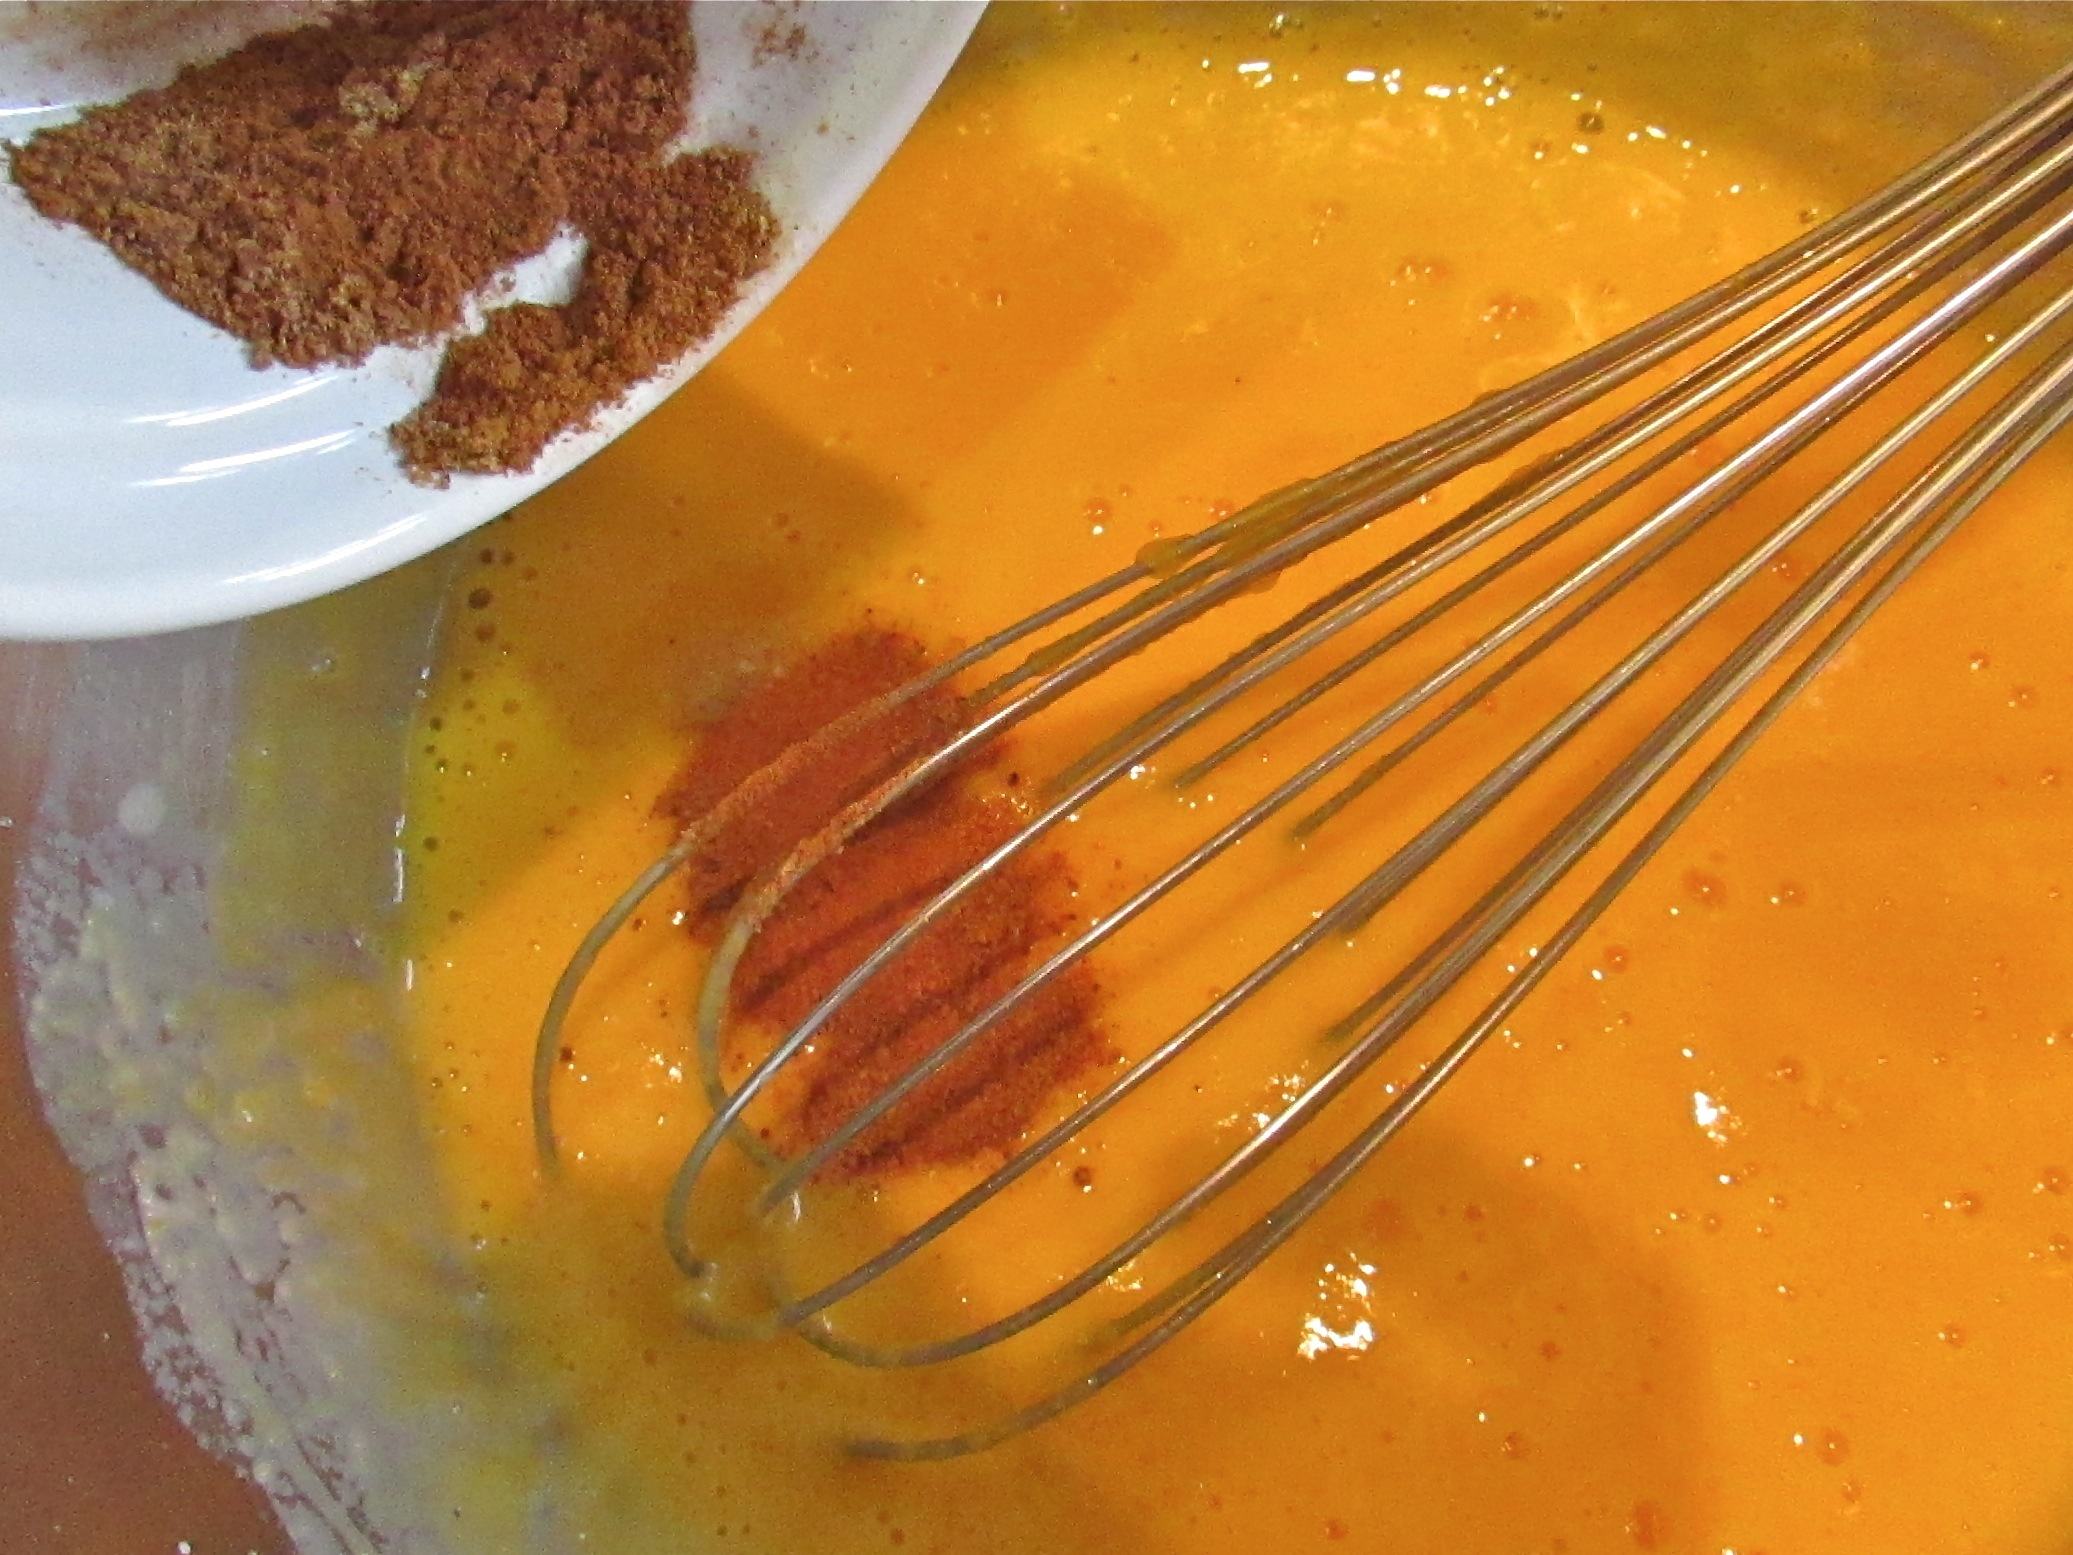
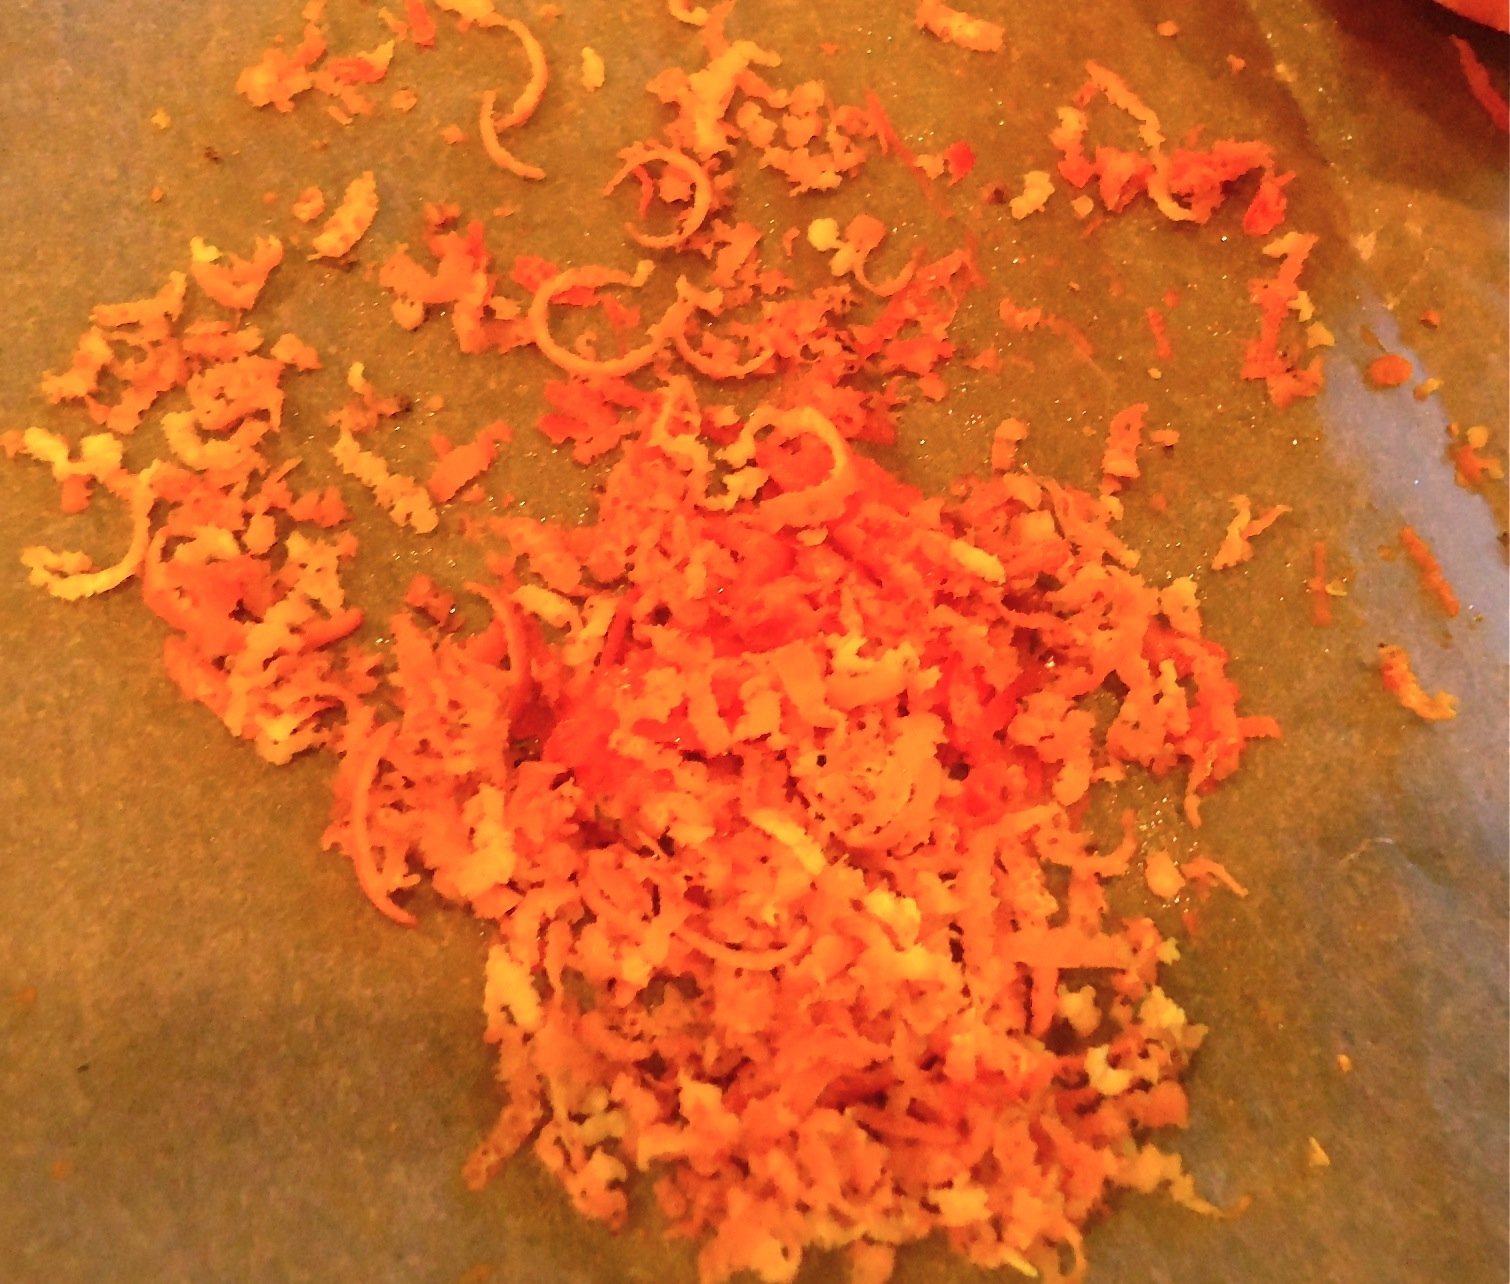
Fresh zested orange. This and the cardamon gave the dough a very nice subtle flavor, especially good with the almond filling and lemon laced glaze!

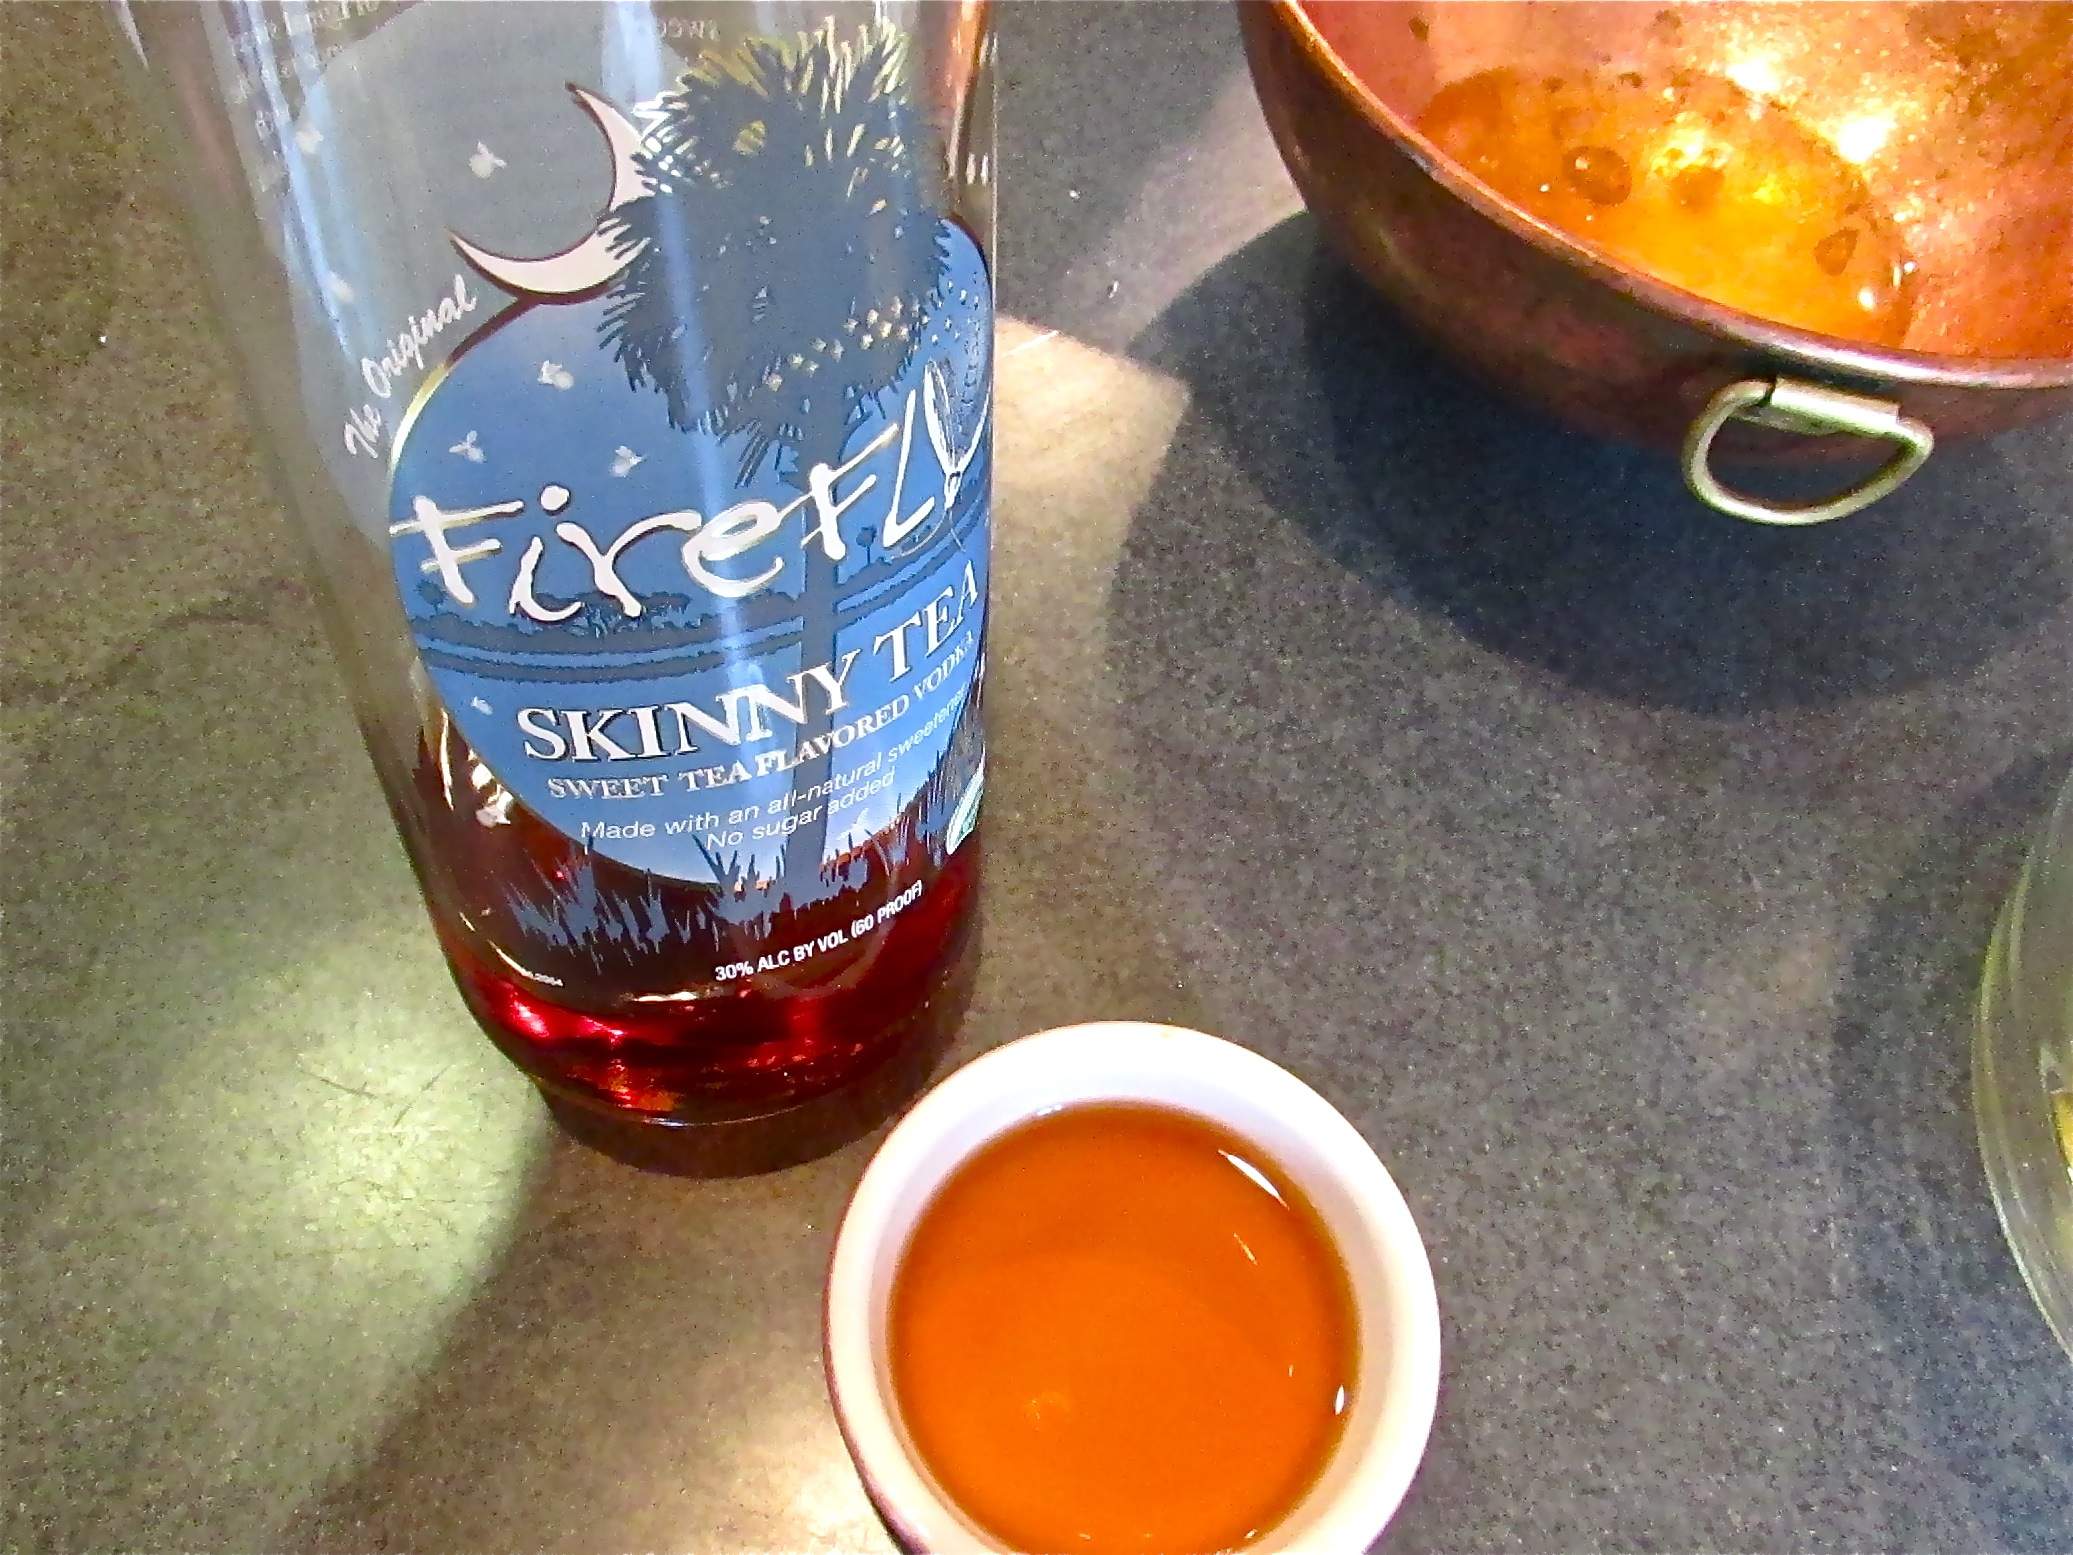
This was the brand I chose to use on this day, a recommendation of my mother-in-law, Kay. I found it excellent for baking!

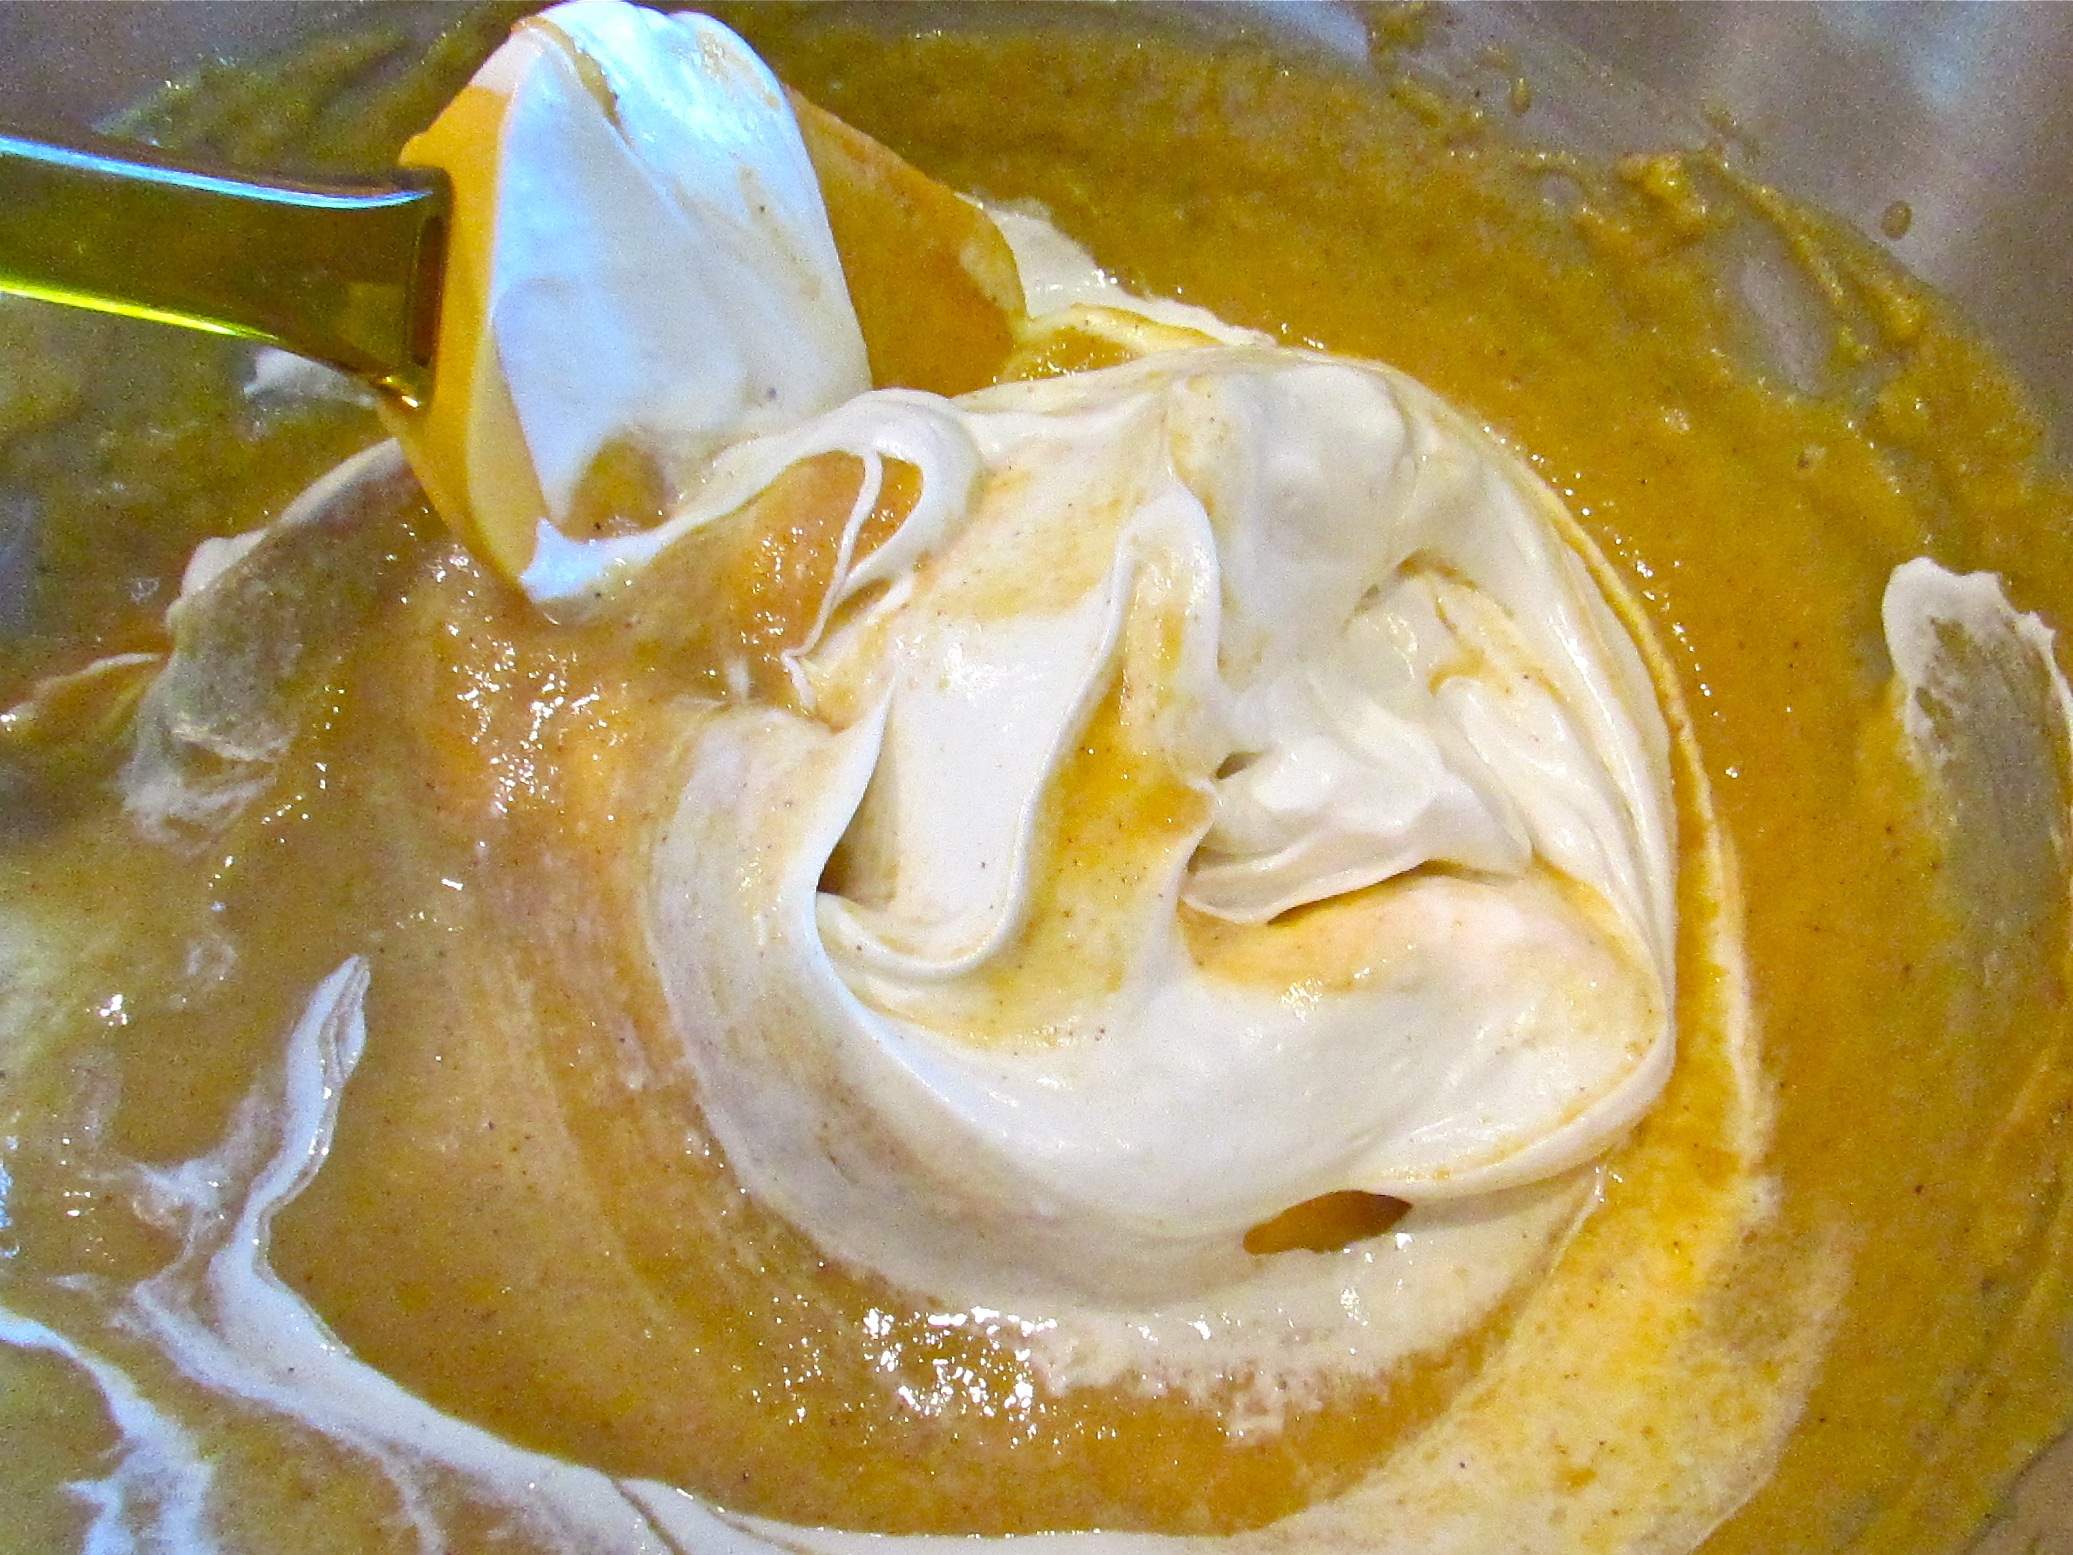
Whip the butter and flour until light and creamy. Hold at a cool room temperature until it’s needed.

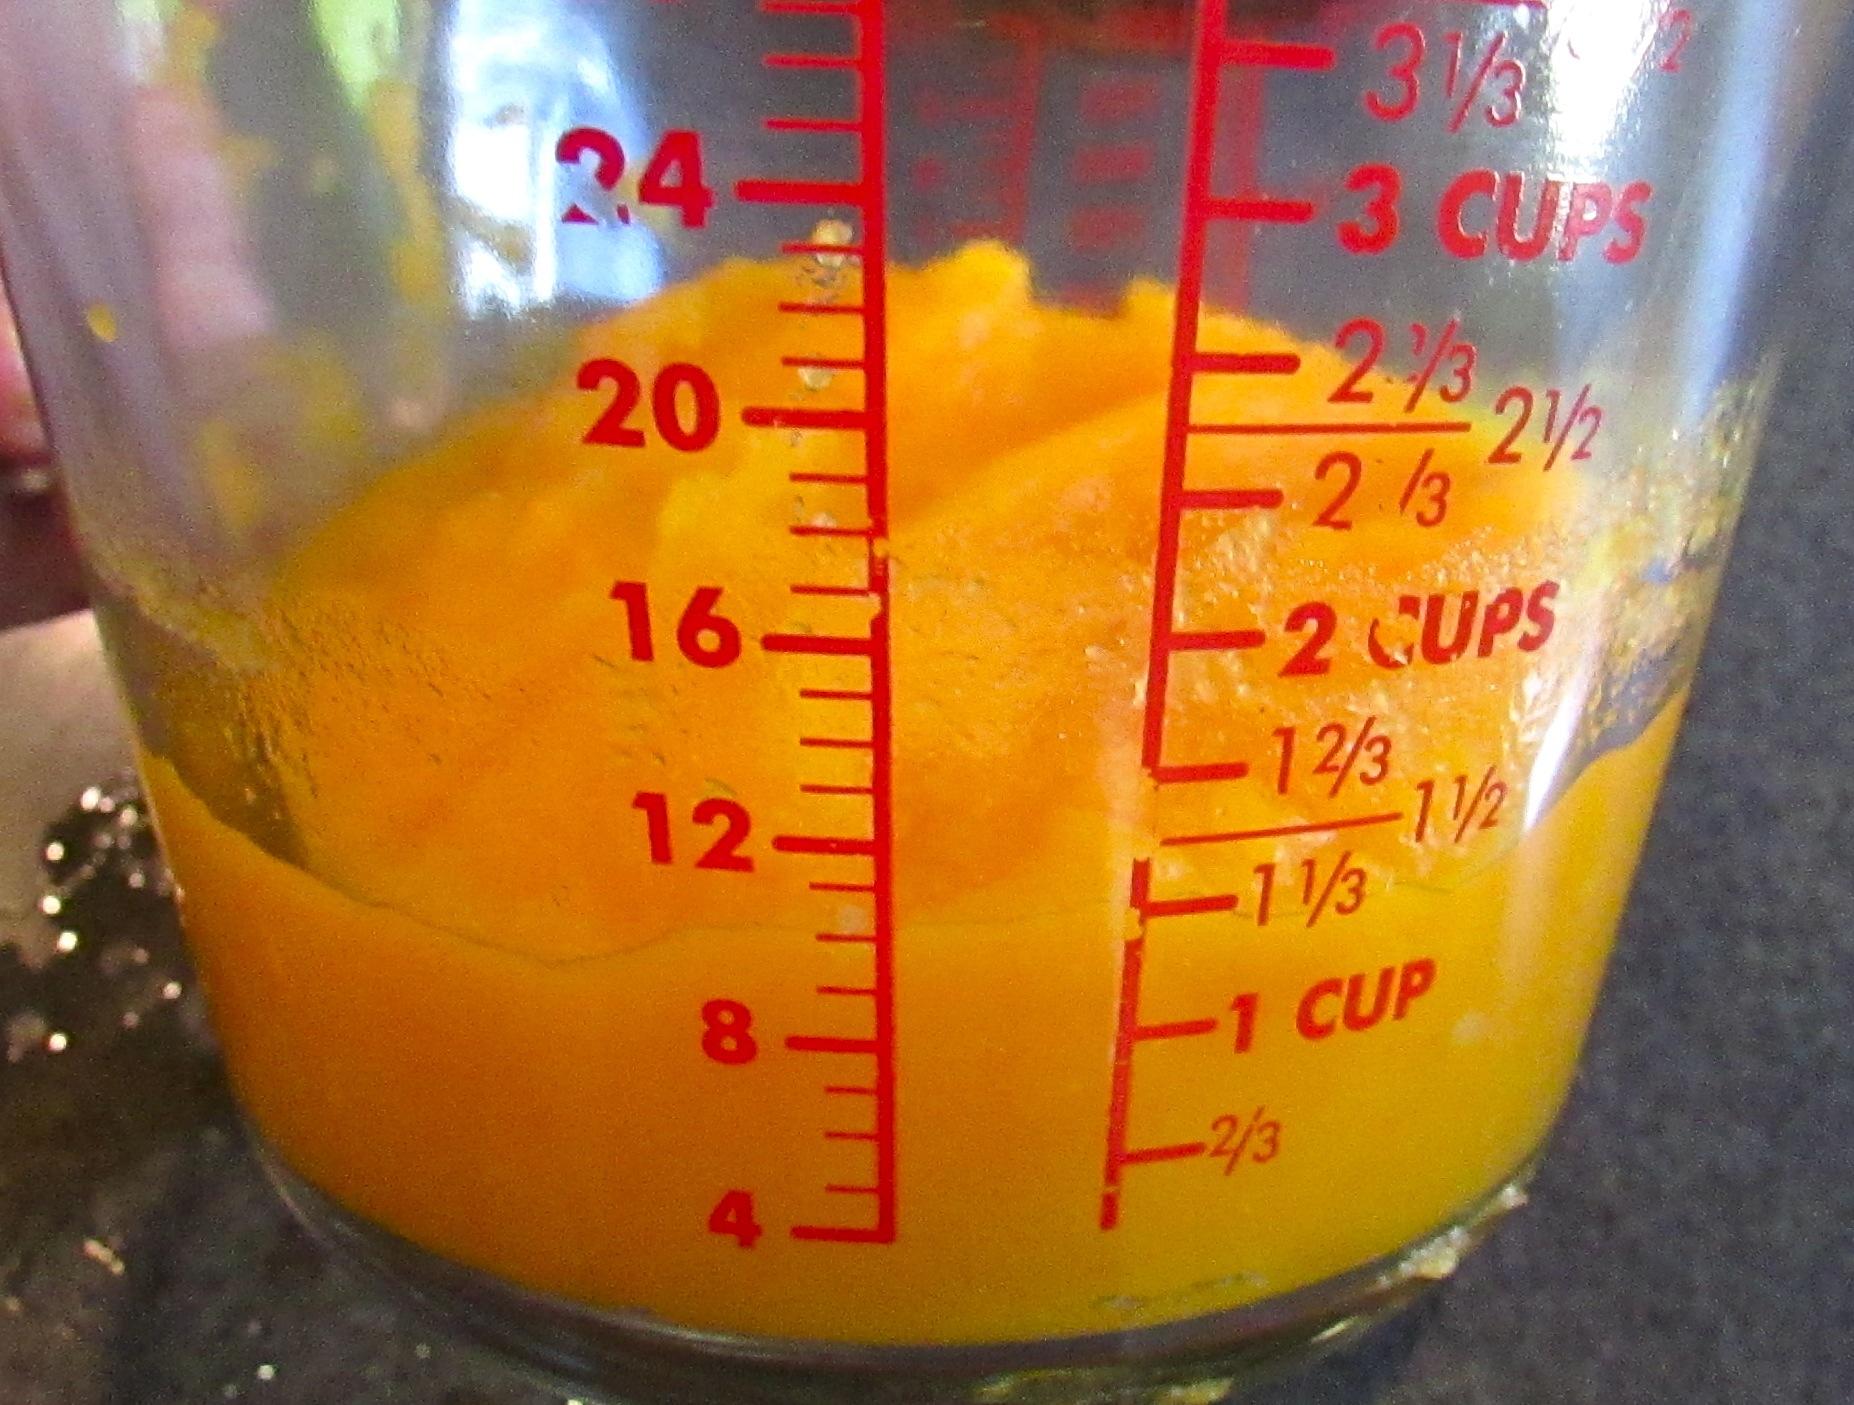
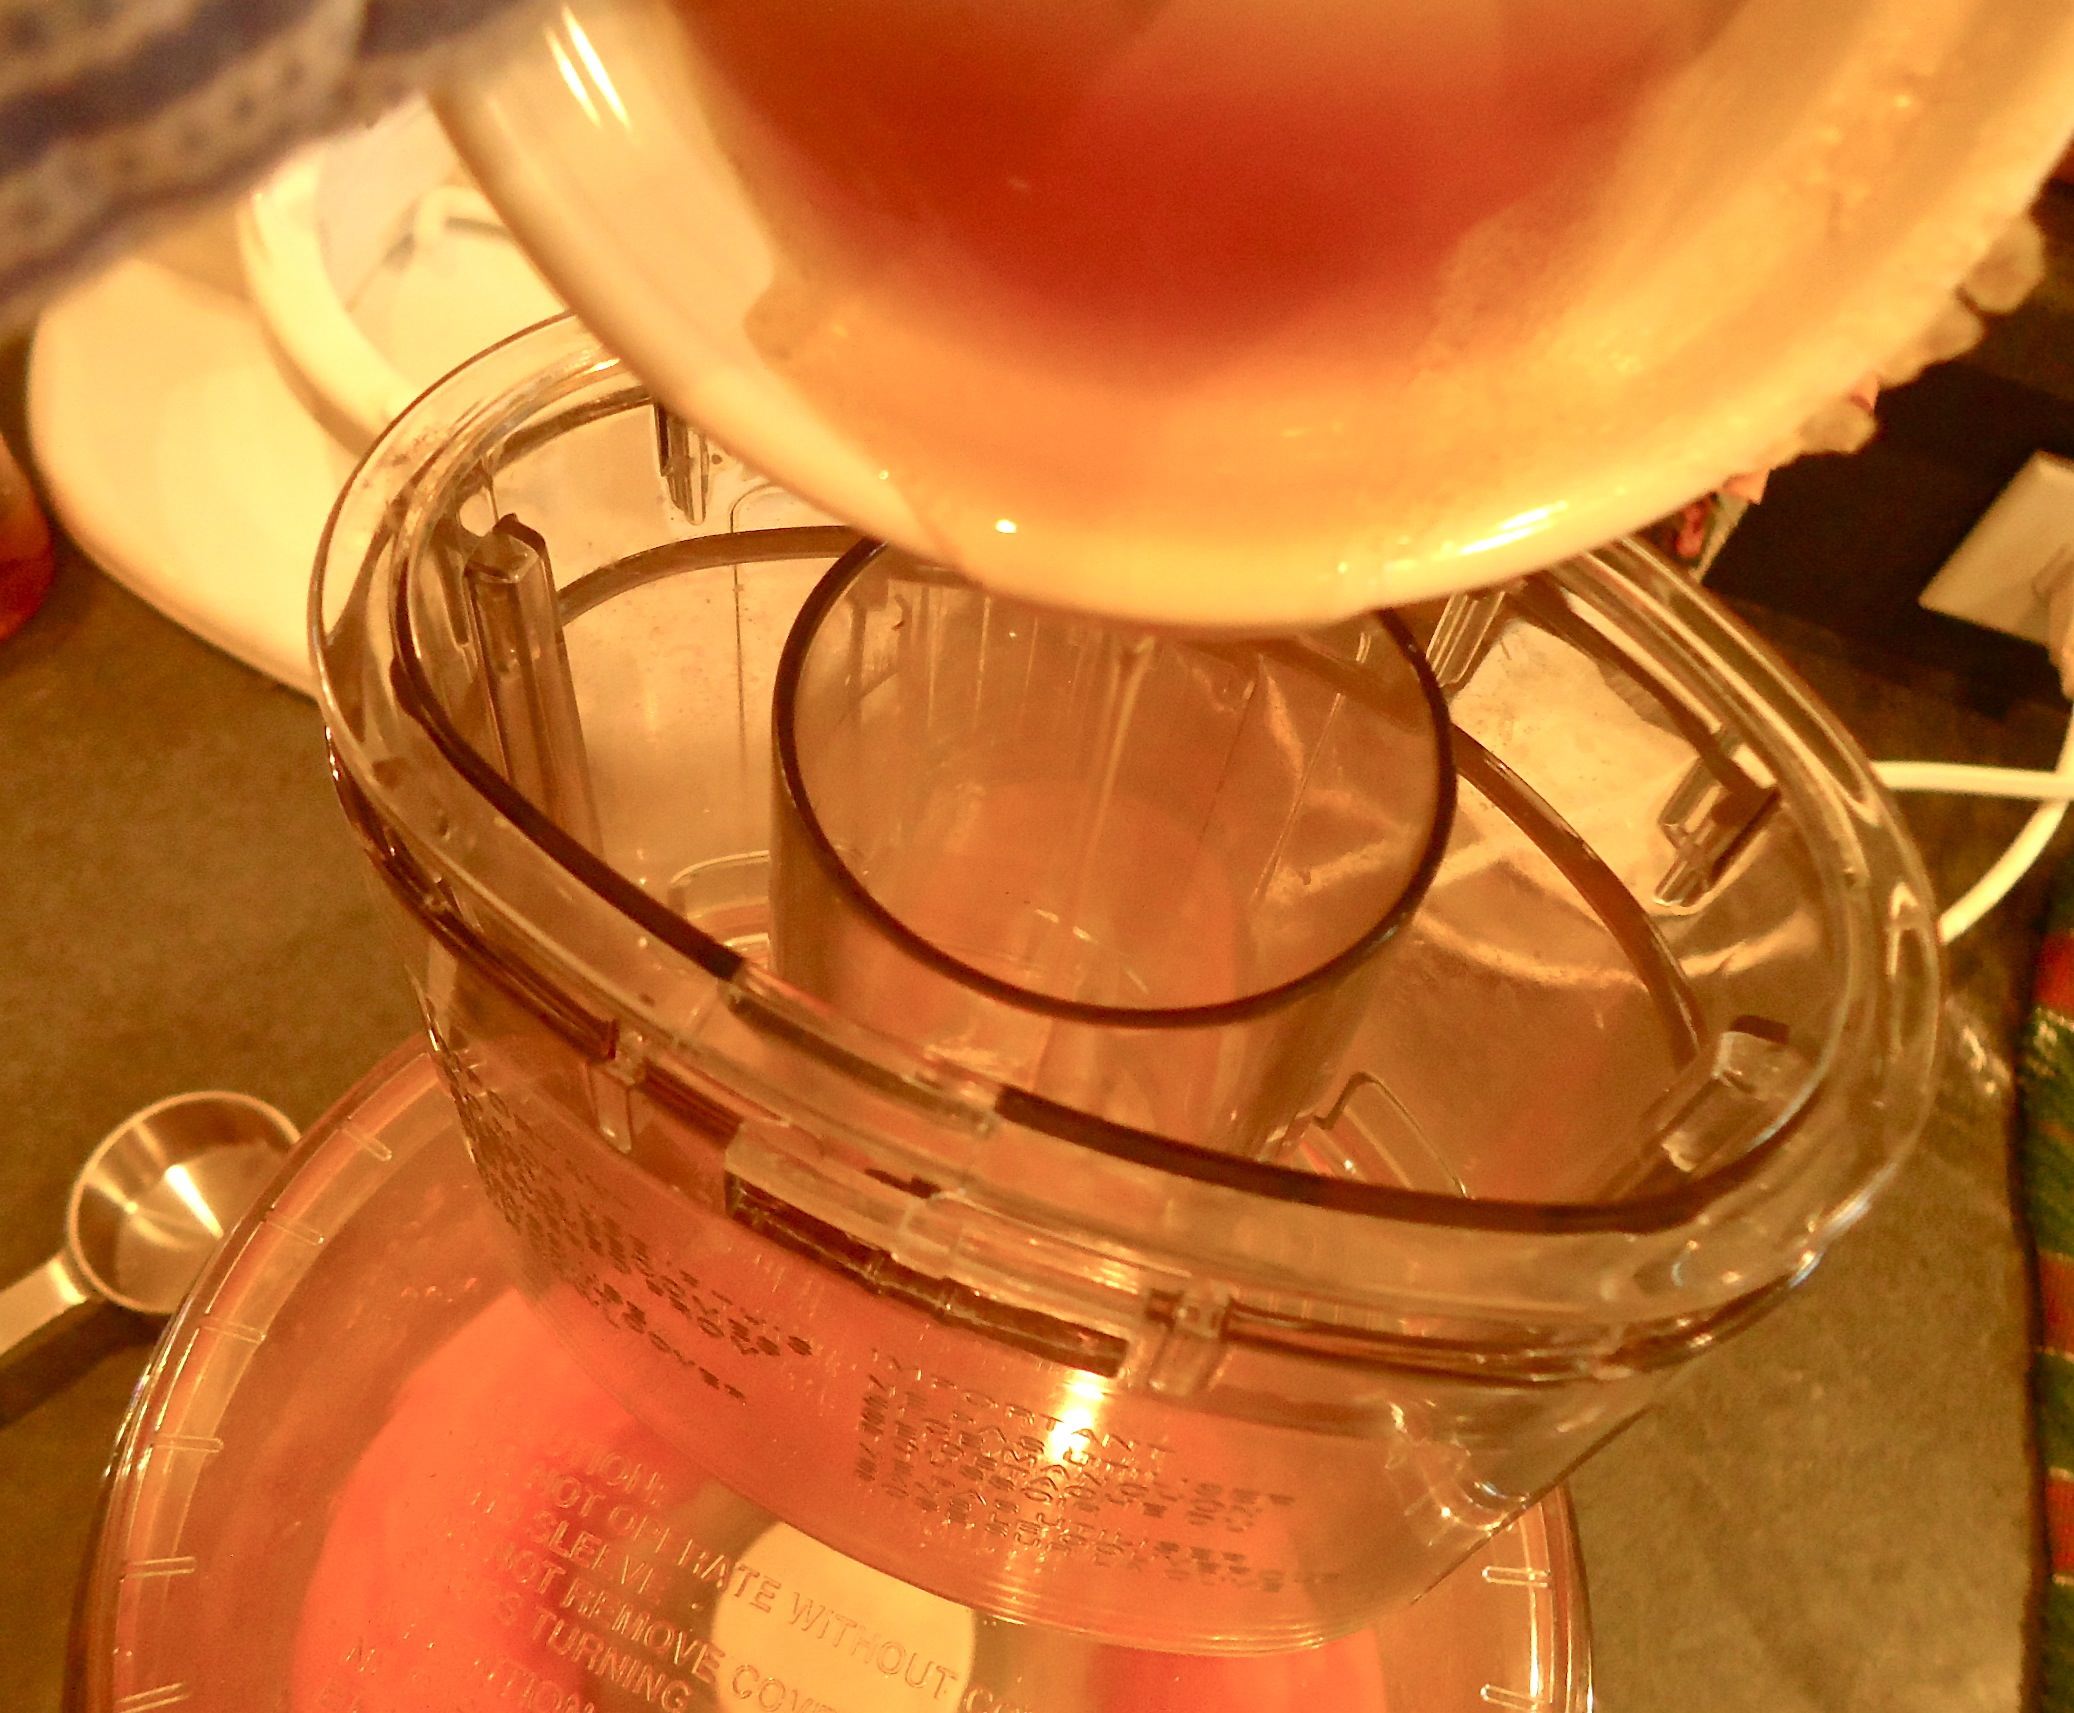
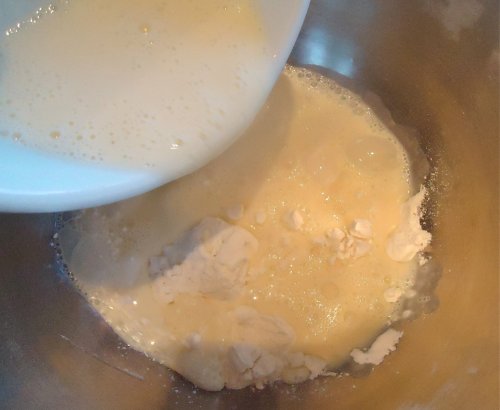
If you’re a ‘baker’ then making this dough is a snap especially if you have a good mixer with a paddle or dough hook. If not, it still isn’t really hard to make. Here the orange juice is mixed with the yeast mixture.

Here the dough is mixed and kneaded (either by the mixer or by hand). Use a little extra flour as it will be somewhat sticky to the touch. Wrap it in plastic and allow to rest in the frig.

Take the dough from the frig and roll out to a large rectangle. It will be about 18″ x 13″.

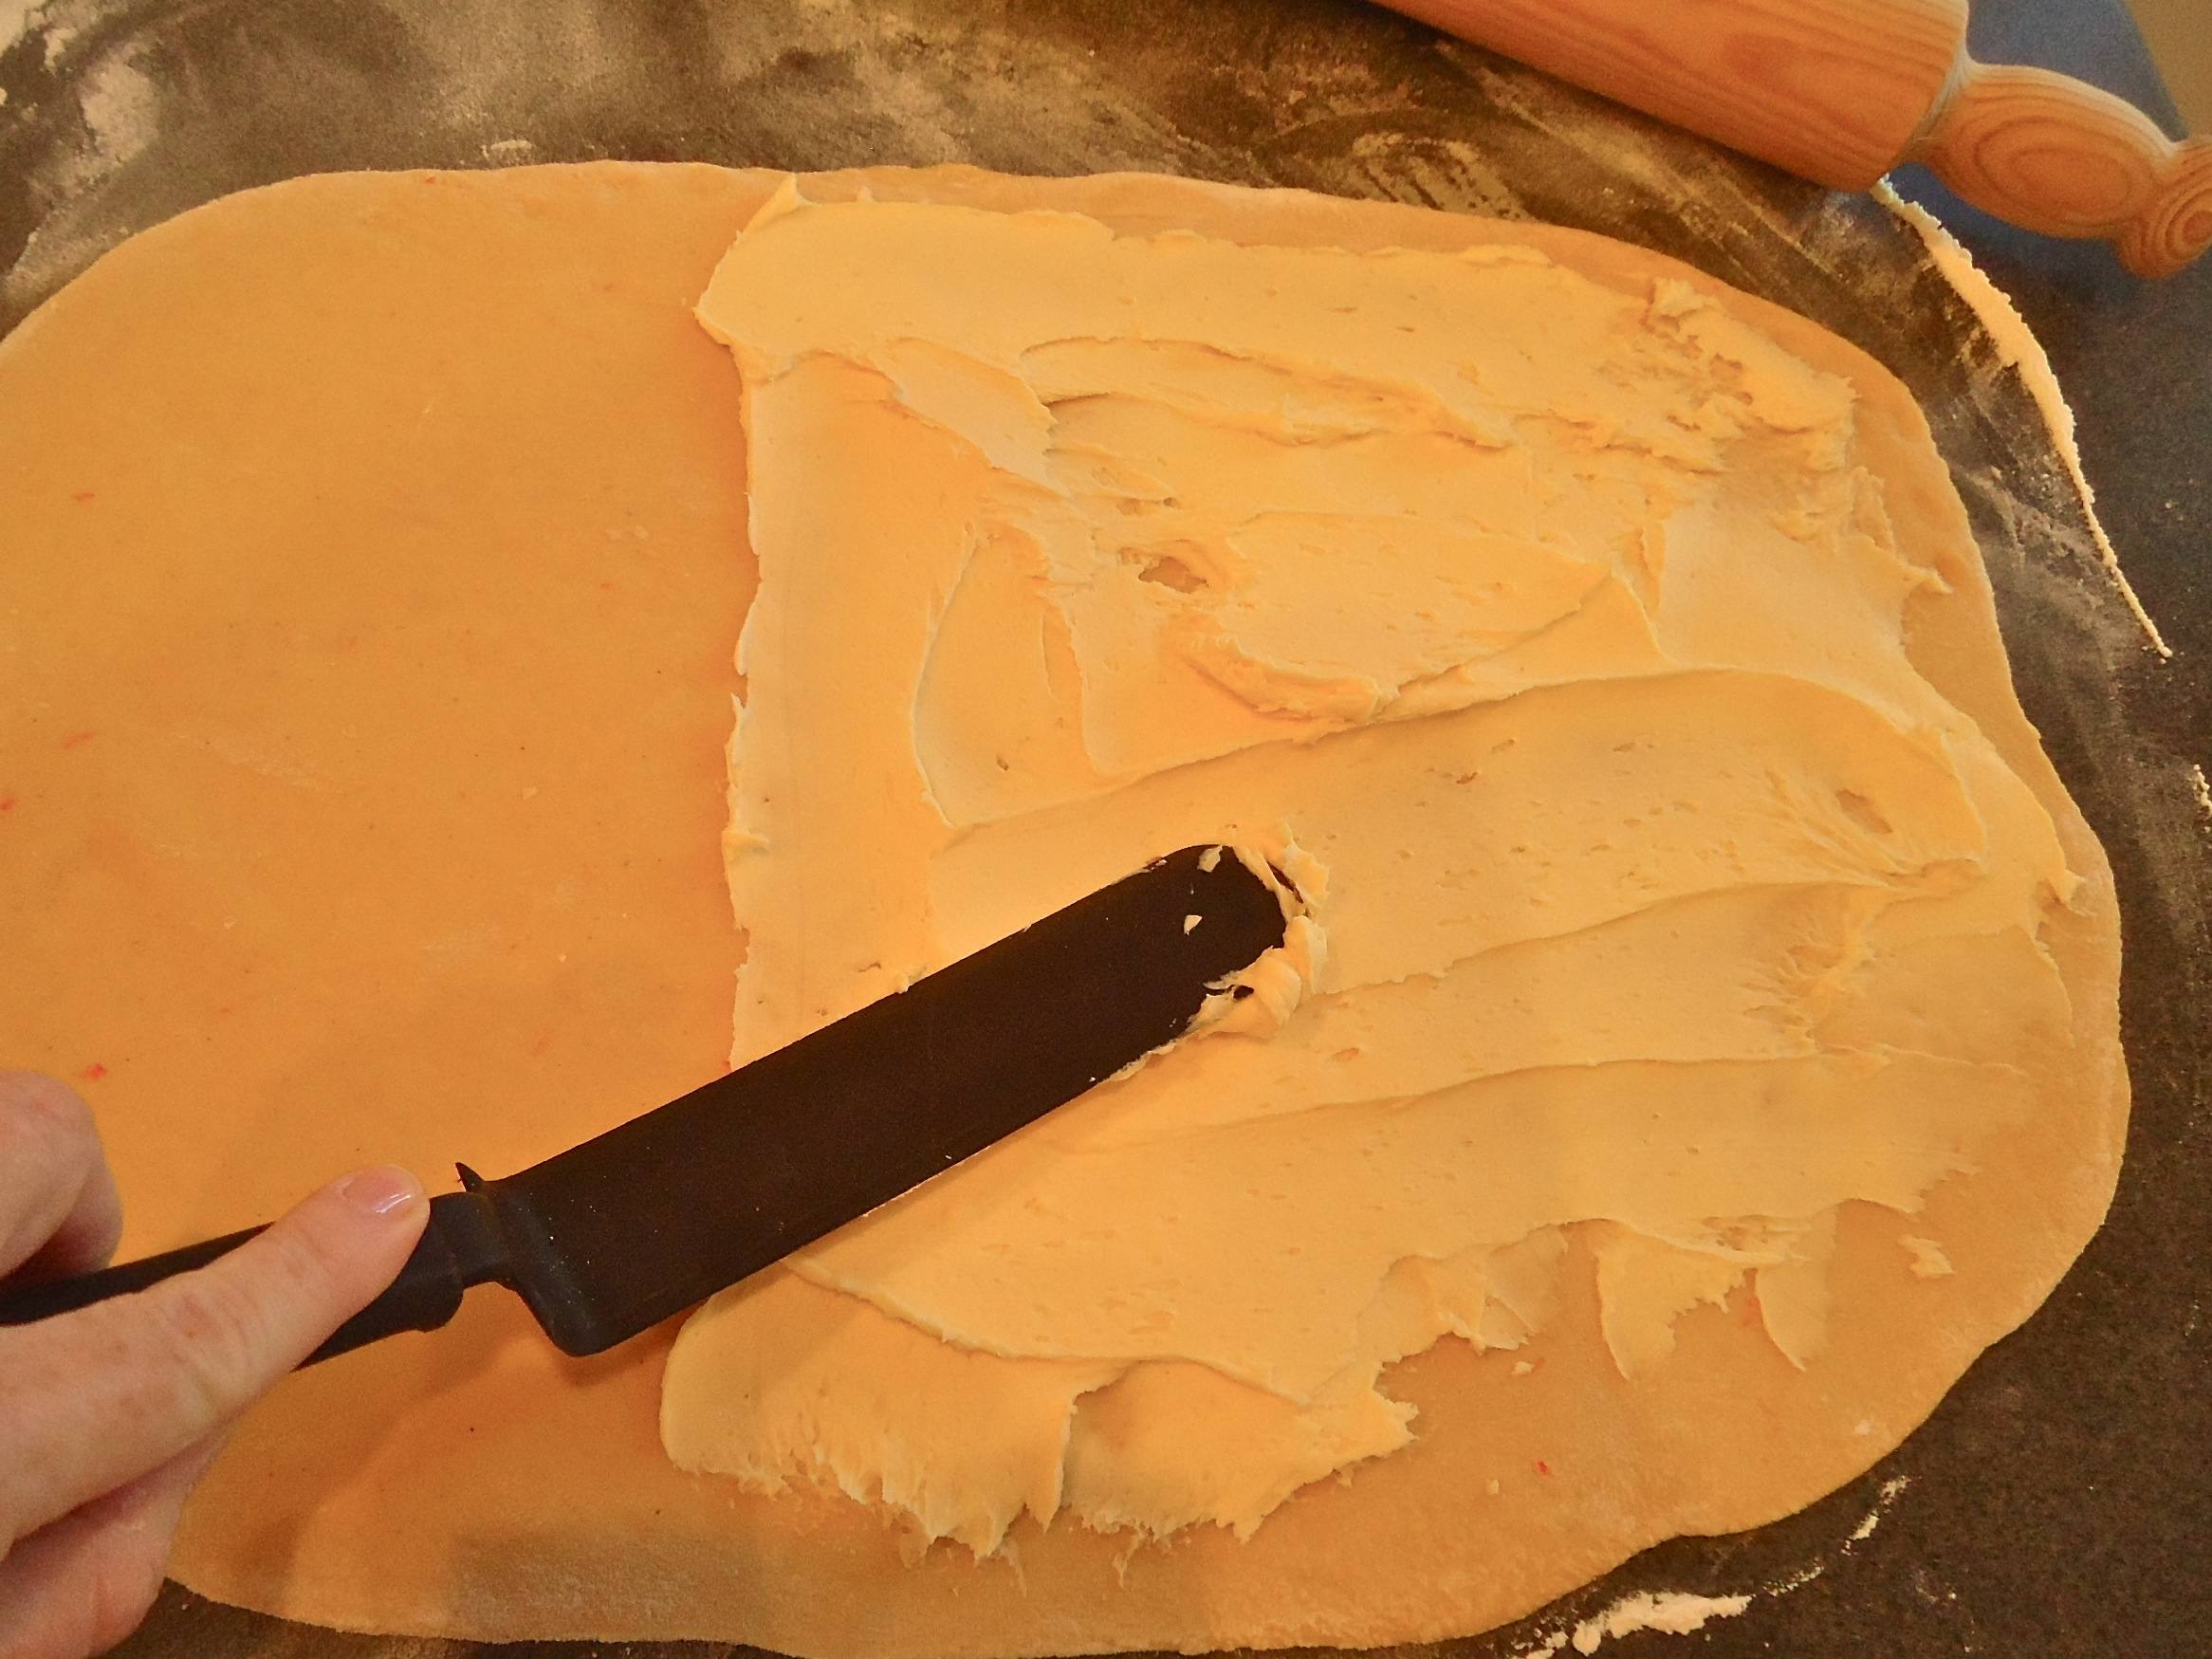
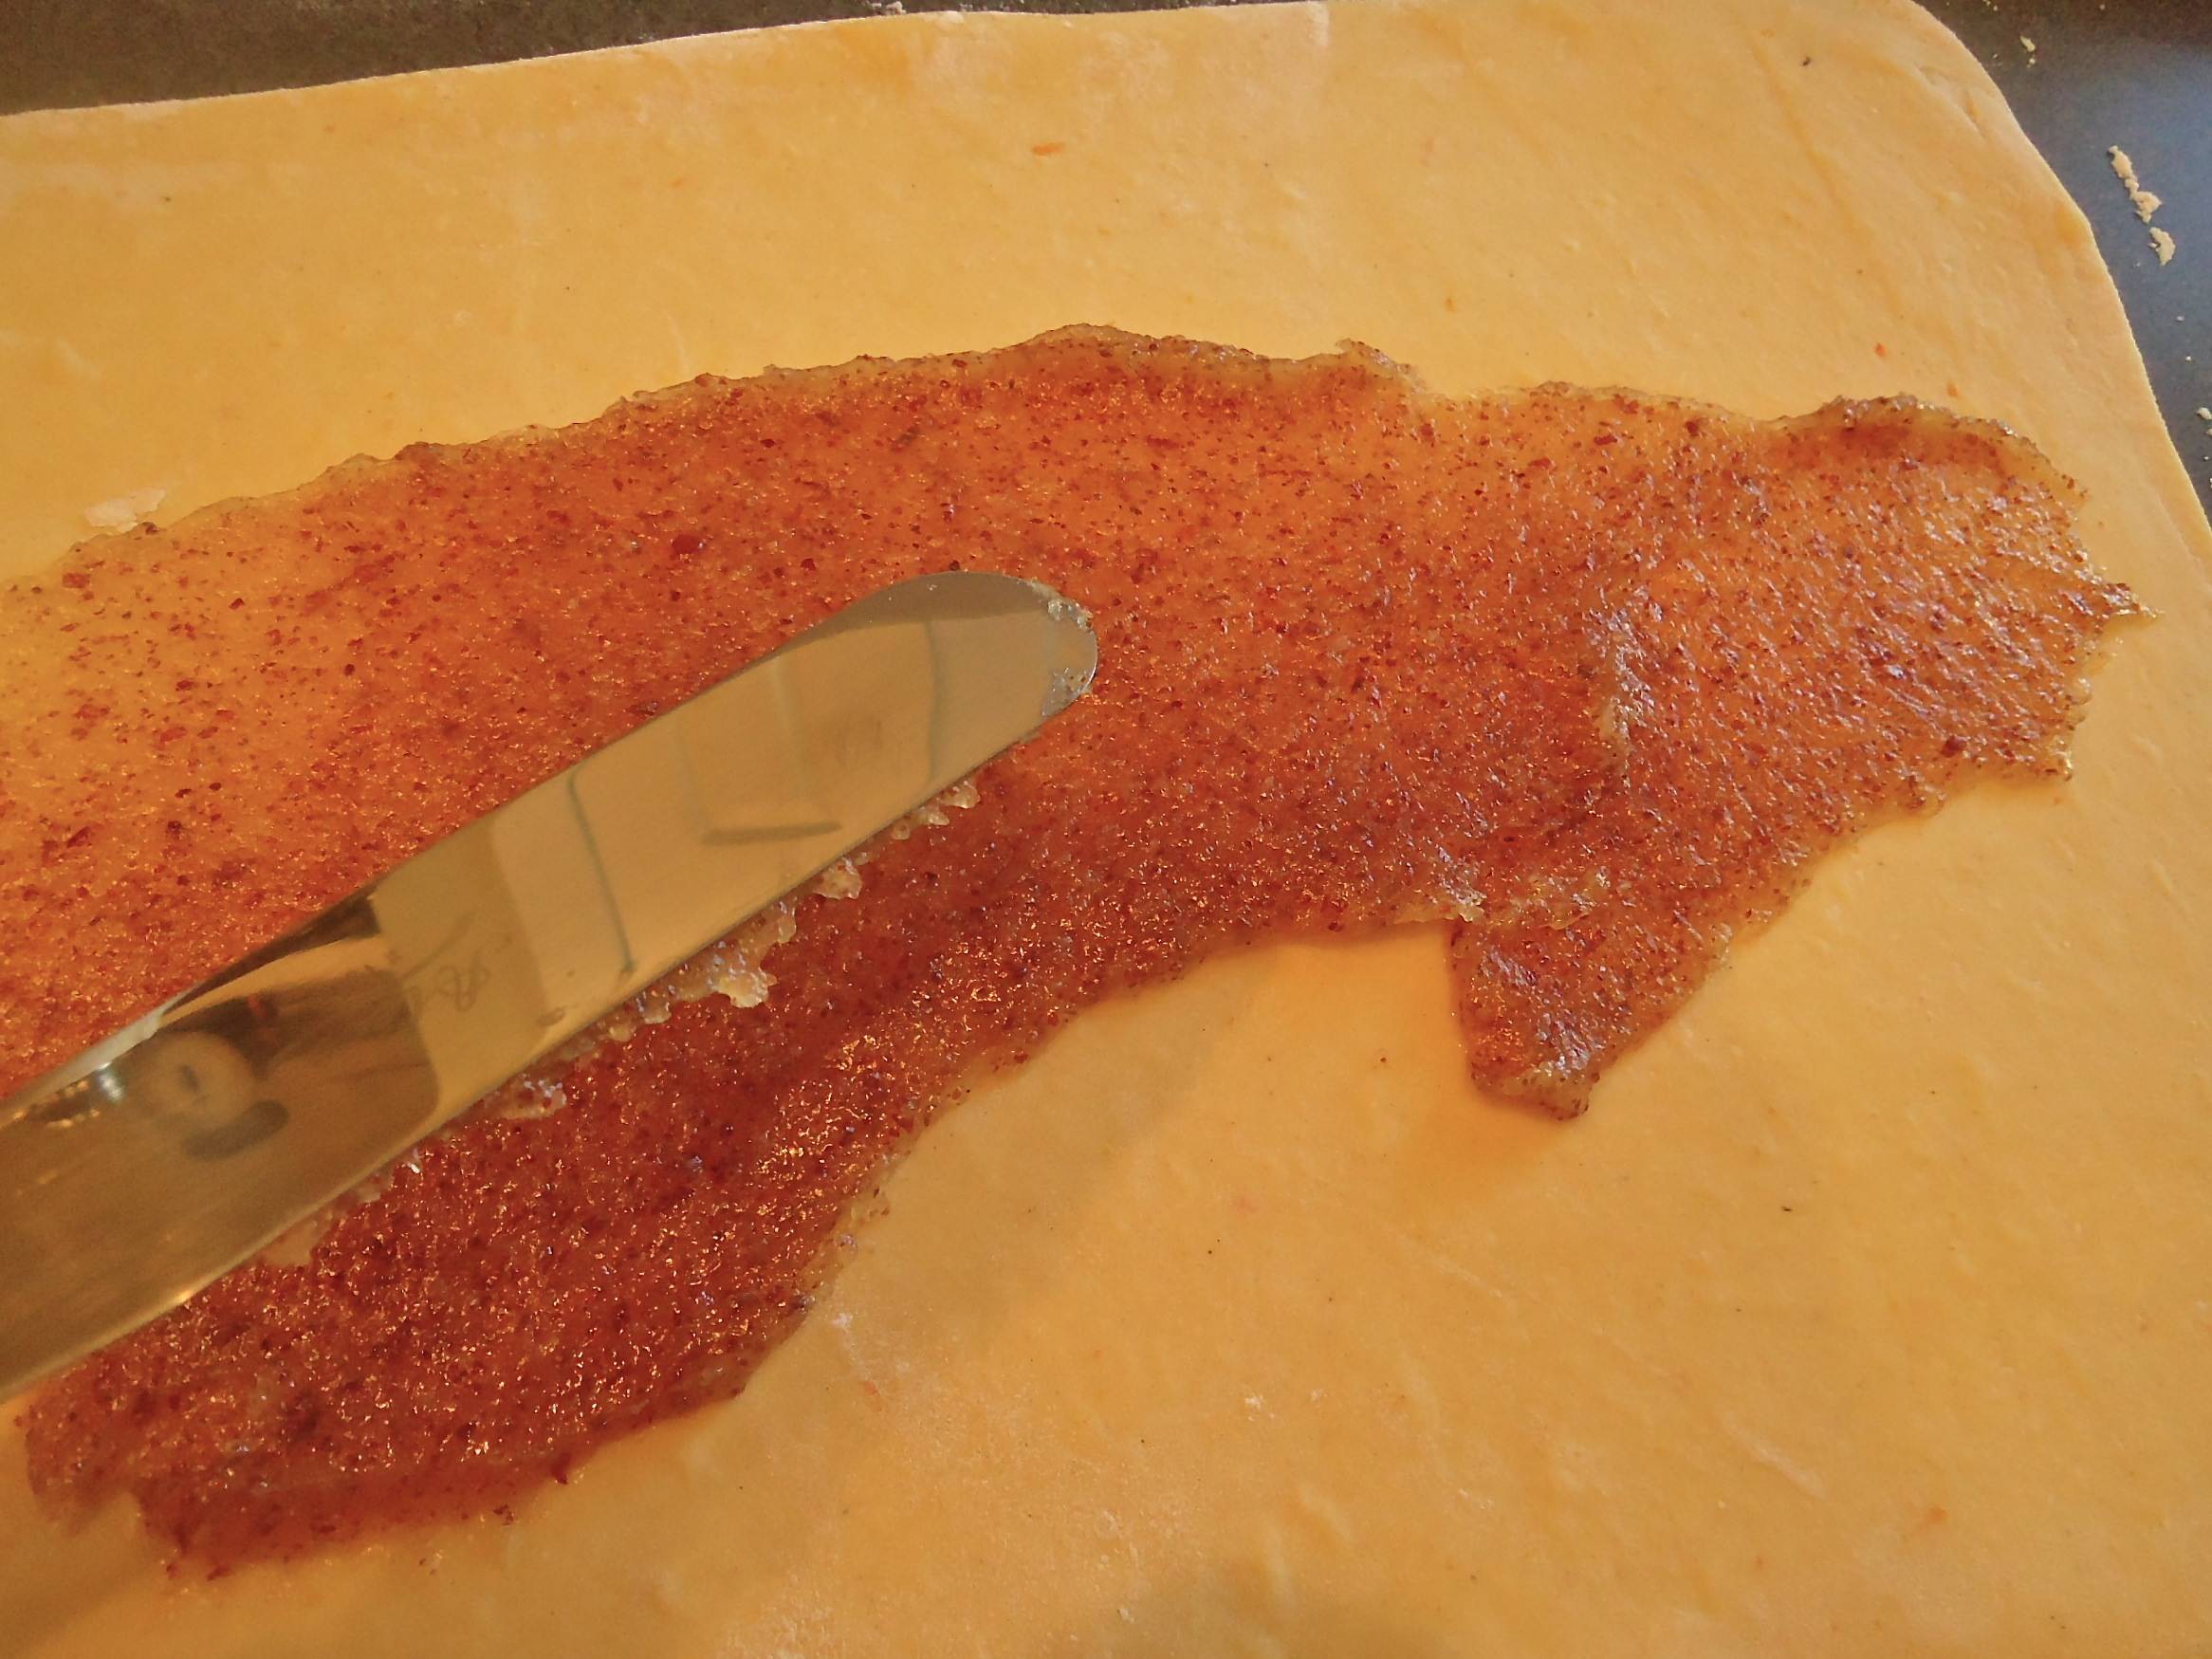
Spread the the butter mixture over about 2/3 of the dough.

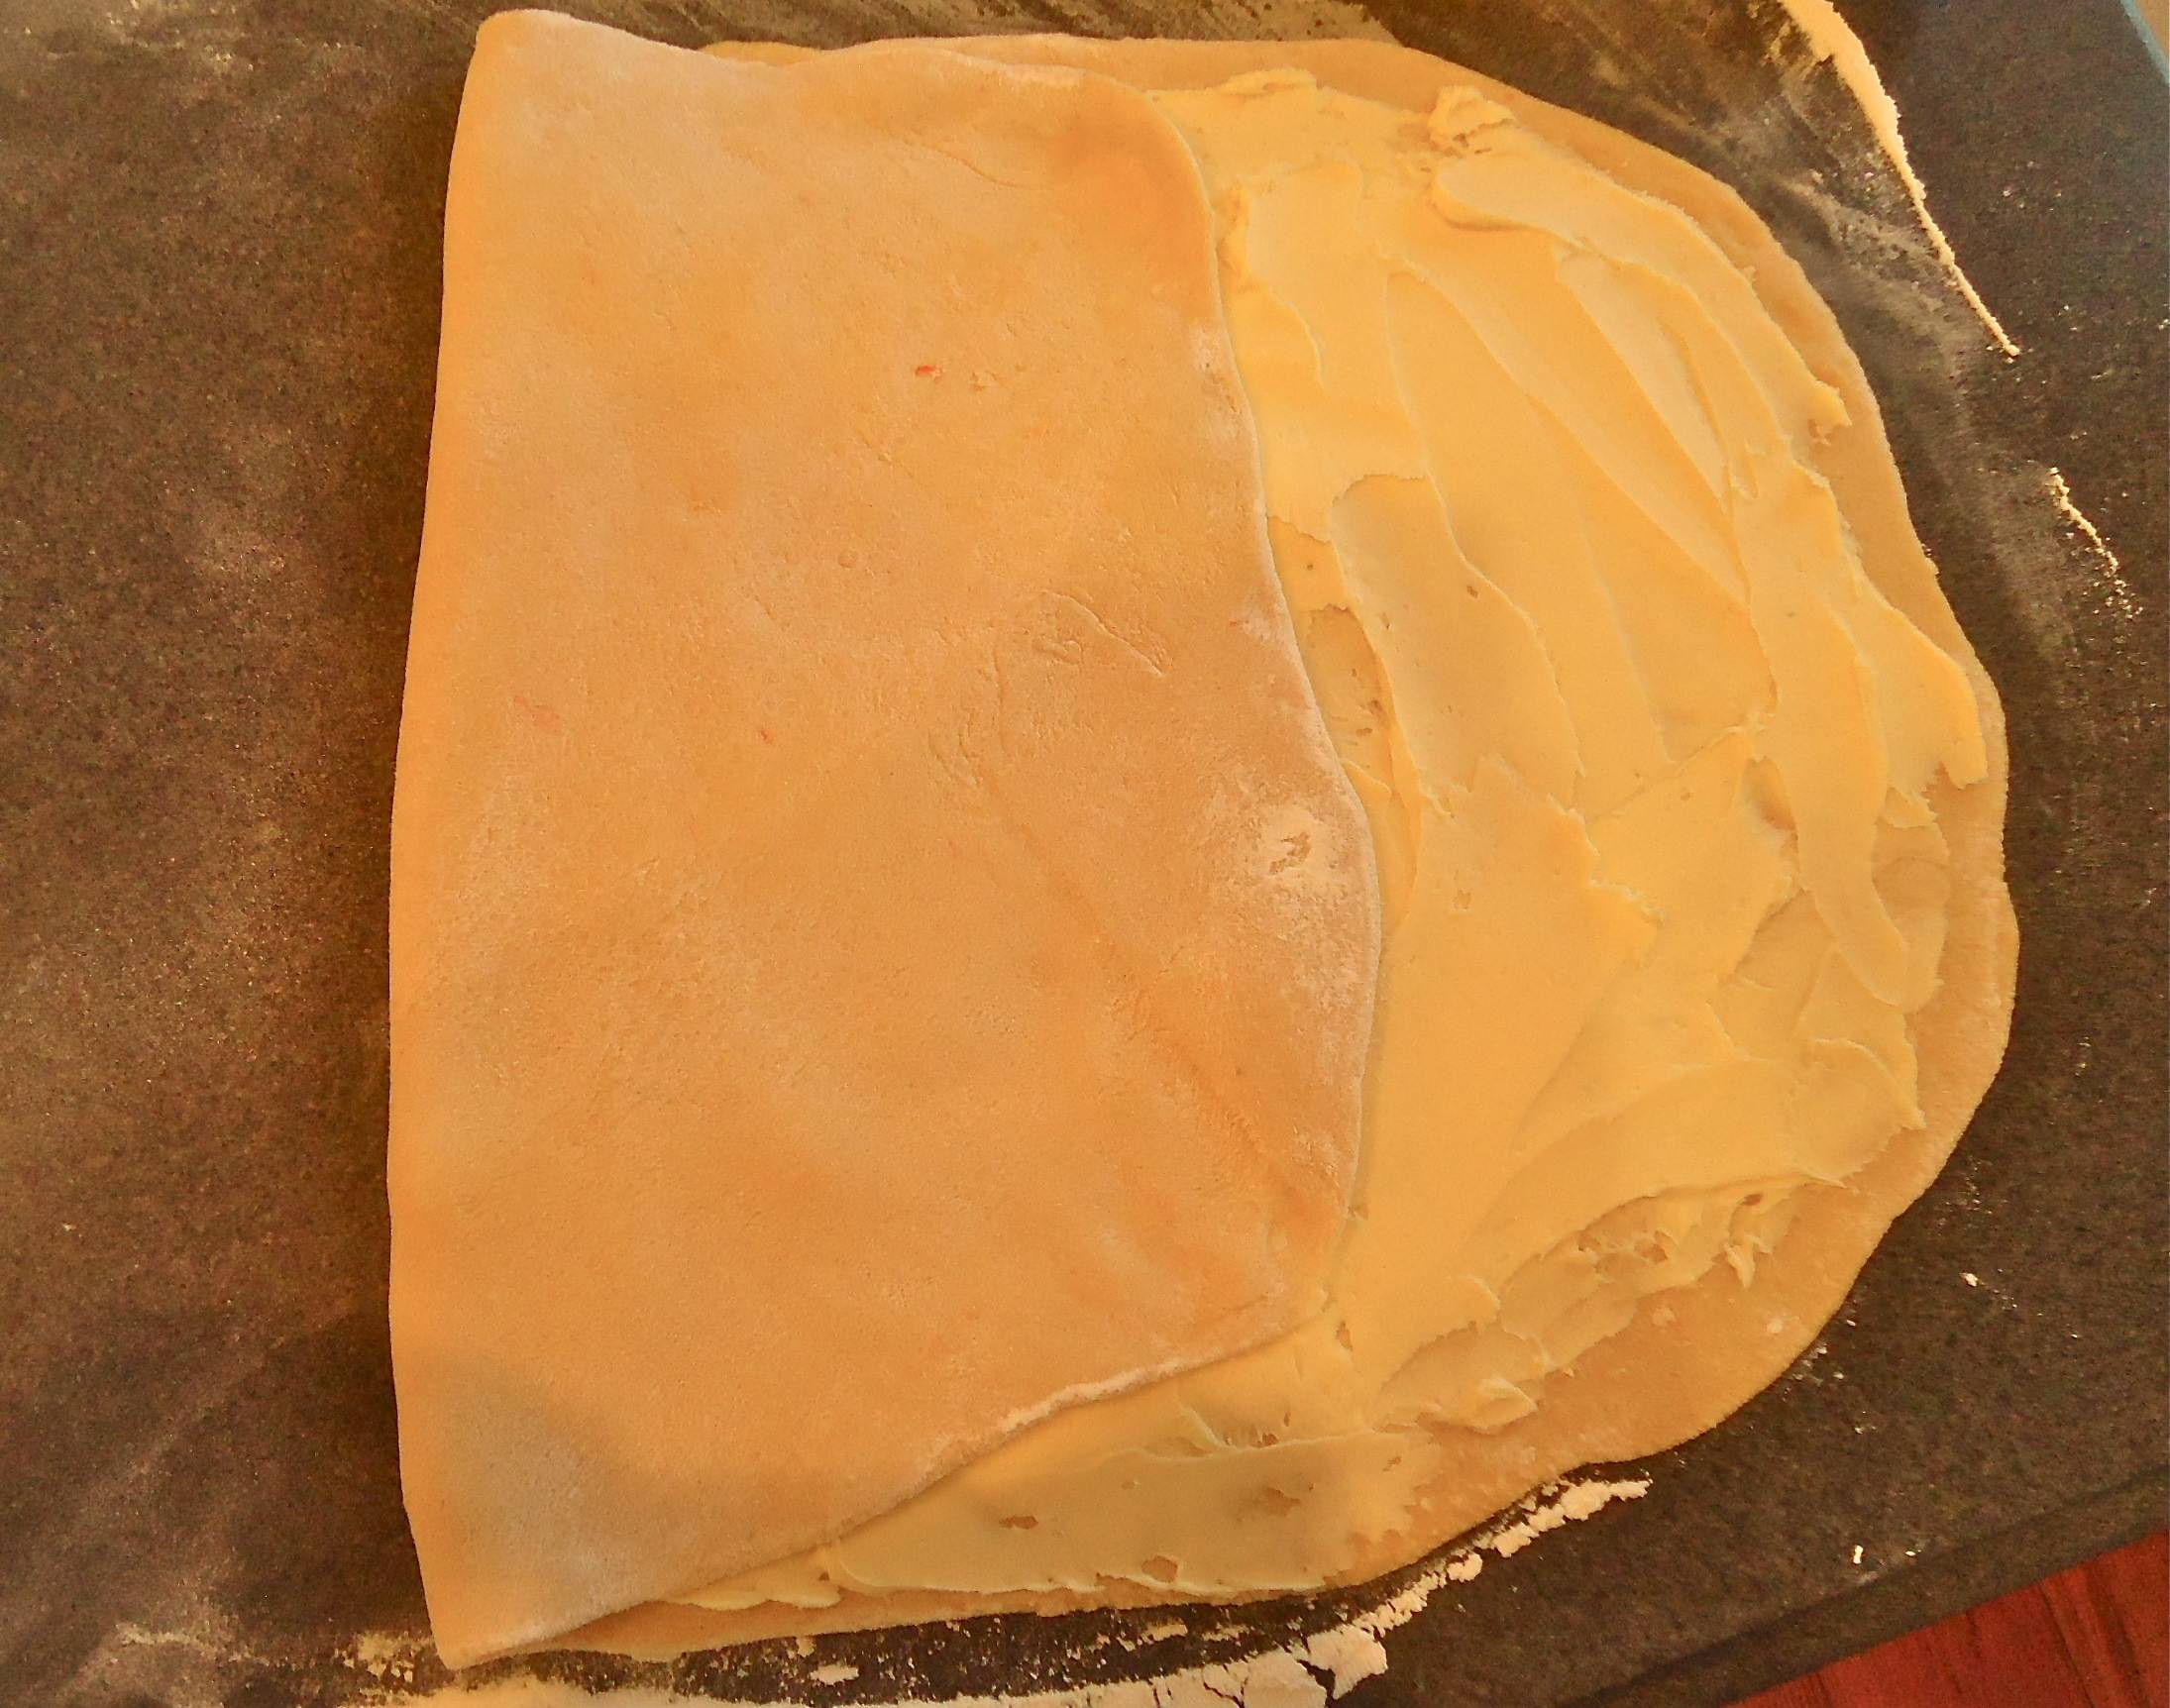
Next fold the left side of the dough over once to cover about half of the the buttered dough…

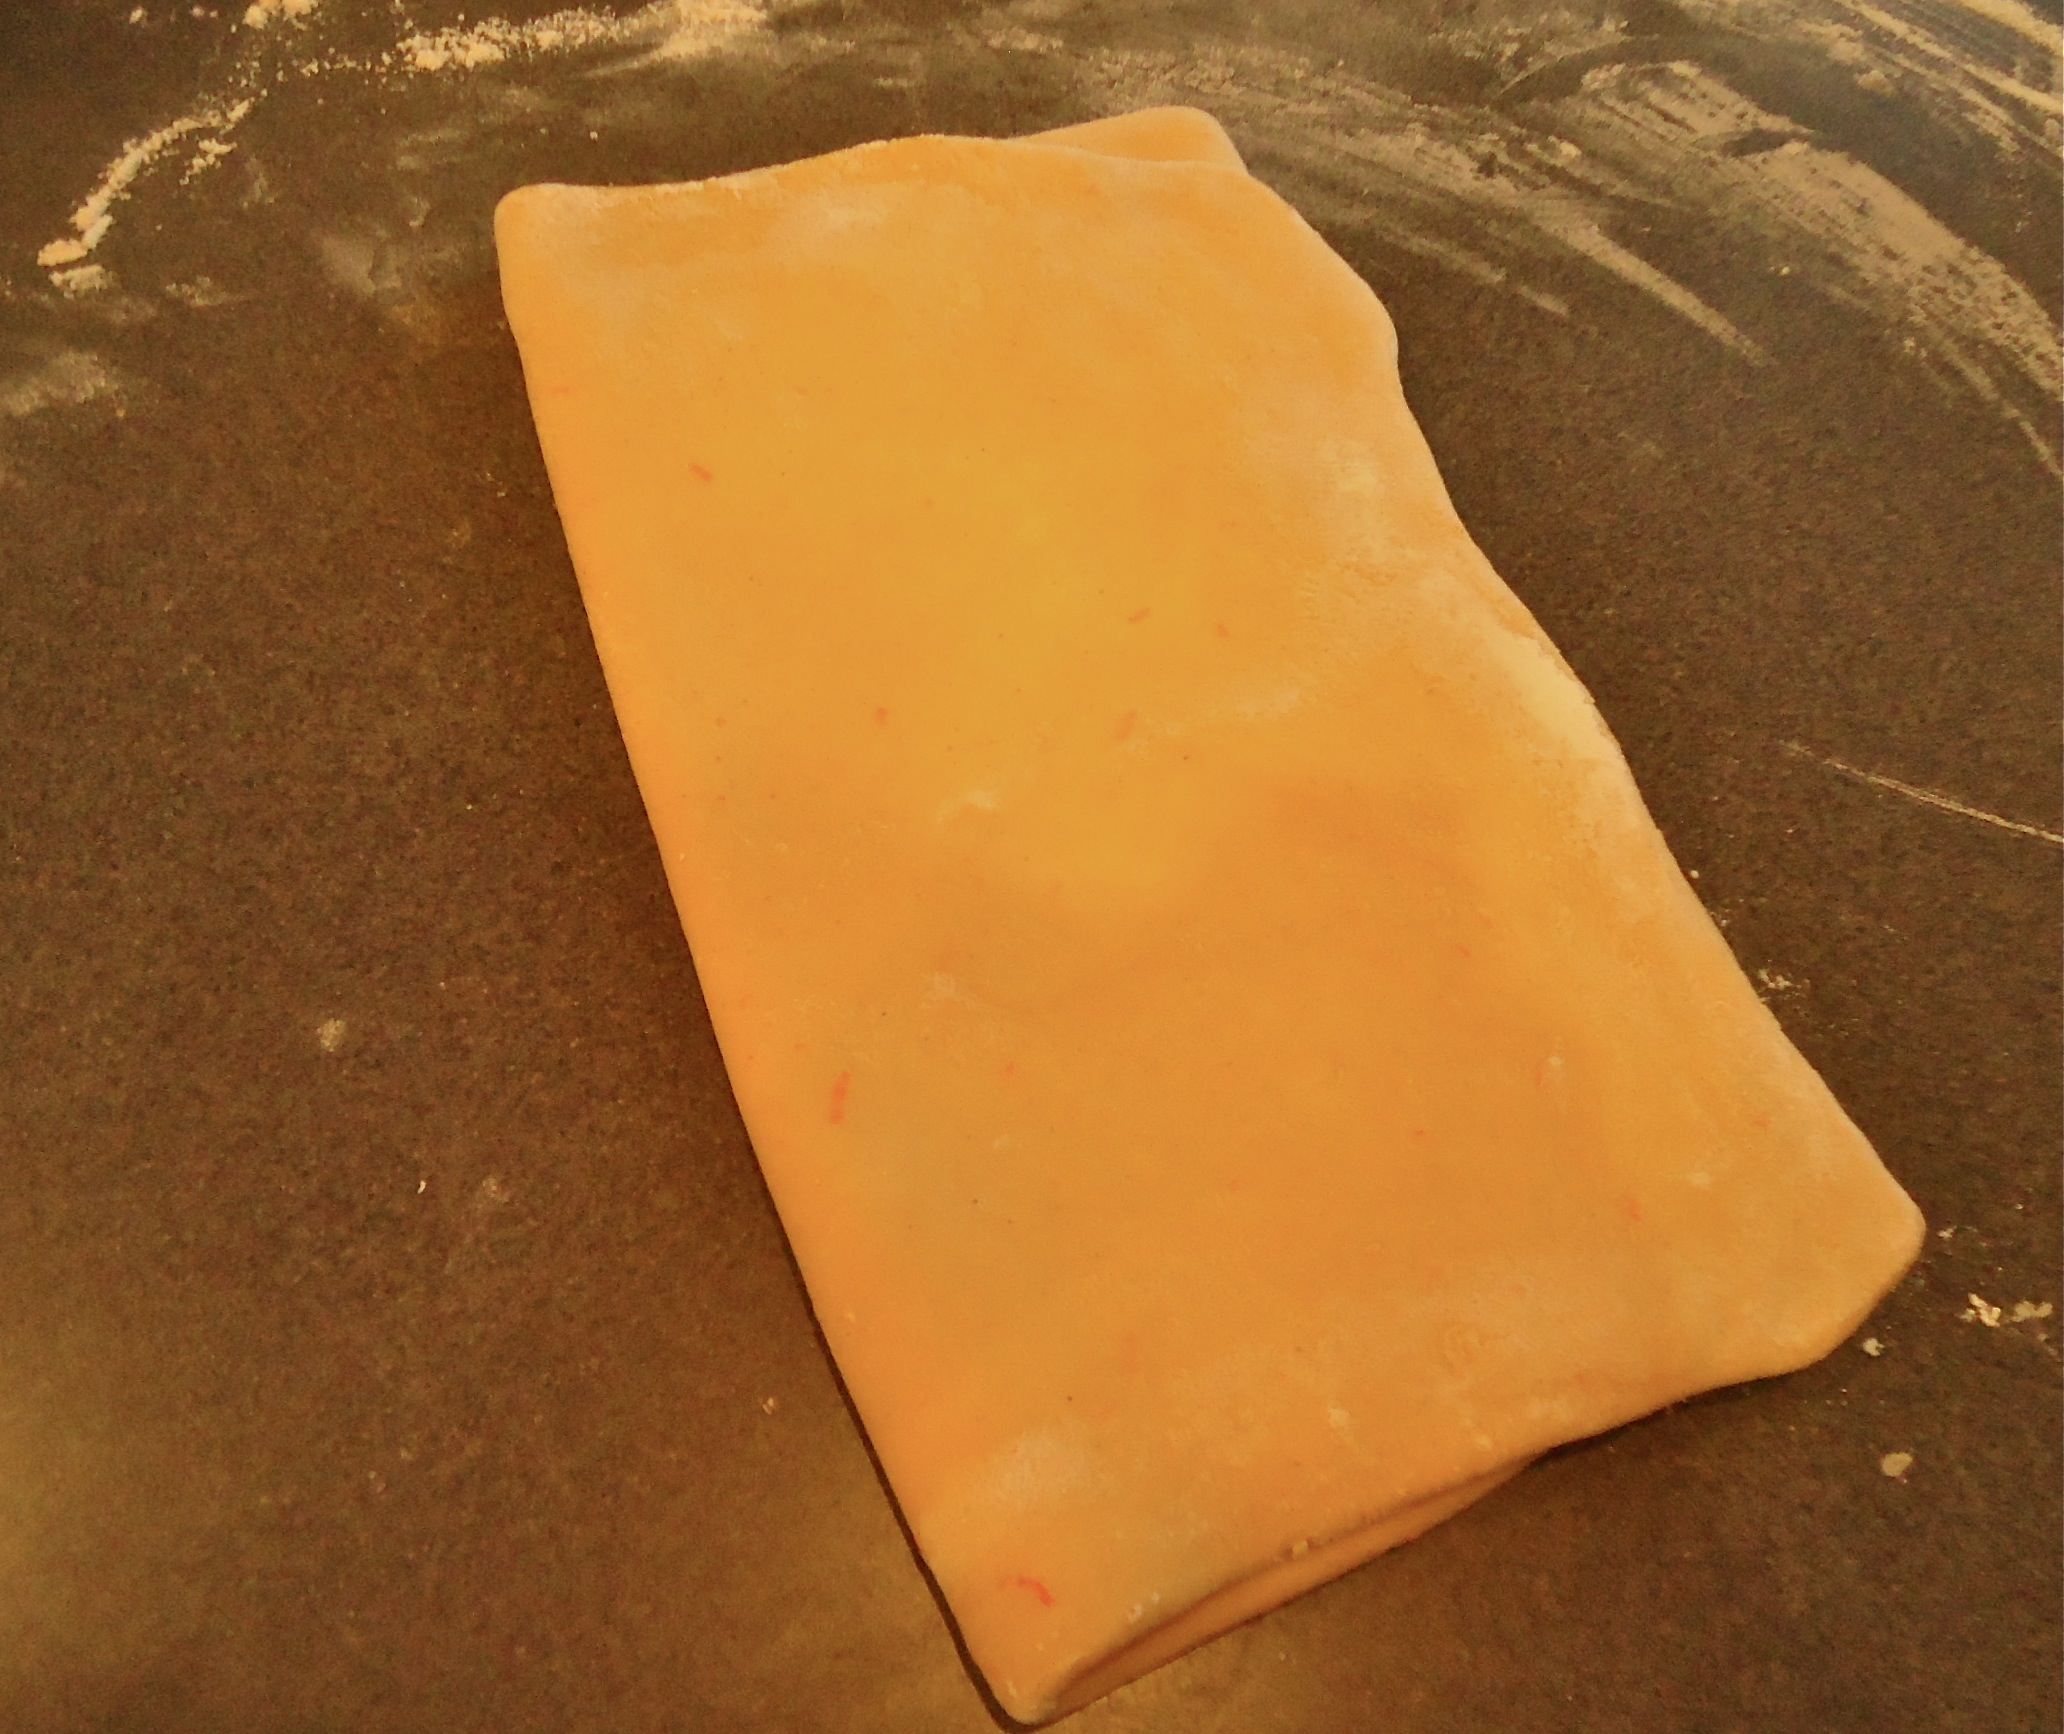
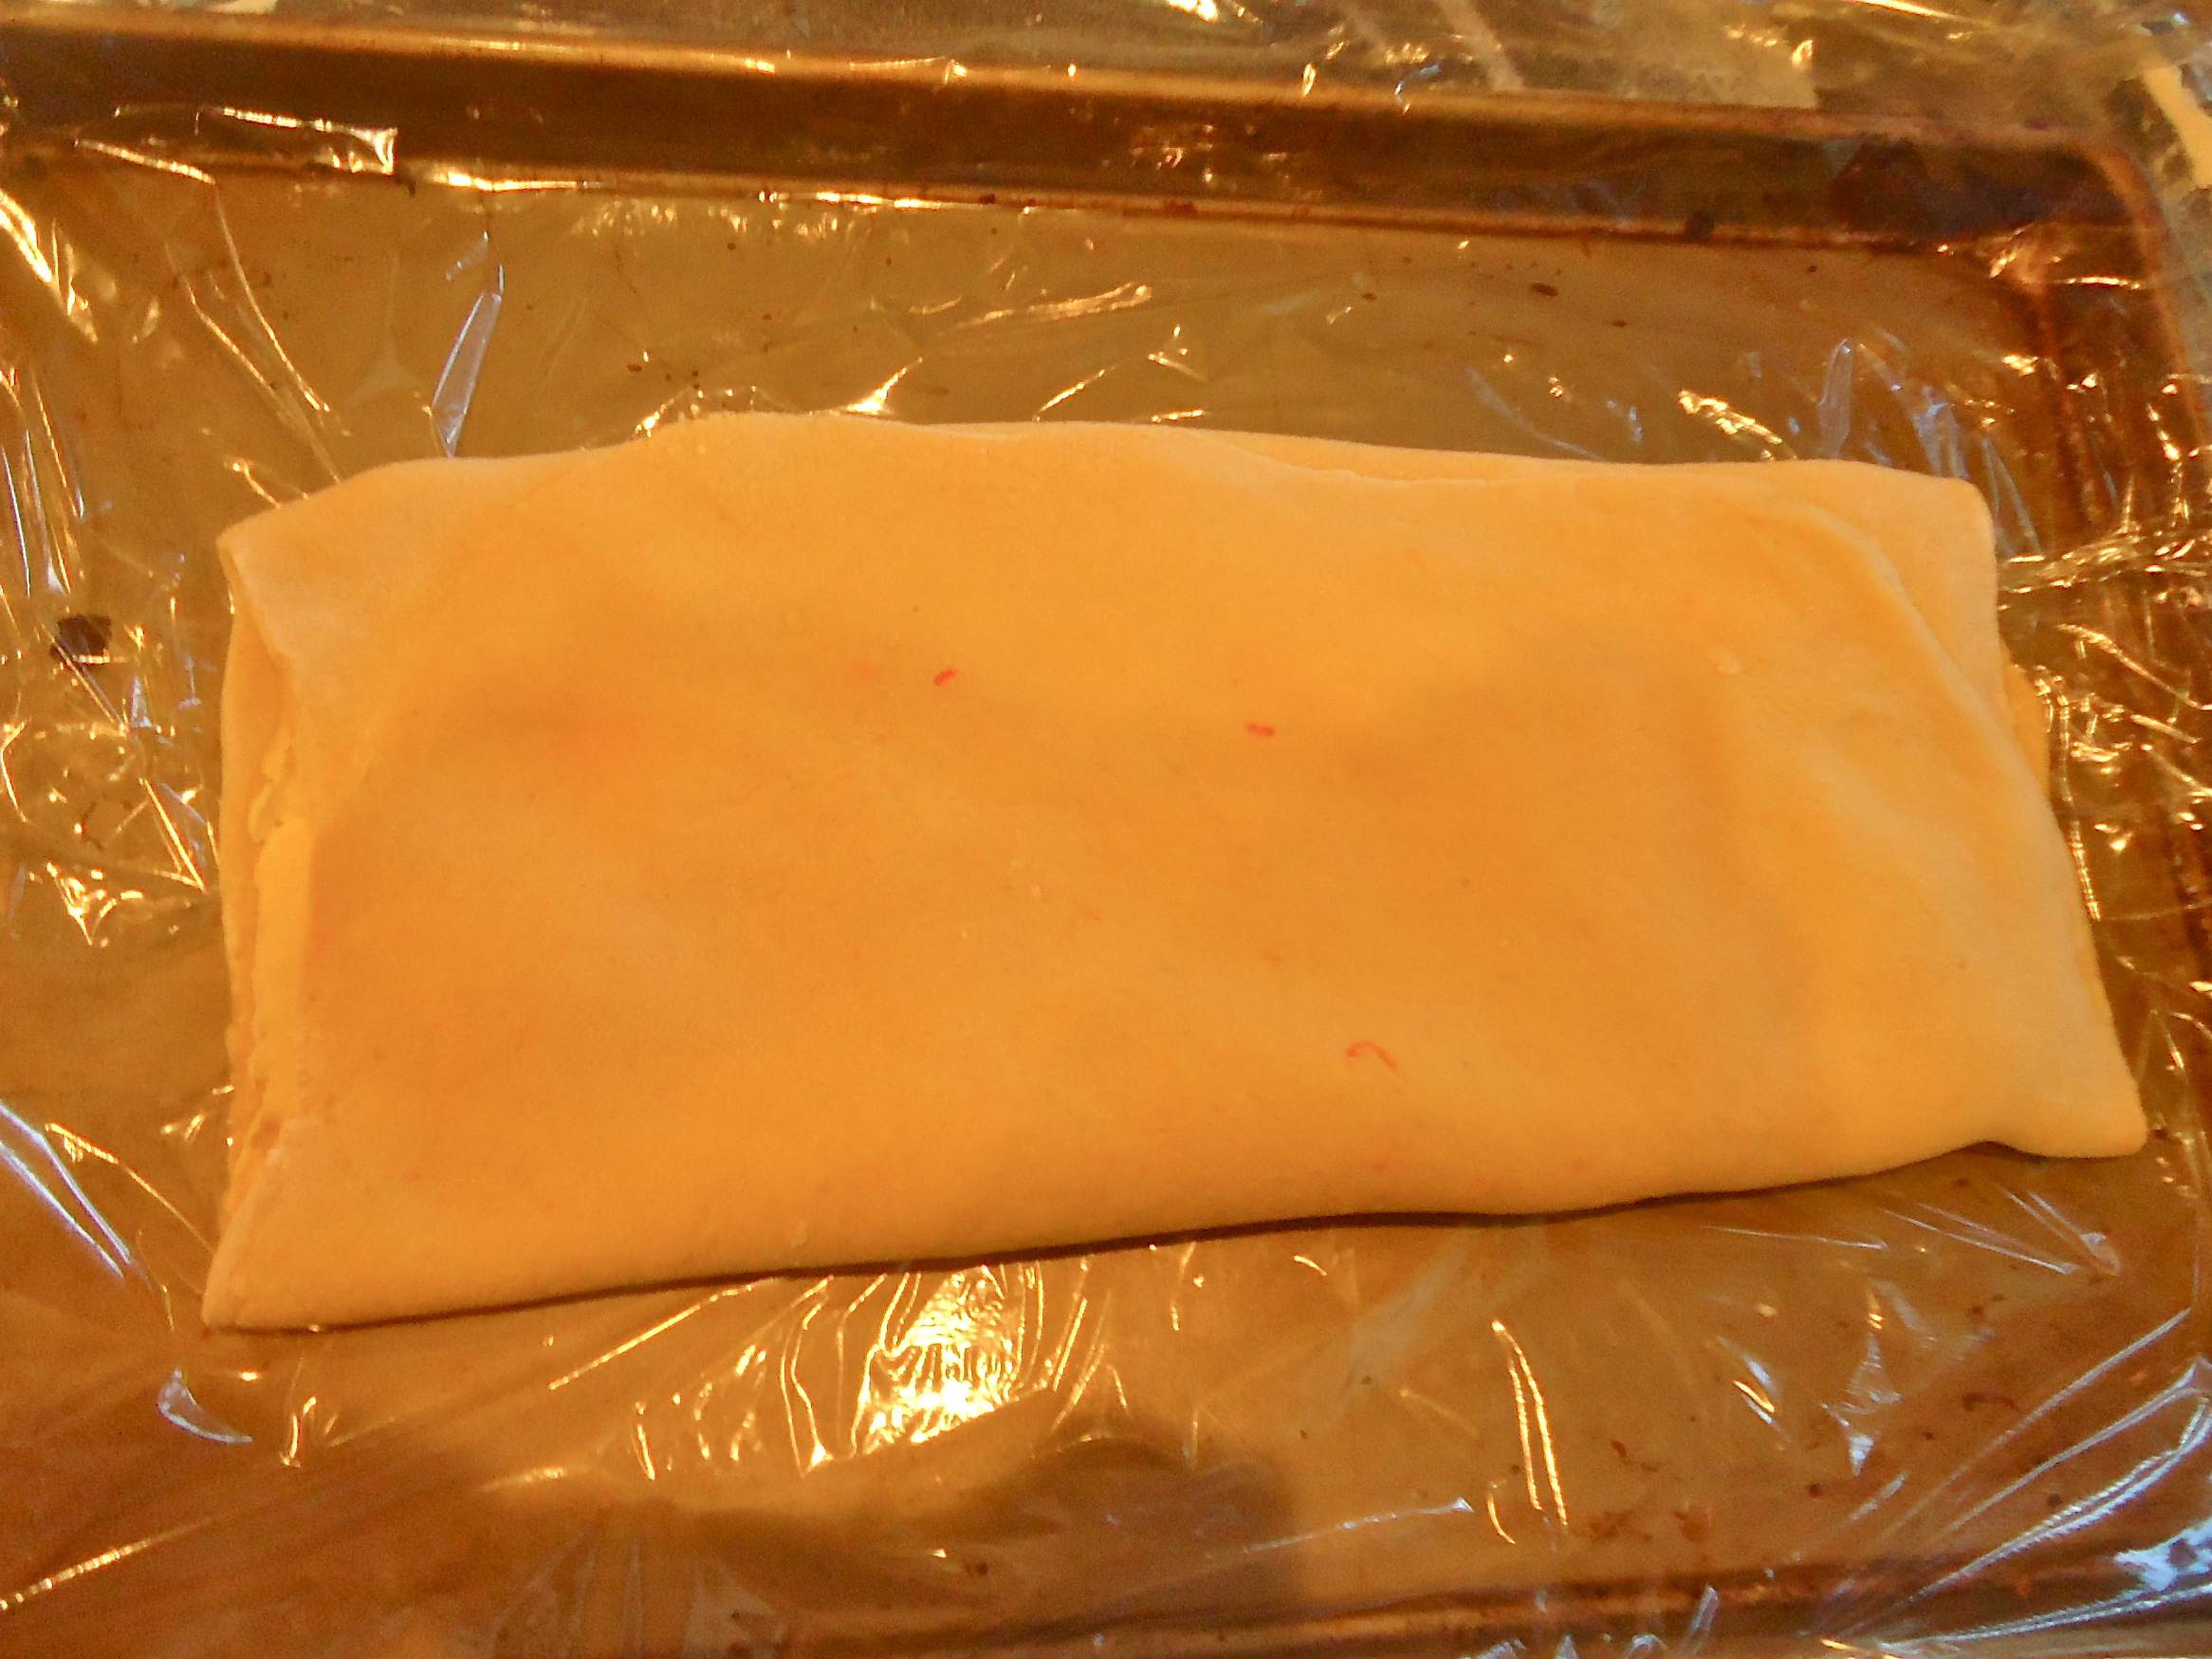
Then fold it over again. Now place the dough on a sheet of plastic on a cookie sheet and wrap it in the plastic. Allow to rest in the frig again.

Here it is after it’s rest in the frig. Roll it out again to a large rectangle….

Here’s the rectangle. Fold one side (left) over a third of the way and then the other side (right) over. Cover with plastic and allow to rest in the frig. You will do this rolling out and folding again 3 more times for a total of 5 times. You do not spread any more butter in, however. The folding, rolling out and resting incorporates the butter through the dough and makes it all light and flaky. See?

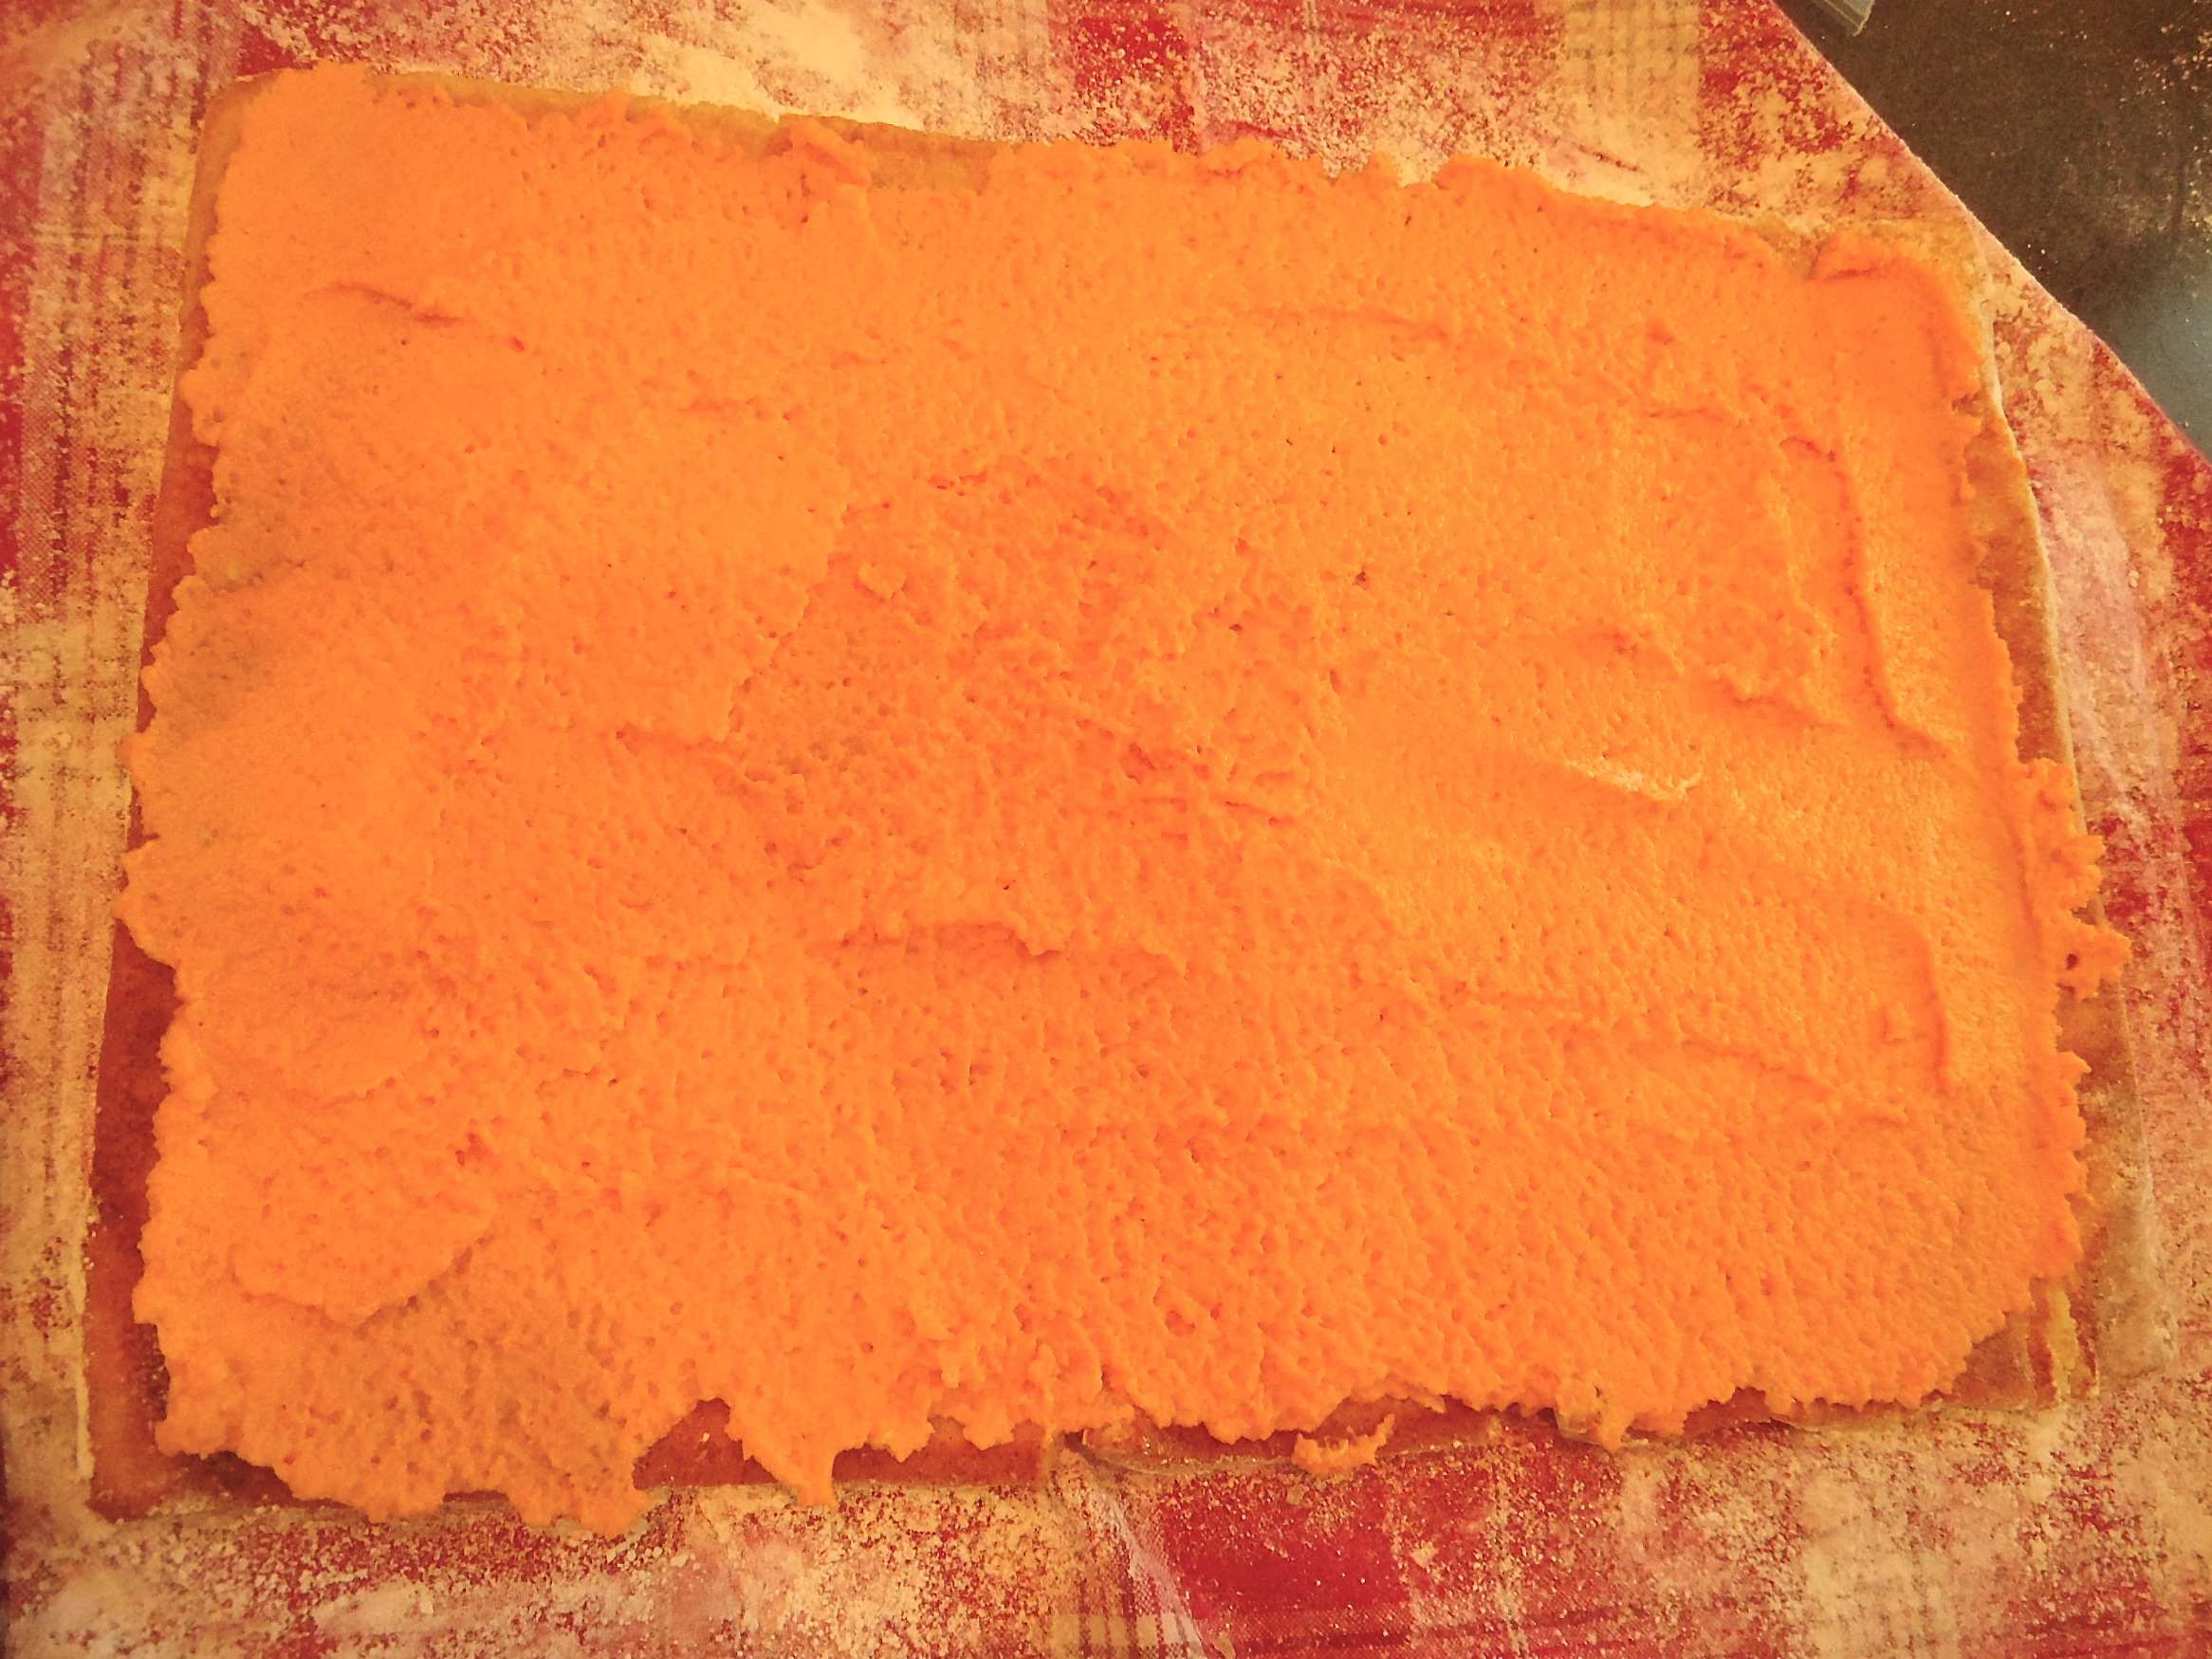
When you are ready to make your meltaways, roll out the dough one last time and spread on the filling. You can also create your own filling: cream cheese, raspberry, rhubarb, blueberry – whatever you like.

Here is the store-bought filling I used. It was actually quite good. I did add extra sliced almonds, though.

Here you can see I left a good 1/2 inch edge all around. Then I brushed on some water – it helps to keep the seam together once you roll it up.

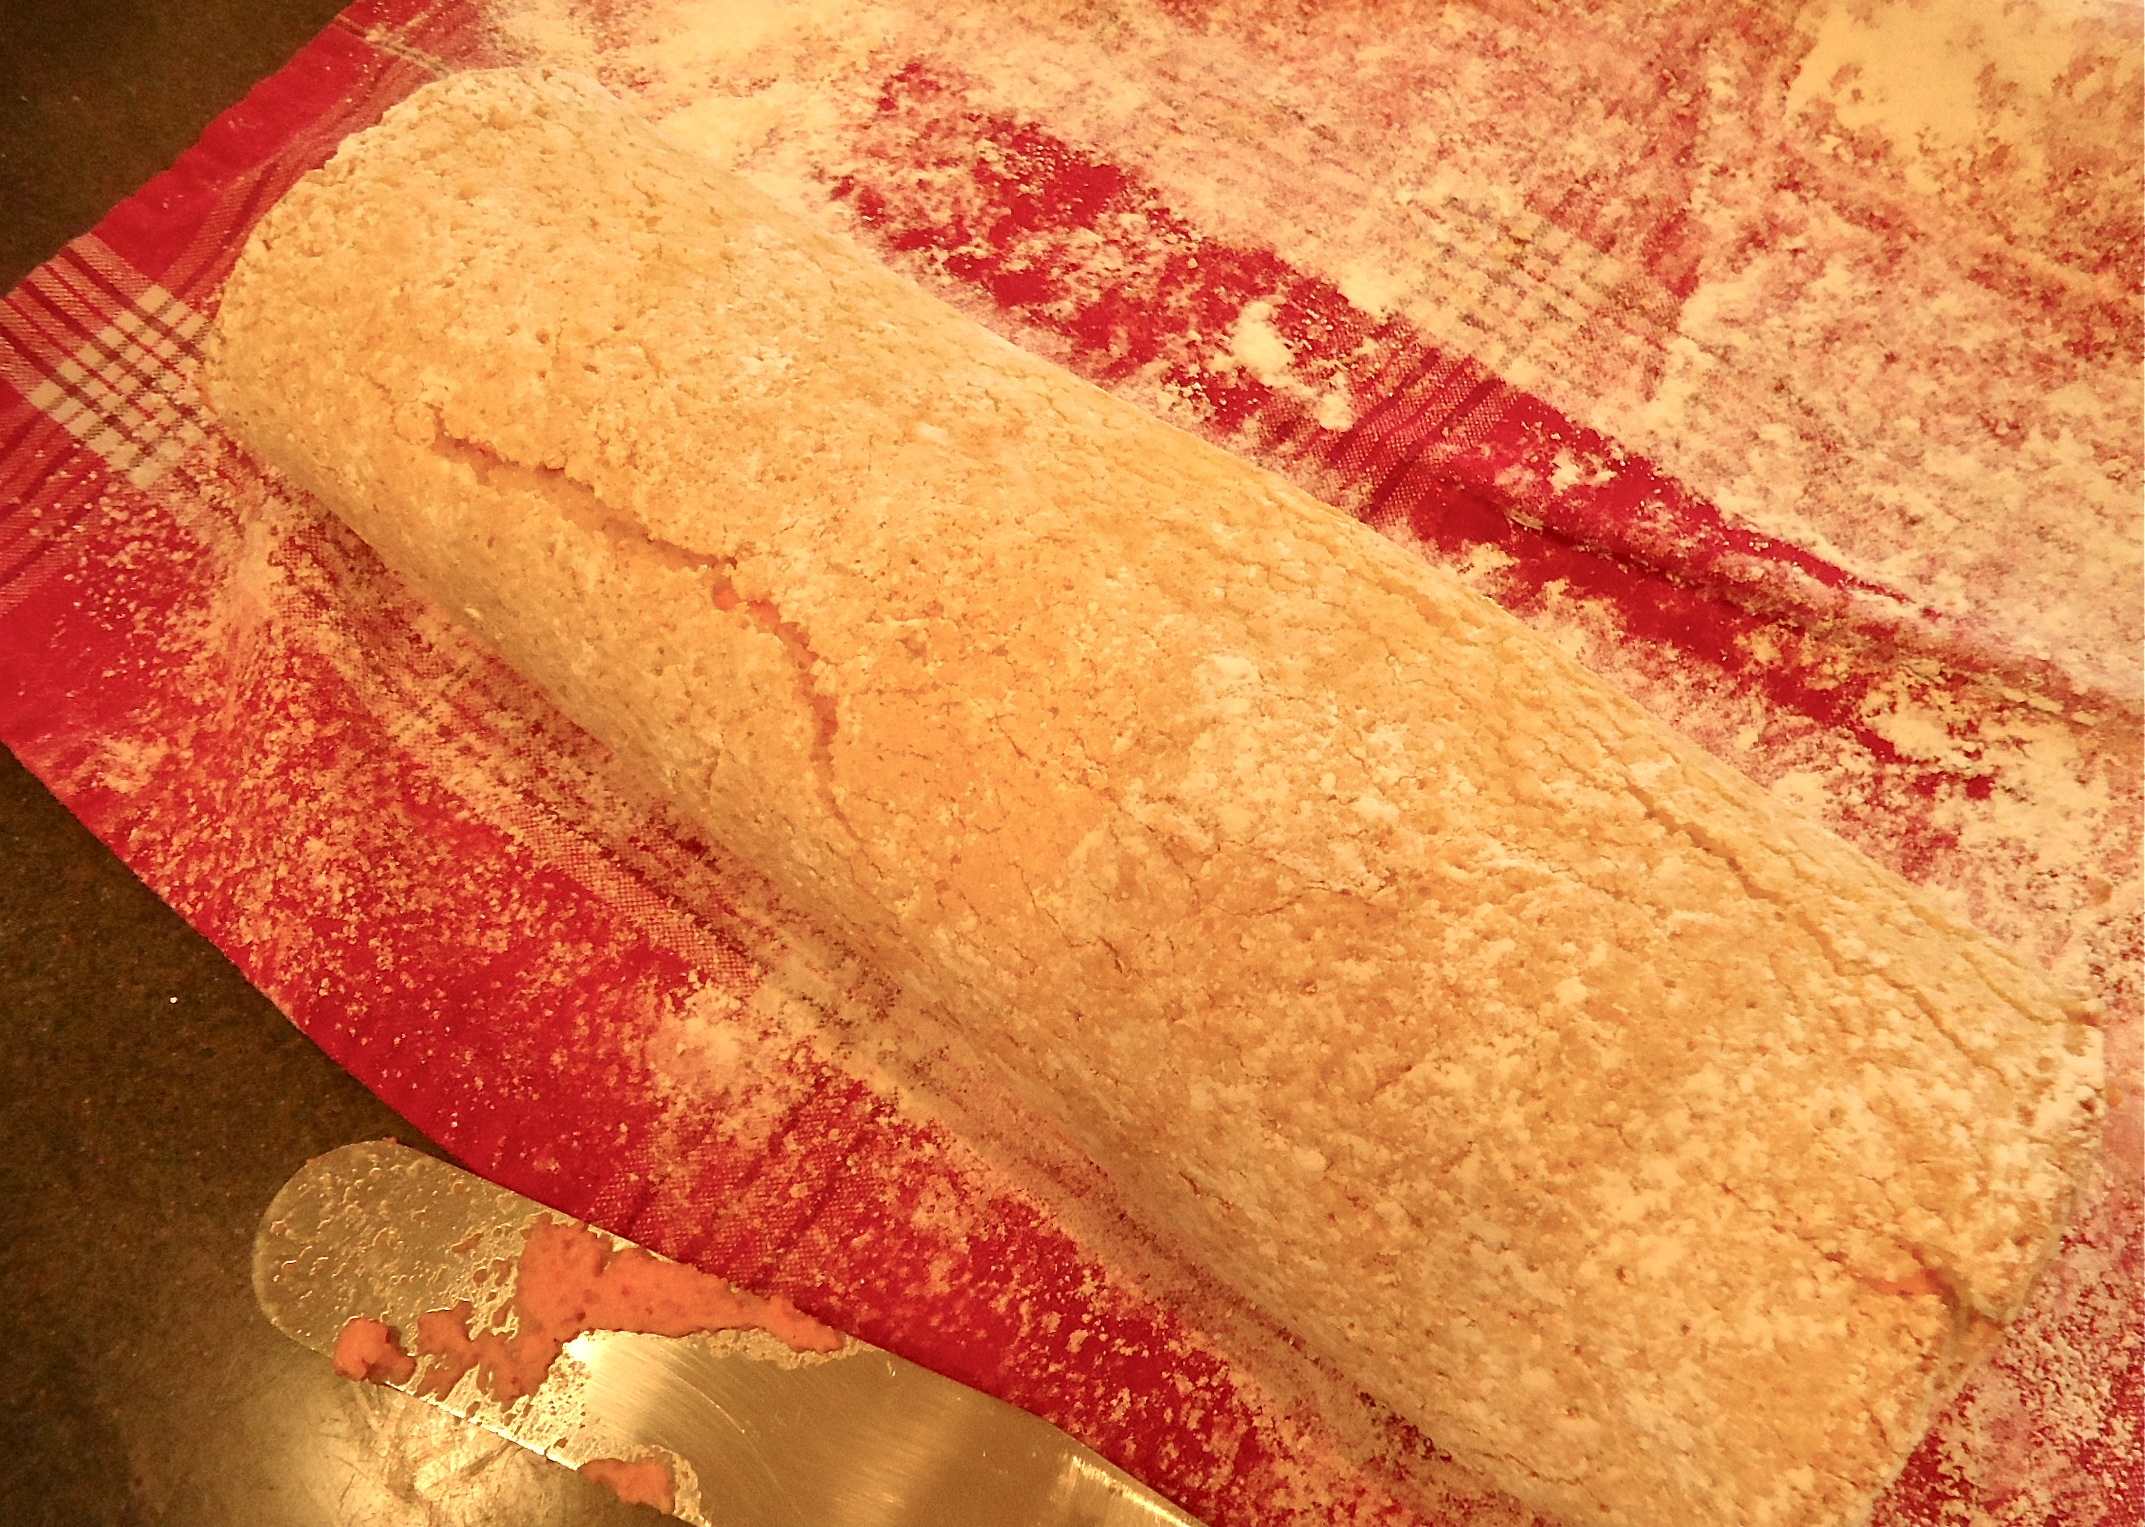
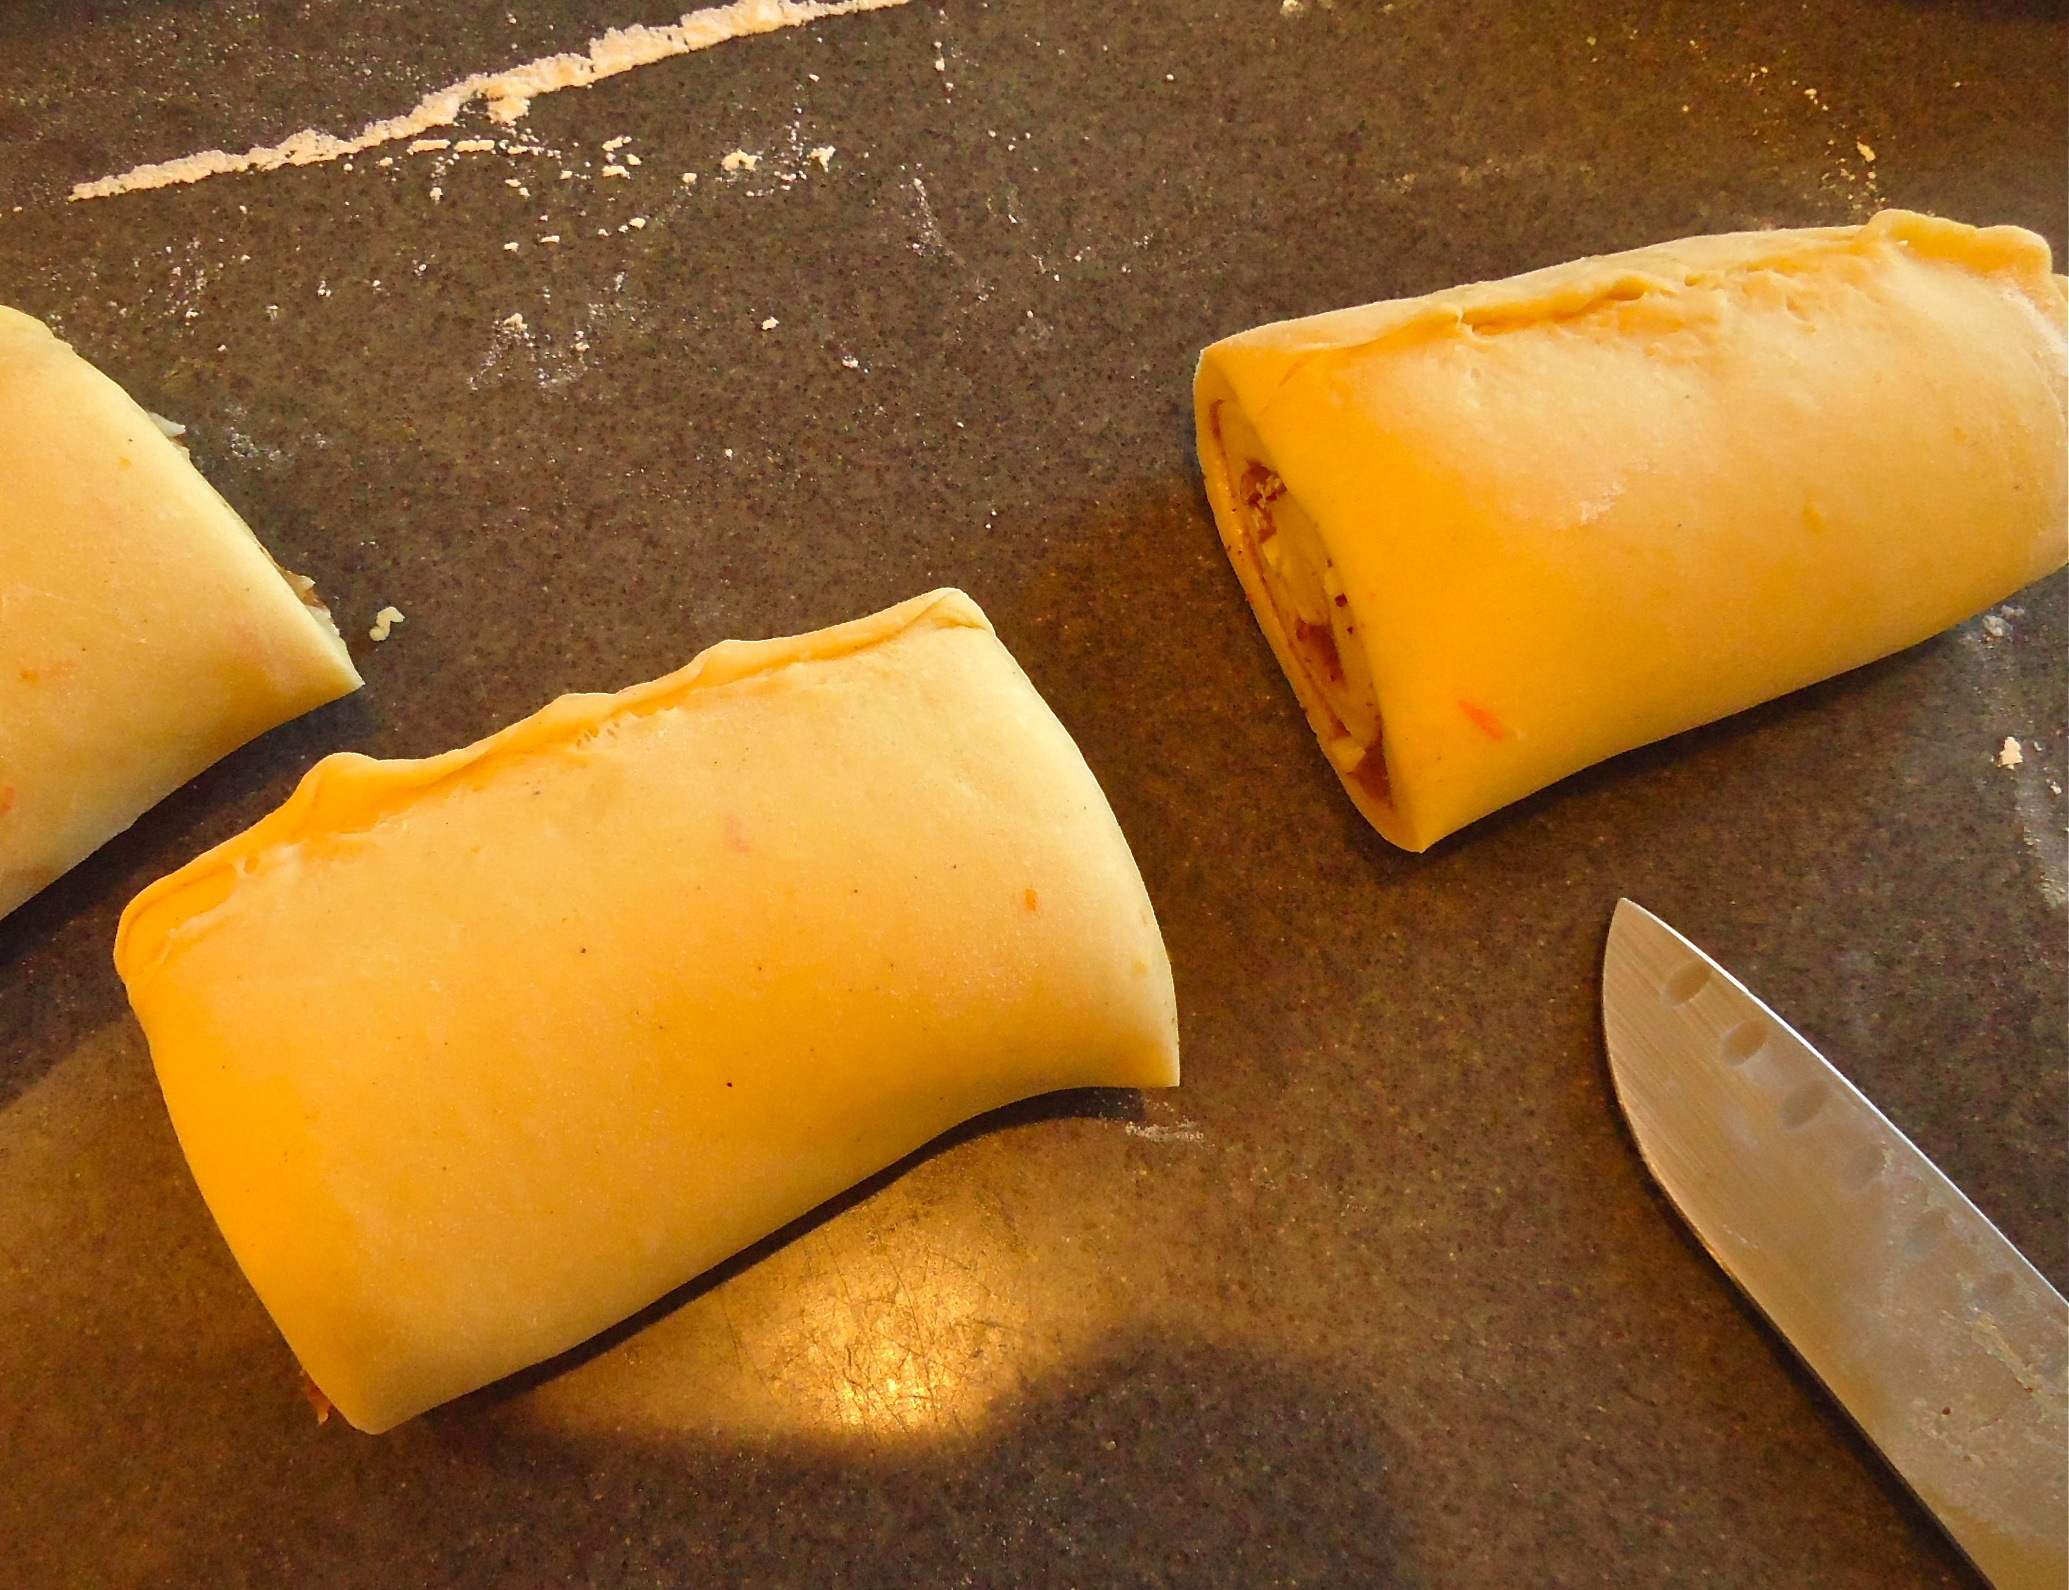
Roll up the dough jelly roll fashion. Then slice. I find slicing in half and then each part in half again after that, helps me create more evenly sized pieces. A sharp knife is key also!

Place the slices into prepared muffin tins. I sprinkled a few extra sliced almonds on each one of them as well.

Allow the meltaways to rise in a warm spot for at least 45 minutes and they will look like this!

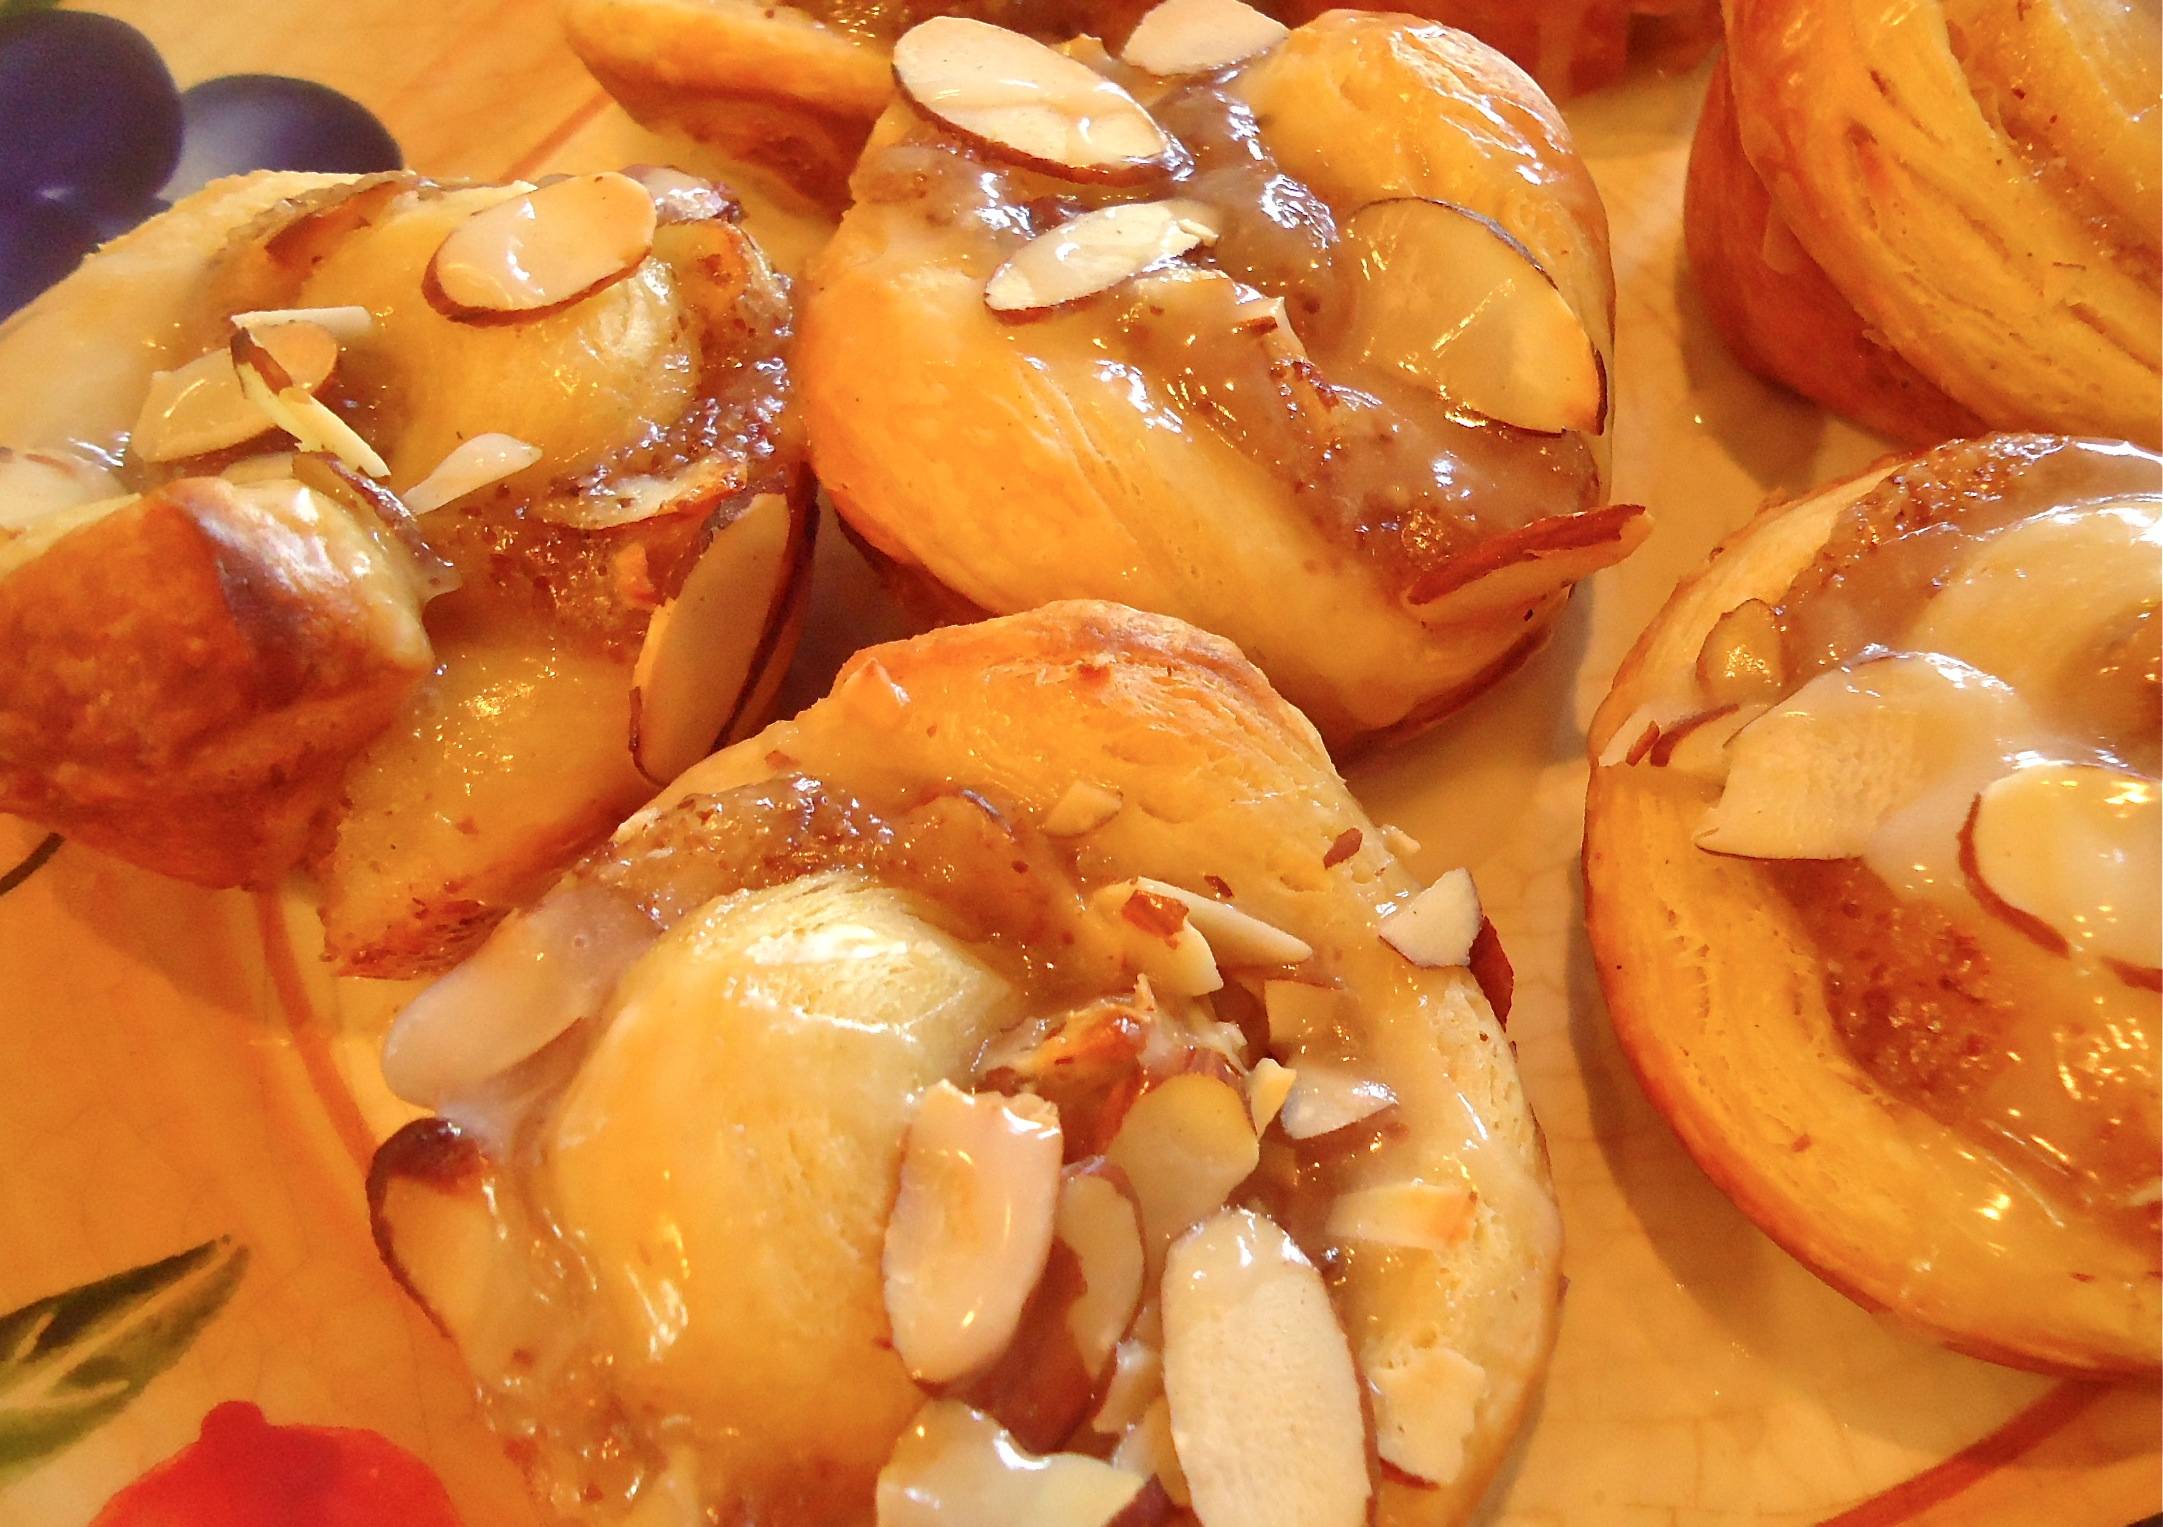
Fresh out of the oven! Allow to cool a few minutes but glaze while still slightly warm. Remove to a rack to cool completely.

Gooey almond meltaways! So good with a cup of coffee on a cold winter morning (or anytime – as my waistline attests!). There is some work involved, but are so worth it!
Meltaways (or how to break your New Year’s Resolution!)
- 1 tbl yeast
- 1/2 c. whole milk
- 1/3 c. sugar
- Zest of 1 orange
- ½ tsp ground cardamom
- 2 tsp vanilla extract
- 2 large eggs, chilled
- 1/4 c. fresh orange juice
- 3 1/4 c cup all purpose flour plus extra
- 1 tsp. salt
- 1/2 pound cold unsalted butter (bets quality)
- 1/4 cup all purpose flour
- Almond filling (1 can)
- 1/2 – 2/3 cup sliced almonds
- 1 cup confectioner’s sugar (more or less)
- 2 tbl. fresh lemon juice
- 1-2 tsp milk
Make the dough:
Combine yeast and milk in bowl of standing mixer fitted with paddle attachment. Mix on low speed. Slowly add the sugar, orange zest, cardamom, vanilla extract, eggs, and orange juice and mix well. Change to the dough hook. Combine the flour and salt and add 1 c. at a time, increasing the speed to medium as it is incorporated. Knead the dough for 5 minutes, or until smooth. Add a little more flour if it is sticky. Transfer the dough to a floured baking sheet. Cover with plastic wrap and place in fridge for 30 minutes.
Make the butter block:
Combine the butter and flour in the bowl of your mixer fitted with the paddle attachment. Cream on medium speed for 1 minute. Stop the mixer and scrape down the sides of the bowl and the paddle. Cream for 1 minute more, or until smooth and lump free. Set aside at room temperature.
When the dough has chilled for the 30 minutes, transfer it to a lightly floured work surface. Using a rolling pin, roll the dough out to a rectangle about 18 x 13-inches. The dough may be sticky. Keep dusting it with flour. Spread the butter evenly over the center and right thirds of the dough. Fold the left edge of the dough to the right, covering half of the butter block. Fold the right third of the rectangle over the center third. The first turn has now been completed. Place the dough on a baking sheet, wrap it in plastic wrap and place in fridge for 30 minutes.
After 30 minutes has passed, place the dough lengthwise on a floured board (work surface). The open ends should be to your right and left. Using a rolling pin, roll the dough into another 13 x 18 inch, 1/4-inch thick rectangle. Again, fold the left third of the rectangle over the center third and the right third over the center third. (No butter is placed on the dough this time). The second turn has now been made. Repeat this process 3 more times, allowing the dough to rest in the refrigerator for 30 minutes in between.
Refrigerate the dough after the final turn for at least 4 hours or overnight. The Danish dough is now ready to use*.
*If you are not going to use it within 24 hours, freeze it. Roll it out to 1-inch thick before freezing as this makes it much easier to defrost.
Put together the Meltaways:
Butter or oil 2 muffin tins. Roll the Danish dough into 18 x 13-inch rectangle. (If the dough seems very elastic and springs back when you roll it, let it rest for 5 minutes, then roll again.)
Spread filling evenly over the dough, leaving about 1/4 inch edges all around void of filling. And sprinkle with ½ cup of sliced almonds. Dampen the edges with water.
Starting at the long edge closest to you, begin to roll up the rectangle, like a jelly roll. Roll tightly at first, then ease up and push the dough into a log. Pinch the edge.
Using a metal bench scraper or sharp knife cut the roll in half and then each piece in half to get approx. ½ inch slices. Place in muffin tins and top with a few additional sliced almonds if you like. Cover loosely with plastic wrap and let proof at room temp for at 45-60 minutes.
Preheat oven to 400F. Place a rack in the center of oven. Bake for about 12-14 minutes. Don’t over bake. Makes 2 dozen meltaways.
Remove from the oven and allow to cool in the pan a few minutes. In a small bowl mix the confectioner’s sugar and the lemon juice. Stir in 1 teaspoon milk to make a thin glaze. Use 1 teaspoon more milk if it is too thick for your liking. Drizzle the glaze on each meltaway and allow to cool a few more minutes in the pan before placing on a rack to cool completely. I find these do not need much glaze and you’ll probably have some glaze leftover.