Figs! Yes, I finally hit the fig lottery recently when my family visited upstate South Carolina and the Happy Berry Farm in Six Mile. If you read southbyse.com with any regularity you may know that I have been on the hunt for bountiful fresh figs – the figs of my youth – for a couple of years now.
Even when I was sequestered in northern Alabama (where there’s a farm at every other mile marker) for 18 long months, I had a tough time finding enough local figs to make my beloved fig preserves. So this year I campaigned since May for a long weekend at summer’s end to be spent at my family’s cabin in Oconee County, SC and ‘googled my way across the internets’ to find the Happy Berry.
I checked their online crop reports regularly, relieved to see that their figs would just be coming to harvest the weekend of our trip. They also had a good stand of both blueberries and black berries plus a surprise – table grapes! The abundant rain that has soaked the South slowed the ripening of pretty much everything at the farm. Alas, we arrived during what in past years may have been the end of the season, this year good fortune plopped us smack dab in the middle.

The Happy Berry in Six Mile, SC. They sure made me happy!
With buckets in hand, off we went blueberry picking, which was slower than I expected and while there were some blackberries we could try and find, the hot August sun and rising humidity veered us back toward the ‘old tenant house’. Next we began our search for figs, and after scouring the trees, plucking a few pounds. Altogether our haul was about 2 pints of blueberries, 6 pints of blackberries and about 5 pounds of figs. With our cooler full we had to pass on the table grapes, but now that we know – we’ll be back with two coolers next year!
Not many folks outside the south are familiar with whole preserved figs. This is a real shame. Cooked simply into a thick, honey-like syrup, fig preserves are delicious on hot biscuits on a cold morning. Not to mention toast, English muffins and waffles. The syrup is a wonderful mix-in for salad dressings and marinades – you will keep even the most perceptive foodie guessing with exactly what is that ‘secret ingredient’.
Pureed fig preserves are a wonderful mix in to muffins and coffee cakes too – think ‘streusel’. In the fall, I like to serve rough chopped fig preserves with some sharp or tangy cheese, a few pecans or walnuts and voilà a quick, creative appetizer that goes nicely with a glass of red.
I think fig preserves and figs in general are right up there with okra and beets as under-appreciated foods. My parents had three strong-producing fig trees in their yard (along with pecan, black walnut and kieffer pear trees) that have sadly gone the way of the dodo. My memories of expectantly watching the fruit grow, then arduously waiting (for an 8 or 9 year old!) for ripening, and then finally helping my mother preserve jar upon jar, are as thick, warm and precious as the fig preserve syrup ladled onto a hot ‘cat head’ biscuit. I hope the feelings those memories evoke never leaves me.

The lemon slices in fig preserves are a real treat too – we would fight over them at my house.

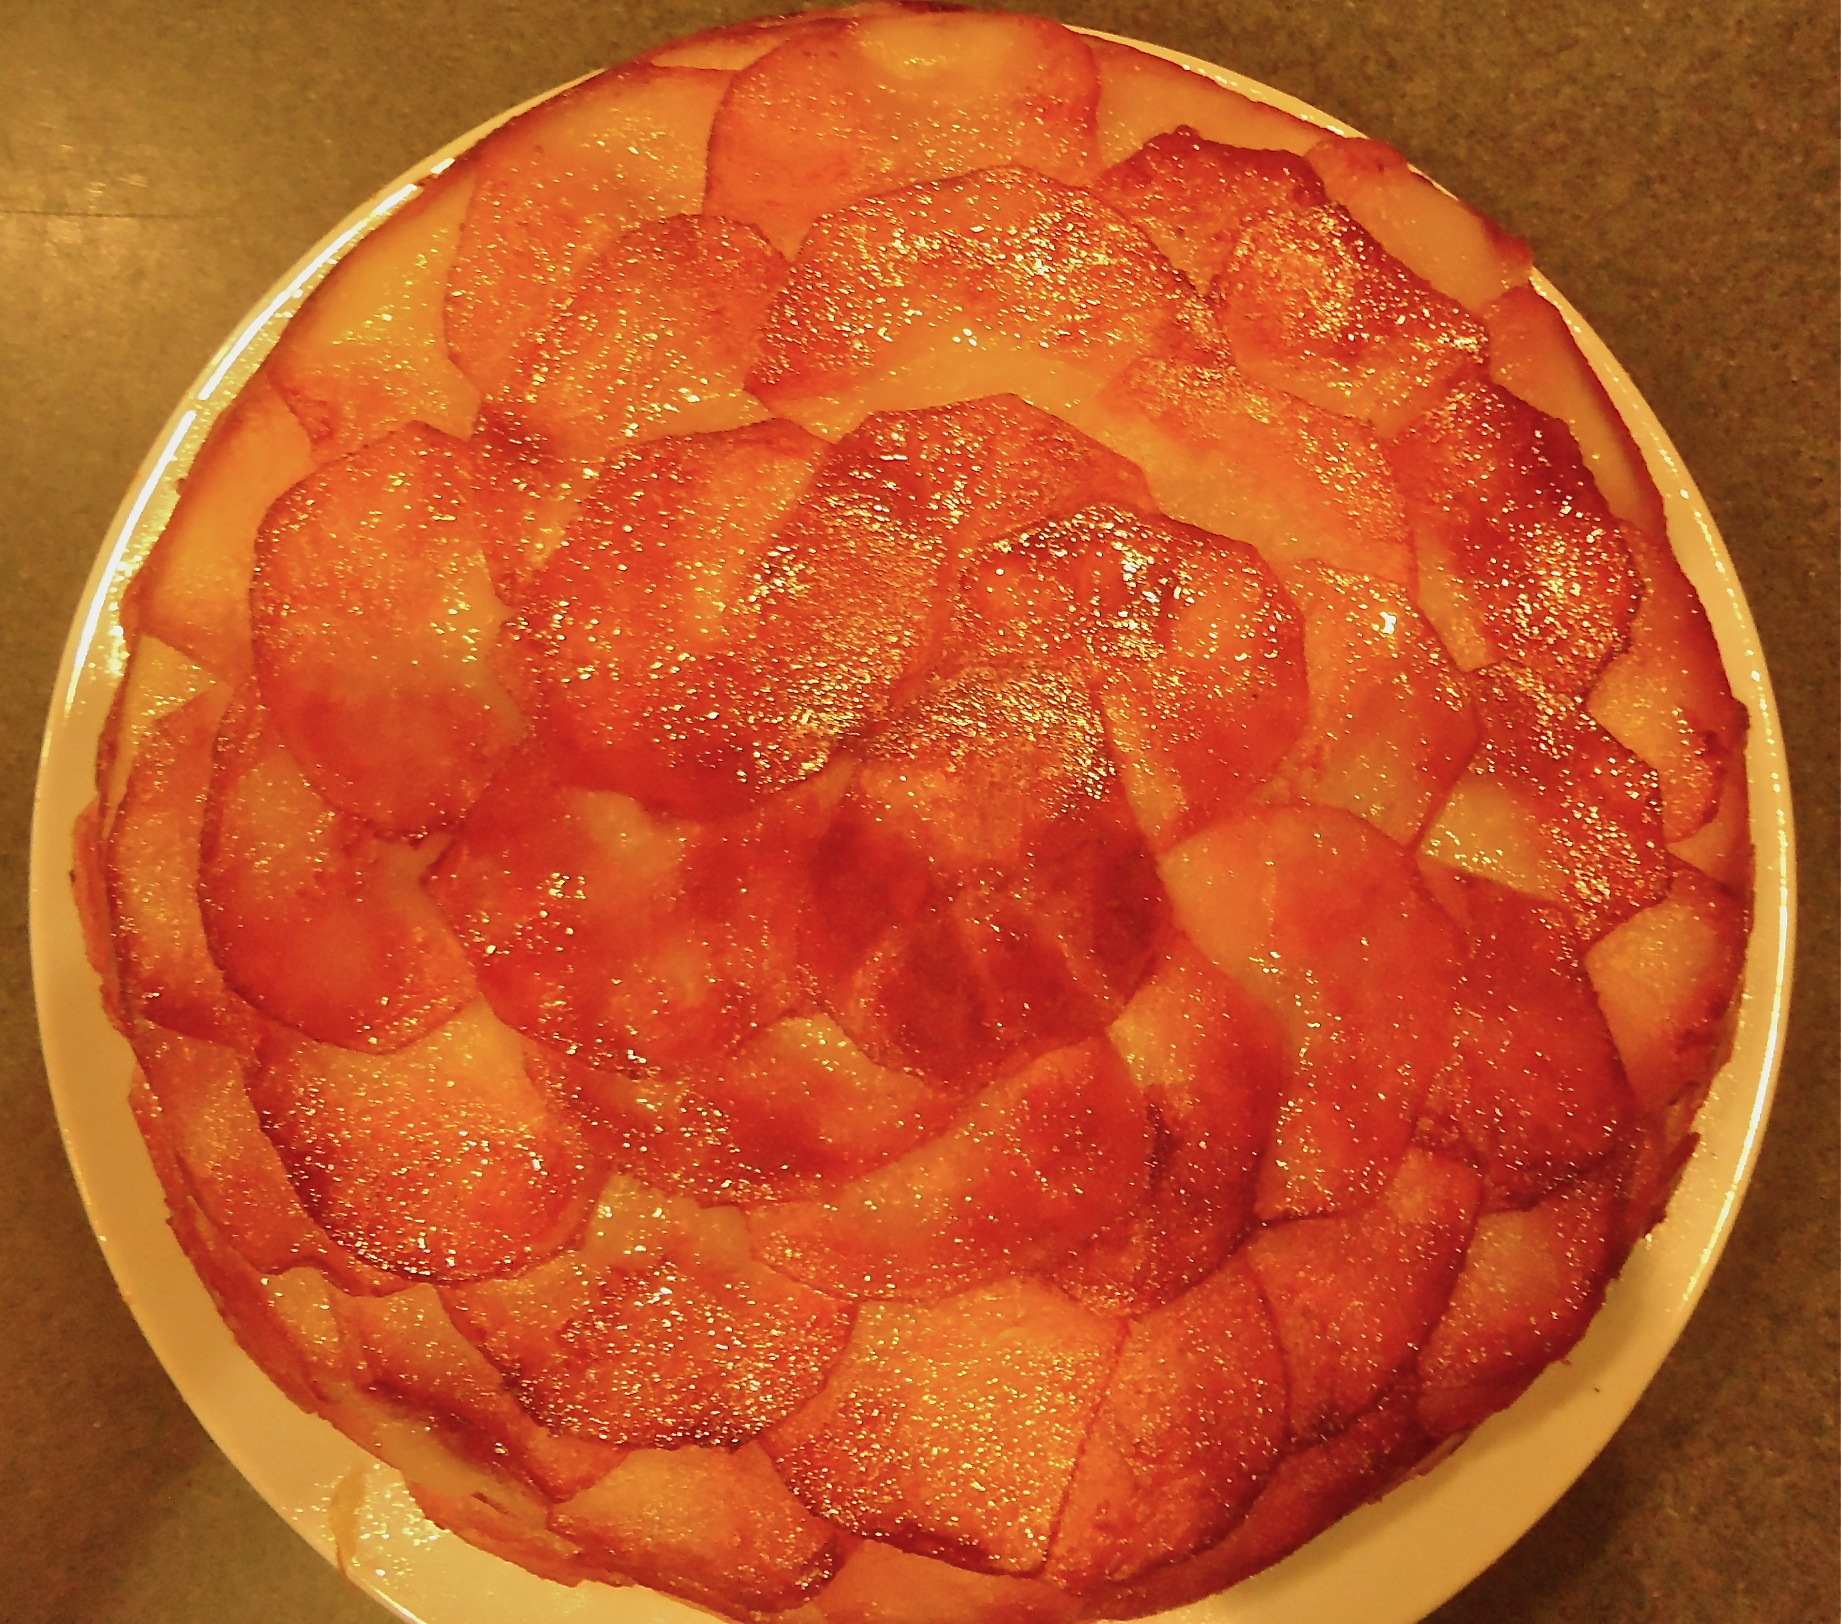
Fresh figs picked by yours truly. This was after spending a day in a cooler and traveling back to Beaufort. Ripe figs will ‘crack’ a bit like you see here – it means they are yummy!

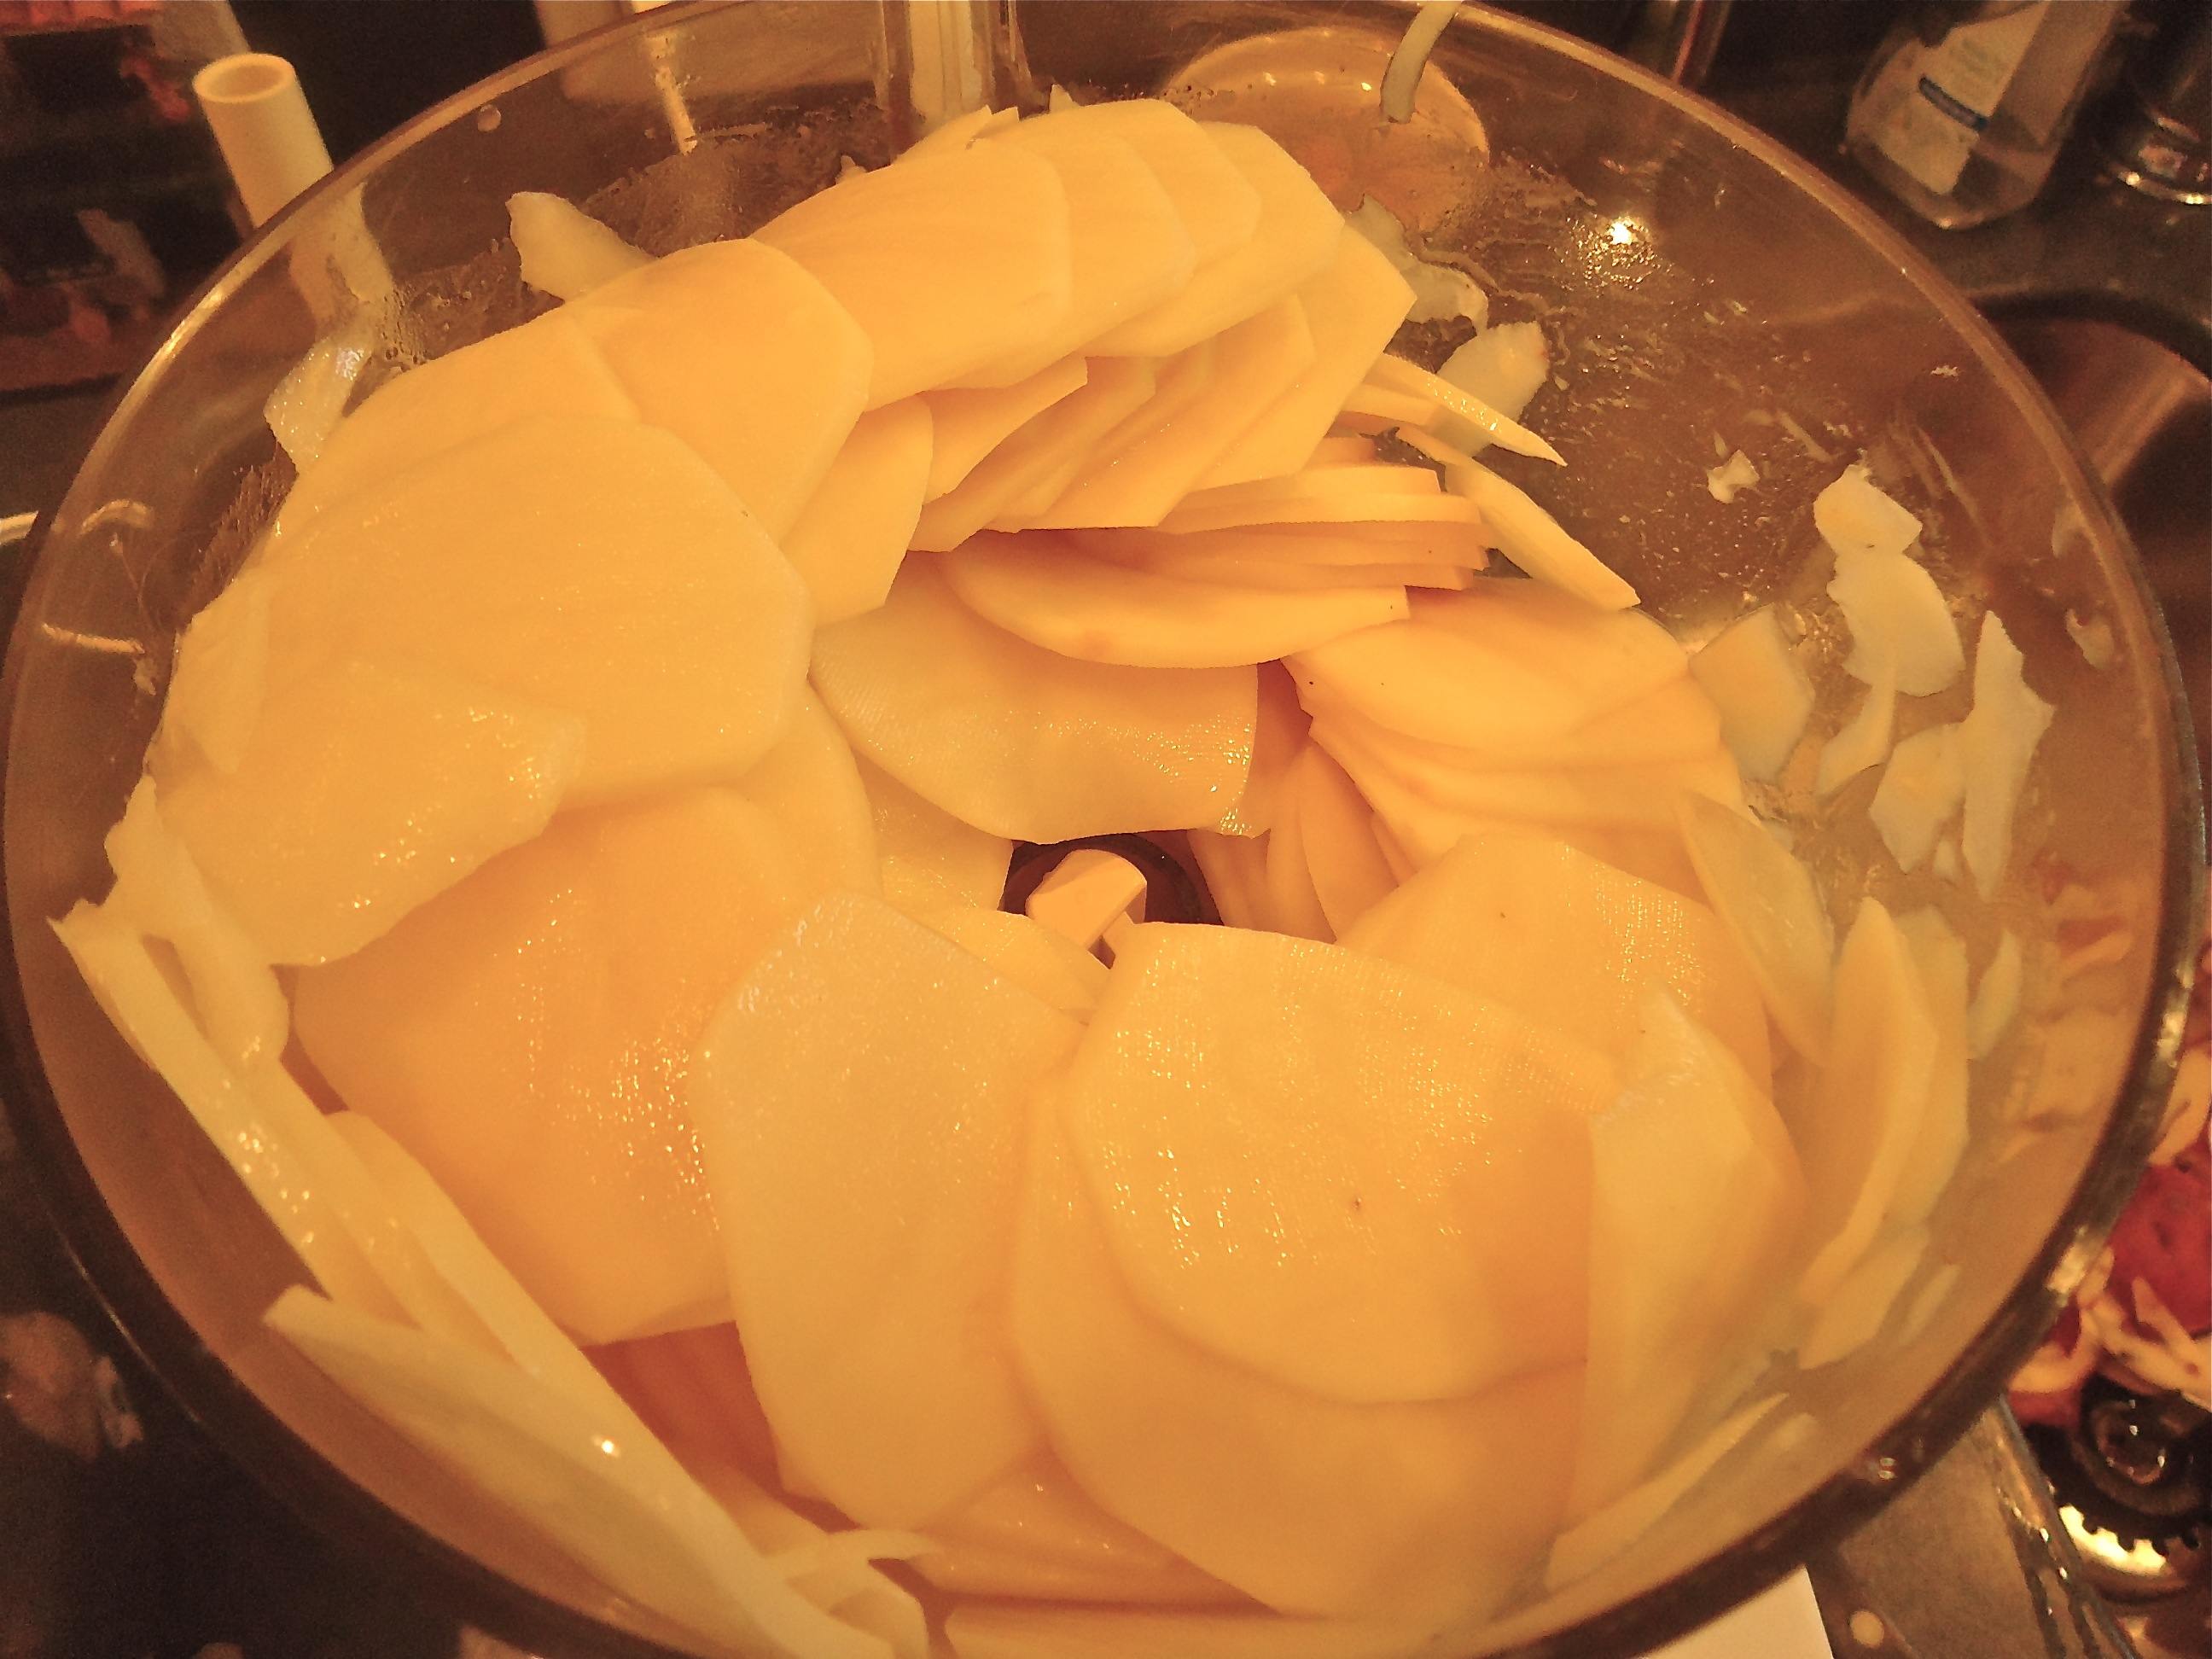
Remove the green stems from the figs and wash them off before tossing -gently -into the pot with the lemons, water and sugar.

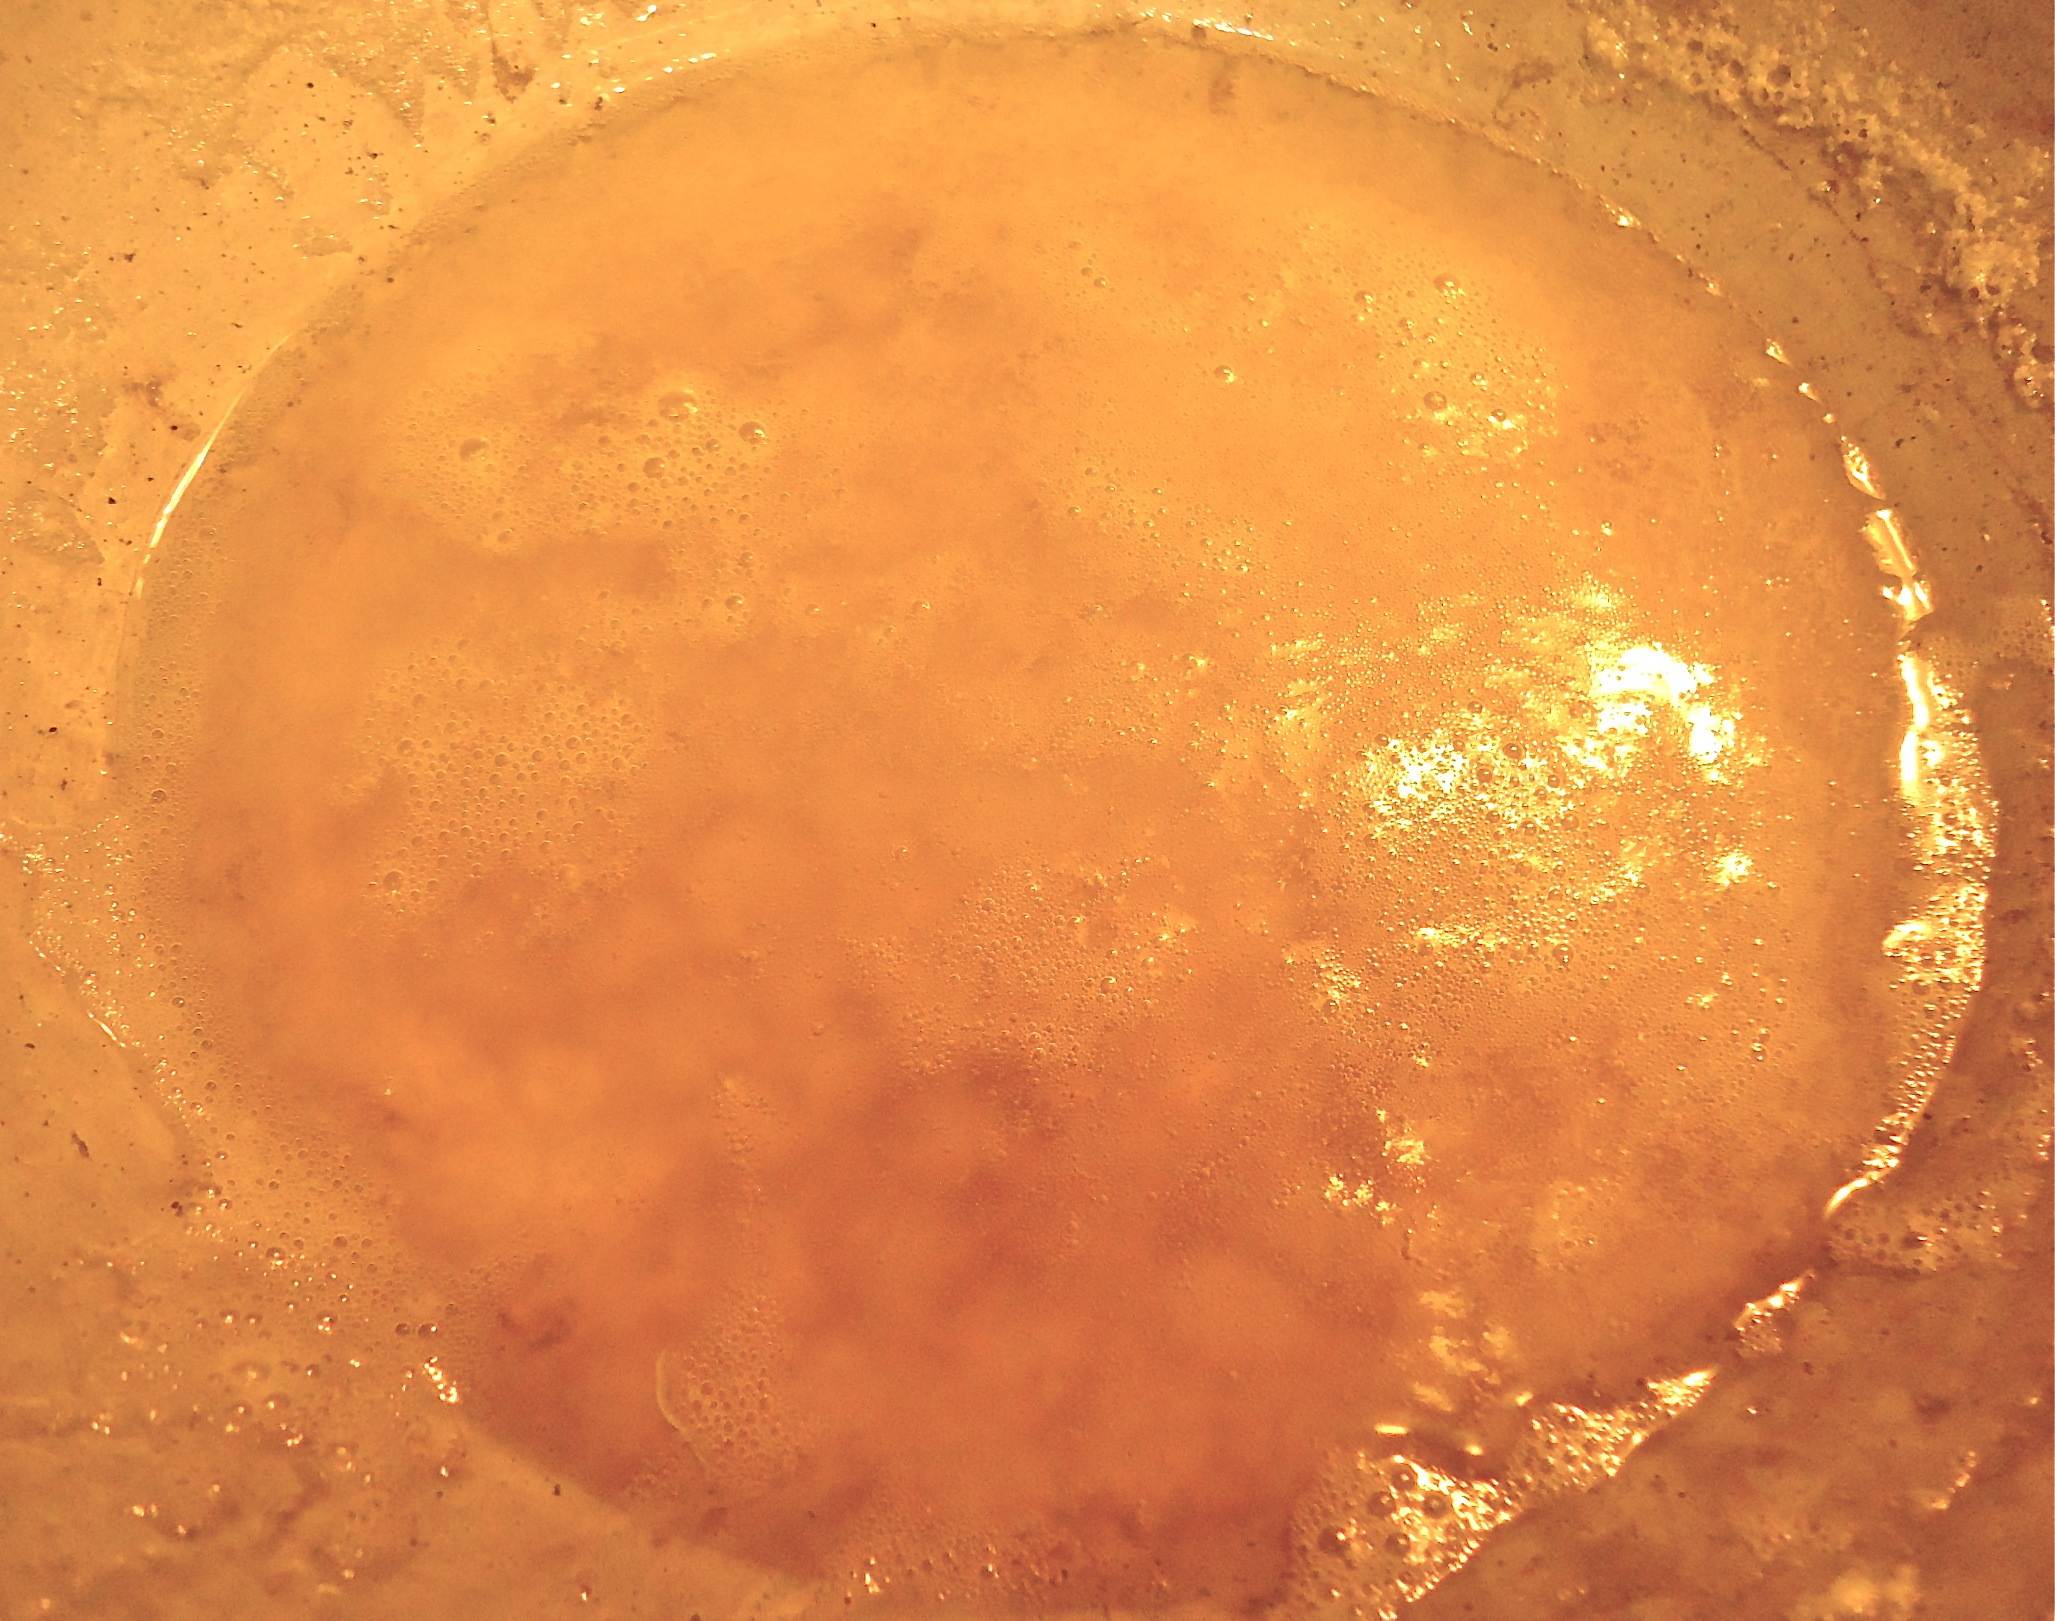
After almost 2 hours of simmering and occasional stirring.

After 3 hours, the figs have turned a darker color. You can ladle off any foam if you want or leave it.

Have all jars, lids and rings washed and sanitized (I hold prewashed jars and lids in a pot of simmering hot water). This is my typical setup – love the wide mouth funnel. Helps reduce the messiness, a little anyway!

The jarred preserves. This batch made 6 pint jars.
a
Fig Preserves
- 8 cups whole fresh figs, washed and green stems removed
- 4 cups sugar
- 4—5 whole lemons sliced, seeds removed
- 2 cups of water
- 1/4 tsp salt
- whole cloves – optional*
In a very large pot mix the sugar, water and salt. Stir in the figs and lemons. Mix gently but thoroughly as the pot slowly heats. Bring the mixture up to a low boil and continue to stir occasionally. This can take 30 minutes. Allow to boil gently for 4-5 minutes.
Turn heat down to a simmer. Continue to cook for 2 to 2 ½ more hours, stirring regularly. Adjust heat as needed to keep a low simmer but not burn the preserves. Prepare jars, lids and rings by washing, rinsing and placing I a hot water bath, boiling them for several minutes and keeping them hot. When the fig preserve syrup is thick it is time to can the preserves.
Fill a few jars at a time, 2 or 3, leaving 1 ¼ inch space at the top of the jar. Be sure to include at least 2 slices of lemon in each jar. Wipe mouth of jars after filled, so that there is no syrup or preserves to interfere with the lid sealing. I like to add a few whole cloves to my preserves – 3 or 4 – because I love cloves, but this is optional. Top each jar with a lid and secure with a ring.
As I’ve stated in the past you can return the jars to a hot water bath and boil for 7-8 minutes. However, if your preserves are hot when you filled your jars and your jars are hot (and have been sanitized) they should seal after filling, and there is no need to use a boiling hot water bath. All jars should seal within 1 hour of canning – you should hear a “pop” and the top of the lid will be slightly indented down. If not, then place in a boiling hot water bath.