
I read somewhere recently that this spring is “bursting with story angles;” the opening of baseball season and PGA TOUR golf (including our own fabulous RBC Heritage on Hilton Head); Earth Day, Passover and of course, Easter just to mention a few (I’m leaving out tax day folks!). Growing up in my parent’s southern home, Easter was all about tradition, starting with choosing just the right outfit for Sunday services, bringing the Easter baskets out of storage, coloring eggs and “being good” so the Easter bunny would look favorably upon me with a BIG chocolate bunny (hopefully bigger than my younger brother’s!).
And no doubt it was about the food we would eat at that big Southern Sunday dinner: baked ham, scalloped potatoes, deviled eggs, green beans, fresh asparagus, homemade rolls and a seemingly light but rich dessert like strawberry shortcake, lemon pie or maybe a baked-from-scratch poundcake with local berries and whipped cream. Little did I realize that our household was in fact being ‘green’ to a certain extent – reusing the same Easter baskets (made out of wicker or wood) year after year, picking strawberries for our dessert at the local berry farm, and coloring eggs gathered by my Aunt Janice at her family farm. All those customs that at the time seemed very old-fashioned are by all accounts “cool” these days. It’s good – and hip – to be green!
If you’re doubting me on incorporating a greener Easter here are some tips I found. I’m hopping, errrr… hoping to try out some natural derived red, purples, pinks and greens for our eggs this year.
- Buy farm raised eggs: If you are buying eggs, look for farm-raised eggs. This means that the chickens were not living in boxes or crates plus you’re supporting local farmers. If they’re organic then all the better.
- Make your own Easter egg dye: If you choose to dye eggs this Easter, consider making your own and giving your kids (and yourself) a fun learning experience. Here are some examples of ingredients: Beets & Cranberries for Pink, Red Cabbage or Blueberries for Blue, Red Onion Skins for Red, Yellow Onion Skins for Orange, Grape Juice for Lavender, Orange or Lemon Peels for Yellow, Spinach for Green, and Coffee for Brown. Boil the eggs and any of the mentioned ingredients for color with a teaspoon of vinegar for 15 minutes…and voilà you have beautifully dyed Easter eggs!
- Don’t buy cheap plastic Easter baskets: If you don’t already have Easter baskets, consider buying a nice well-made basket of wood or other sustainable material that can be used year after year.
- Use real grass clippings or recycled paper in baskets: If you are making Easter baskets this year, don’t buy the plastic grass, consider using real grass or find some old magazines (funny pages or old tissue paper works great!) & cut up the pages to be used as a colorful filling.
- Buy fair trade and organic candy: To fill those baskets, choose fair trade and/or organic candy! That way you are supporting fair working conditions and keeping pesticides away from your loved ones. If it is locally produced then all the better!
Traditionally, my Southern Easter dinner includes scalloped potatoes, which are by all accounts richly holiday-worthy indeed. However, if you’d like to mix it up a bit, try Potatoes Anna, similar to scalloped potatoes minus the cream and cheese. Potatoes Anna certainly makes an impressive presentation either on a large platter, as I show in today’s post, or as individual servings that can be created by using small ramekins. The top tips for cooking this dish and having it come out perfectly are:
- use the most uniform slices for the bottom layer (which will be the top) arranging them as perfectly as possible
- use good quality butter (to make the clarified butter) or organic Ghee
- use a well-seasoned cast iron skillet (or a heavy duty, oven proof non-stick fry pan)
Will the uses for the cast iron skillet never cease? I think not!

To clarify the butter, melt it in a heavy saucepan. You will see foam rise to the top.

Skim off the foam with a spoon.
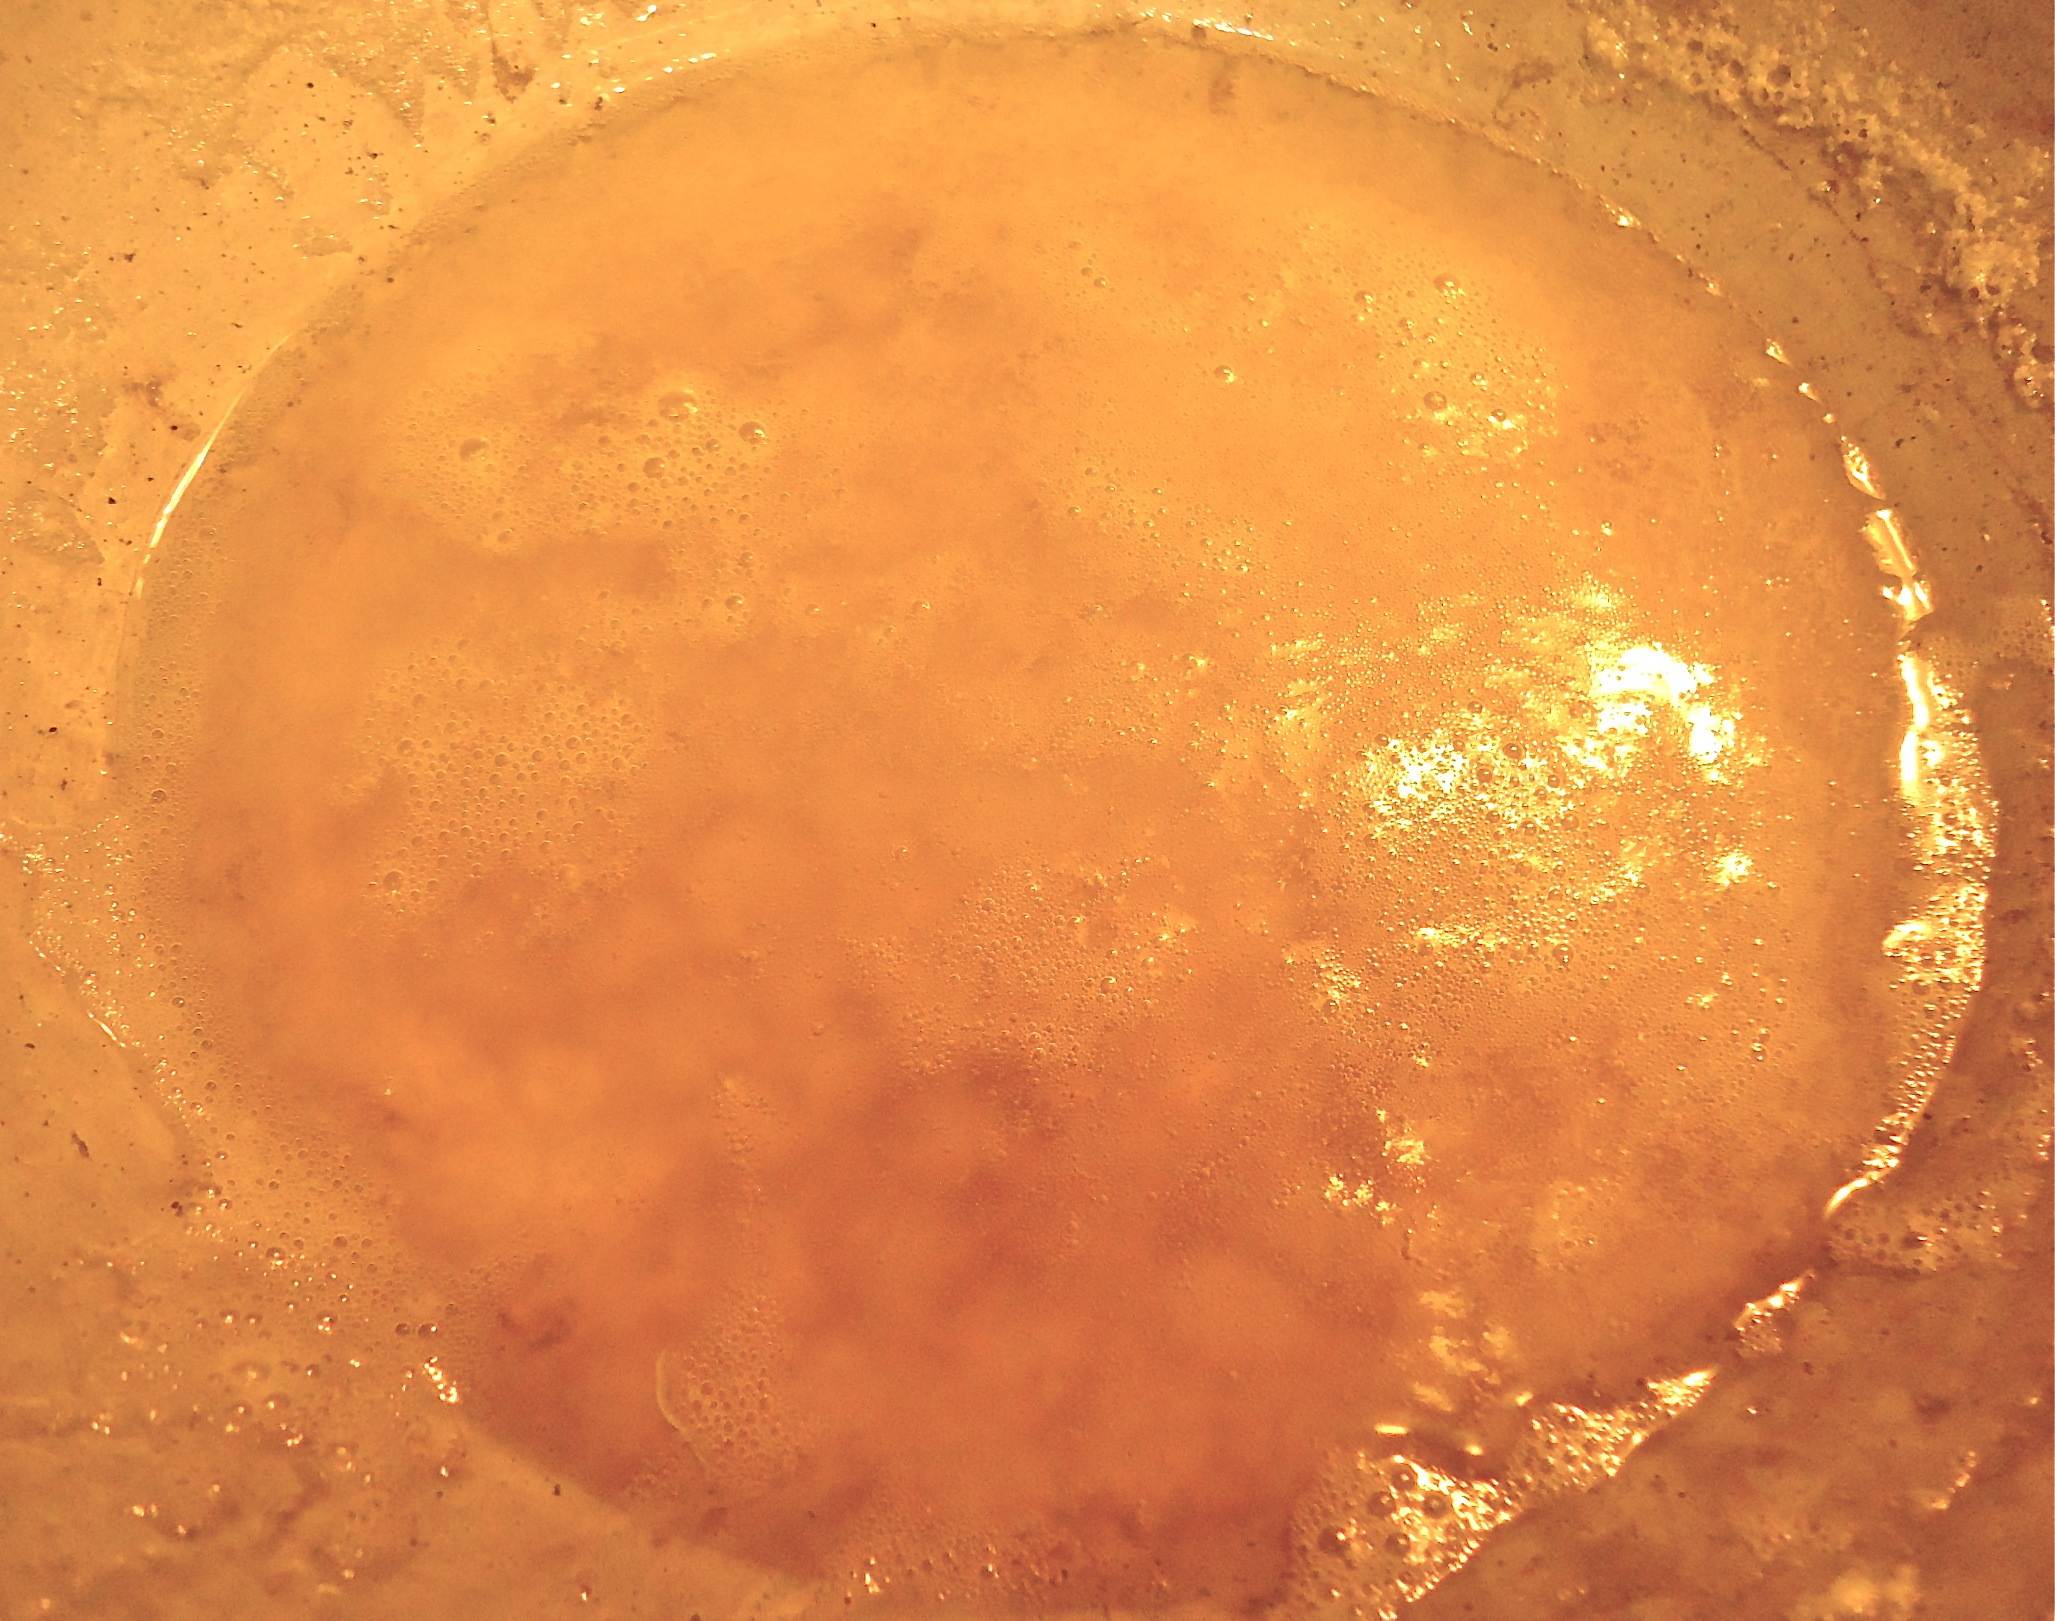
What you are left with is clarified butter. It has much high smoke point that regular butter so it browns and crisps food nicely without as much chance of burning.

It makes life easier if your potatoes are all about the same size.

The “ingredients” – I consider the cast iron skillet an ingredient in Potatoes Anna as it is very important in getting a perfect result.
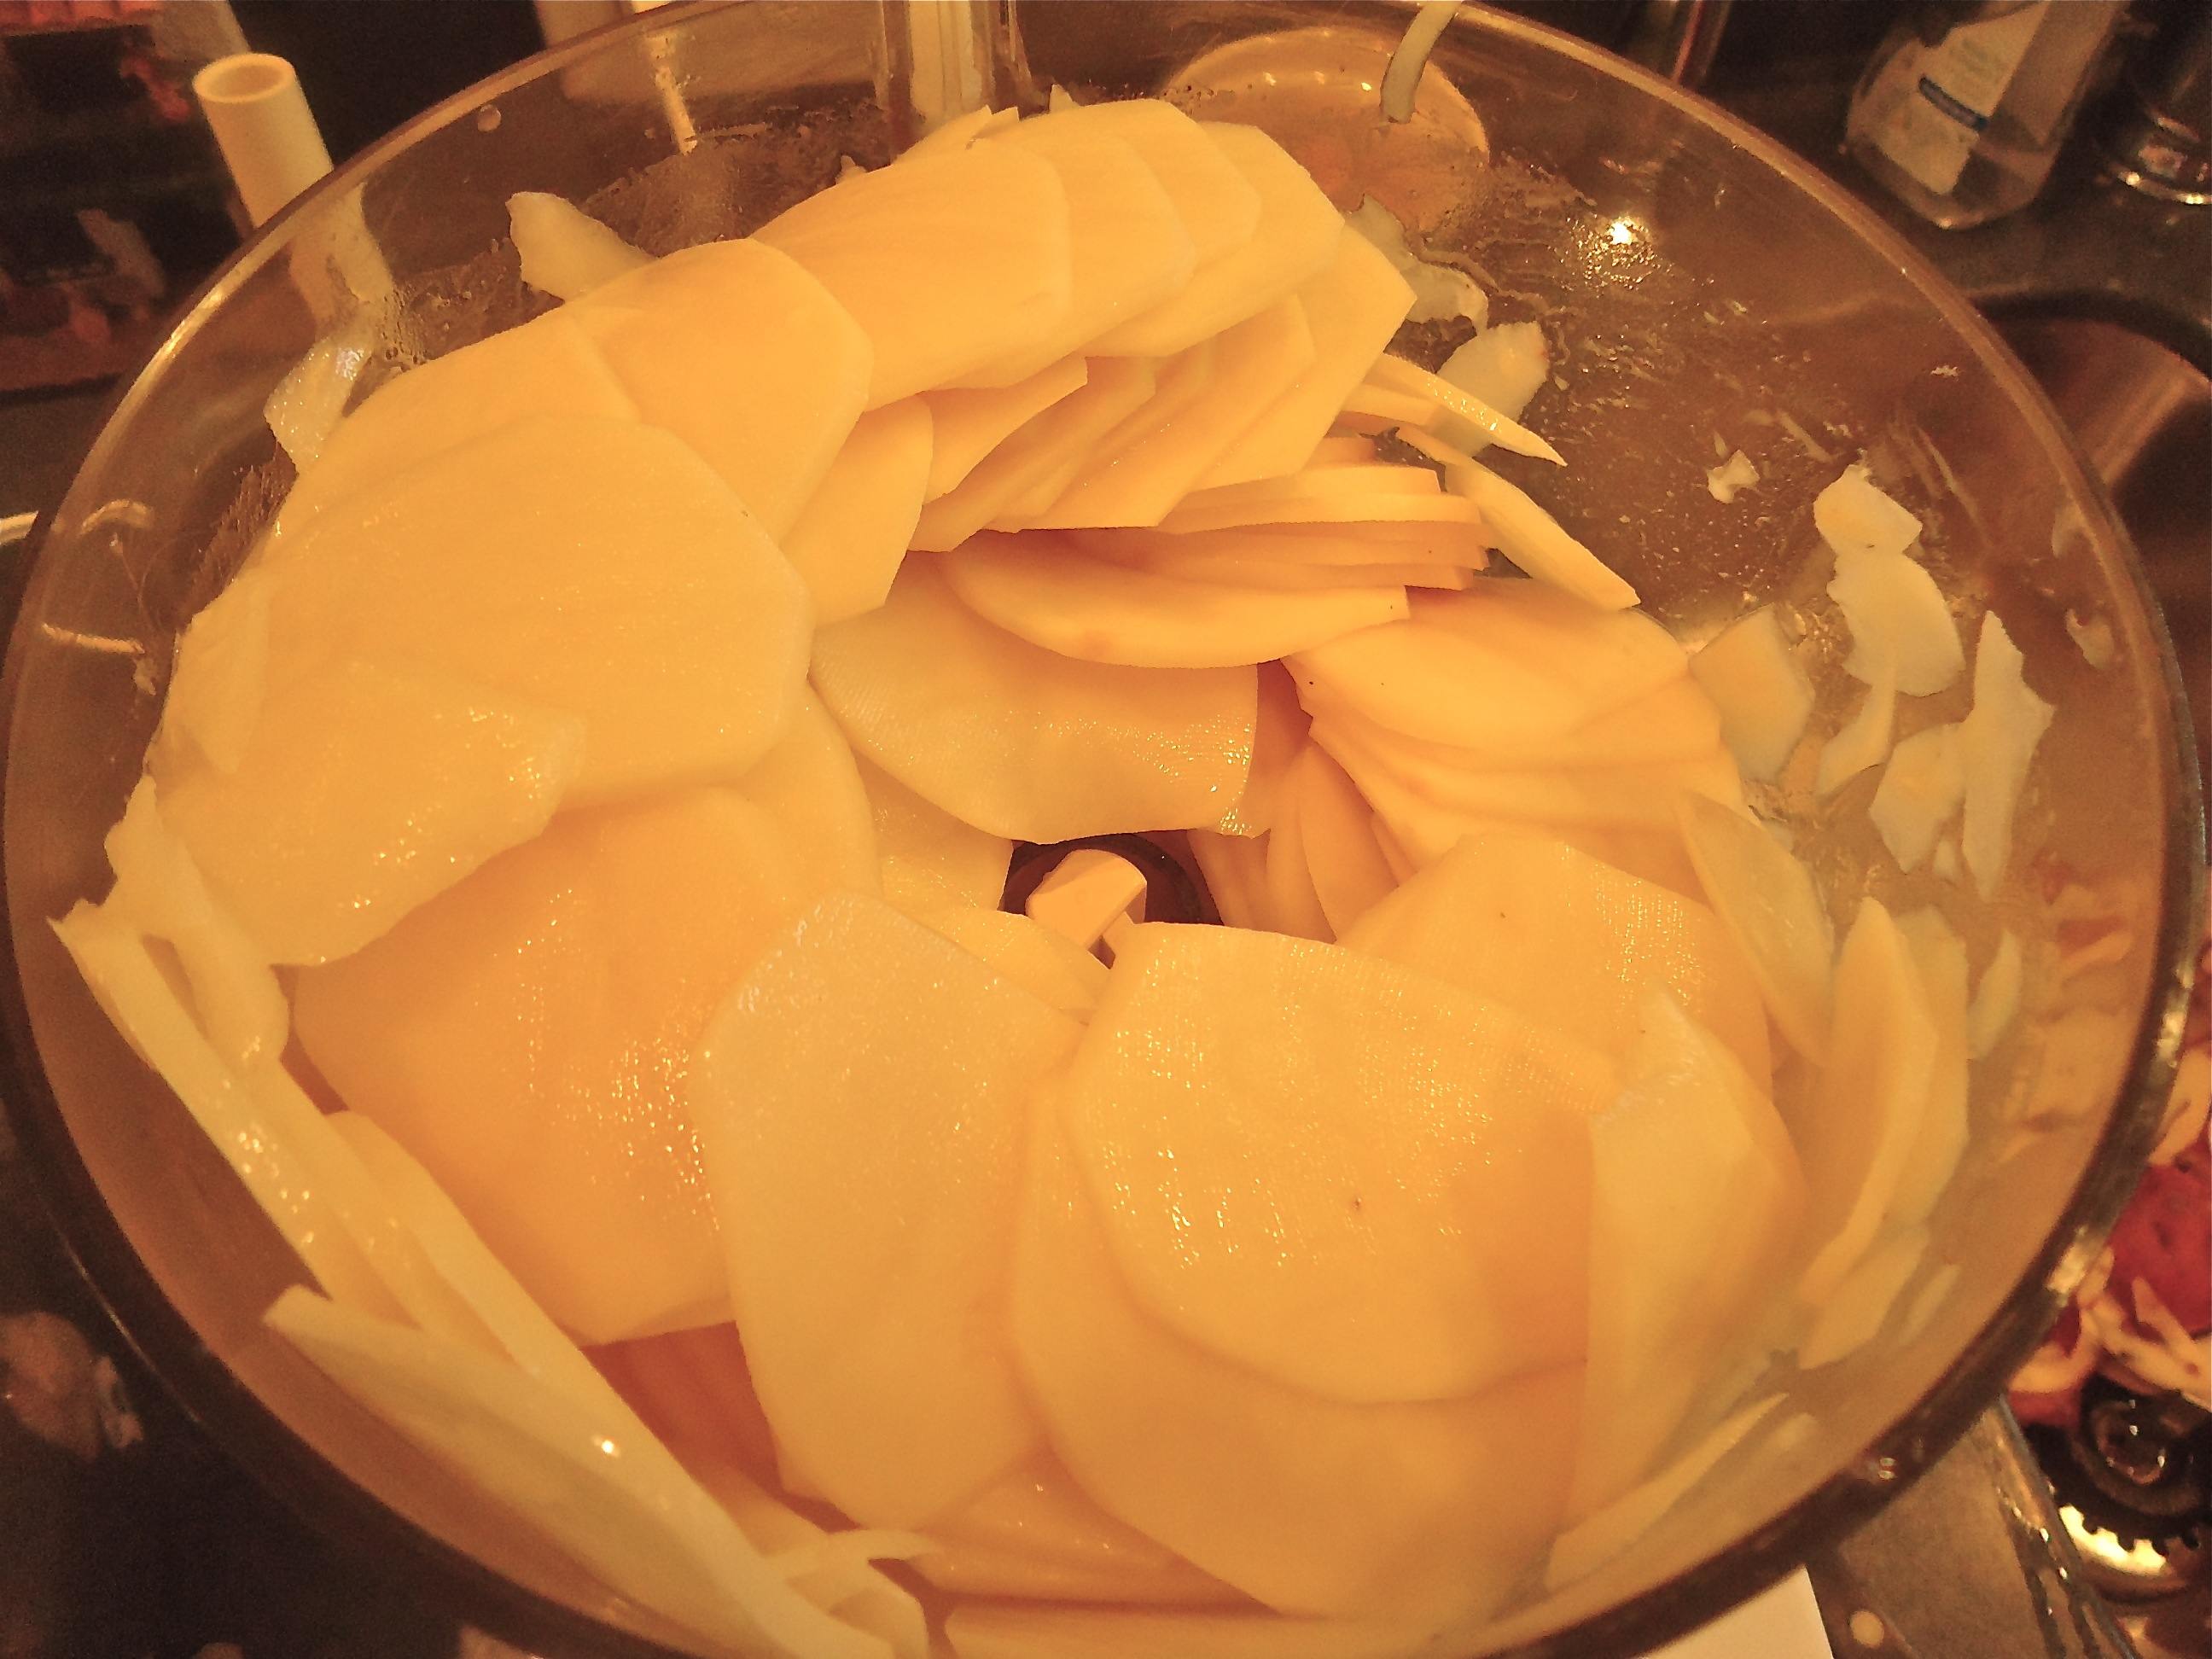
Sliced potatoes in the Cuisinart. You can also use a mandoline slicer to get uniform slices.
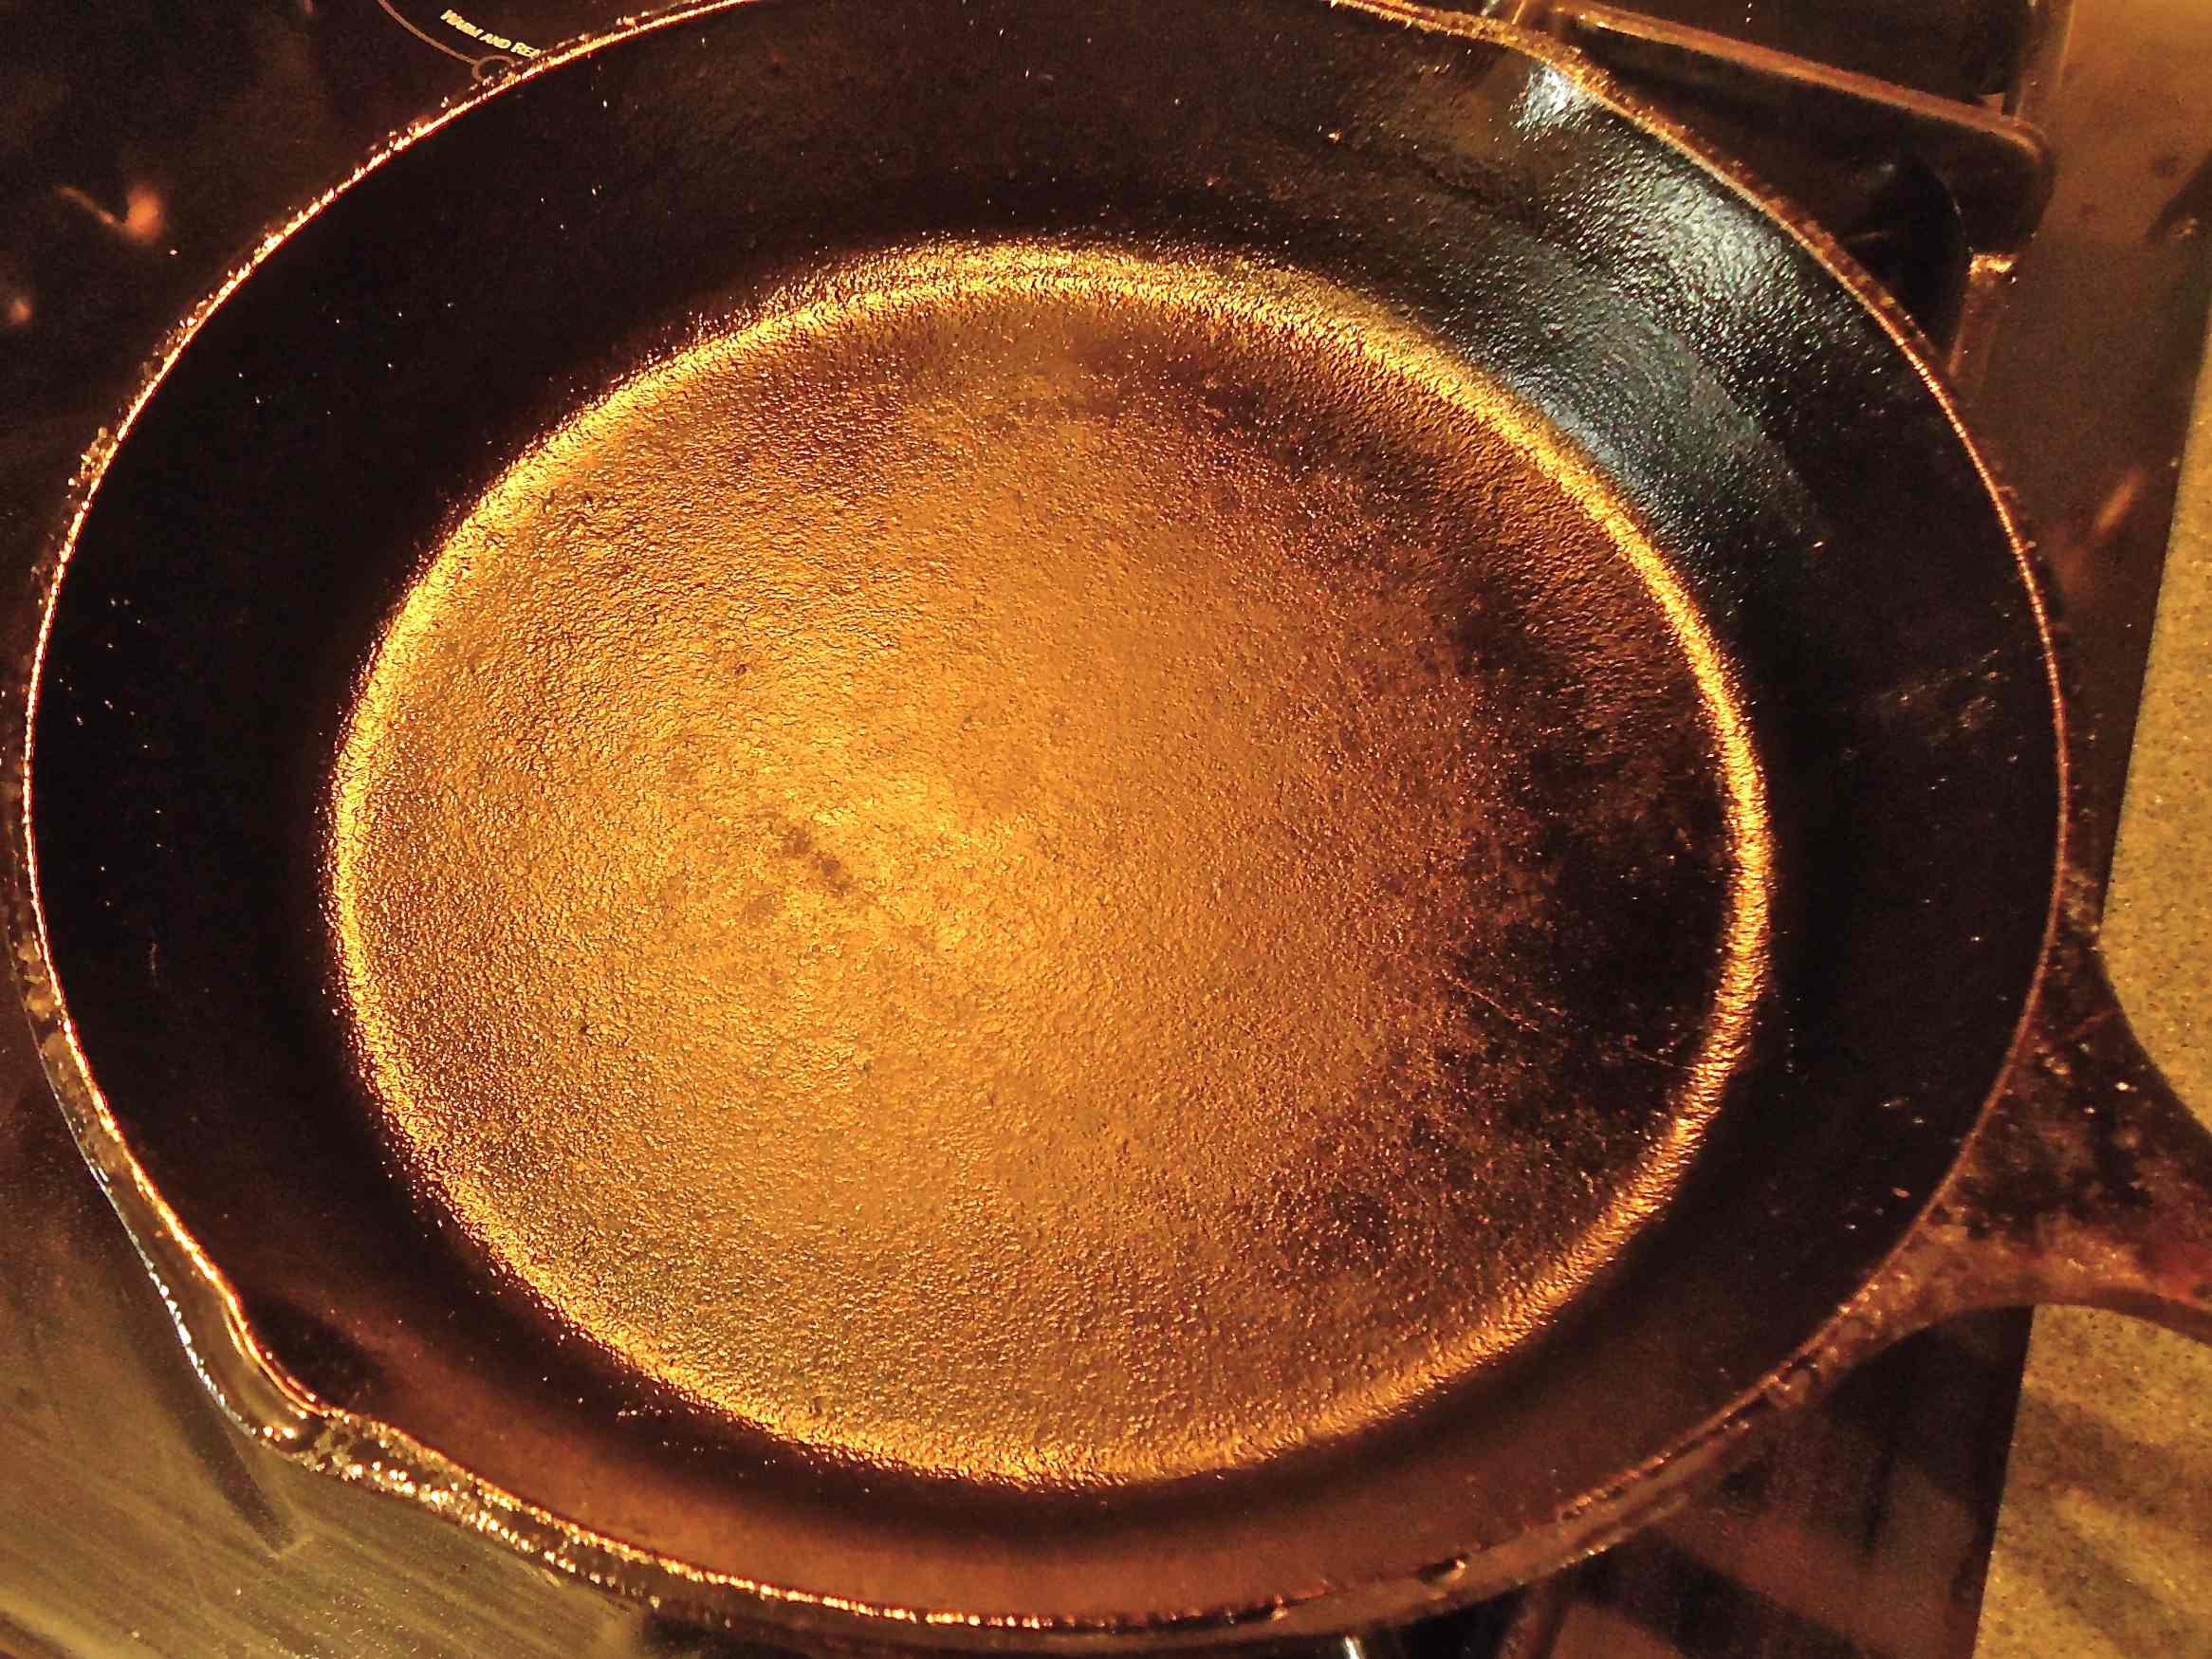
The cast iron skillet.

Add clarified butter the skillet and swirl it around to coat the bottom of the pan.

Start the first layer in the middle of the pan. Overlap the potatoes some. I use my “best” slices for the first layer – which will be the top.
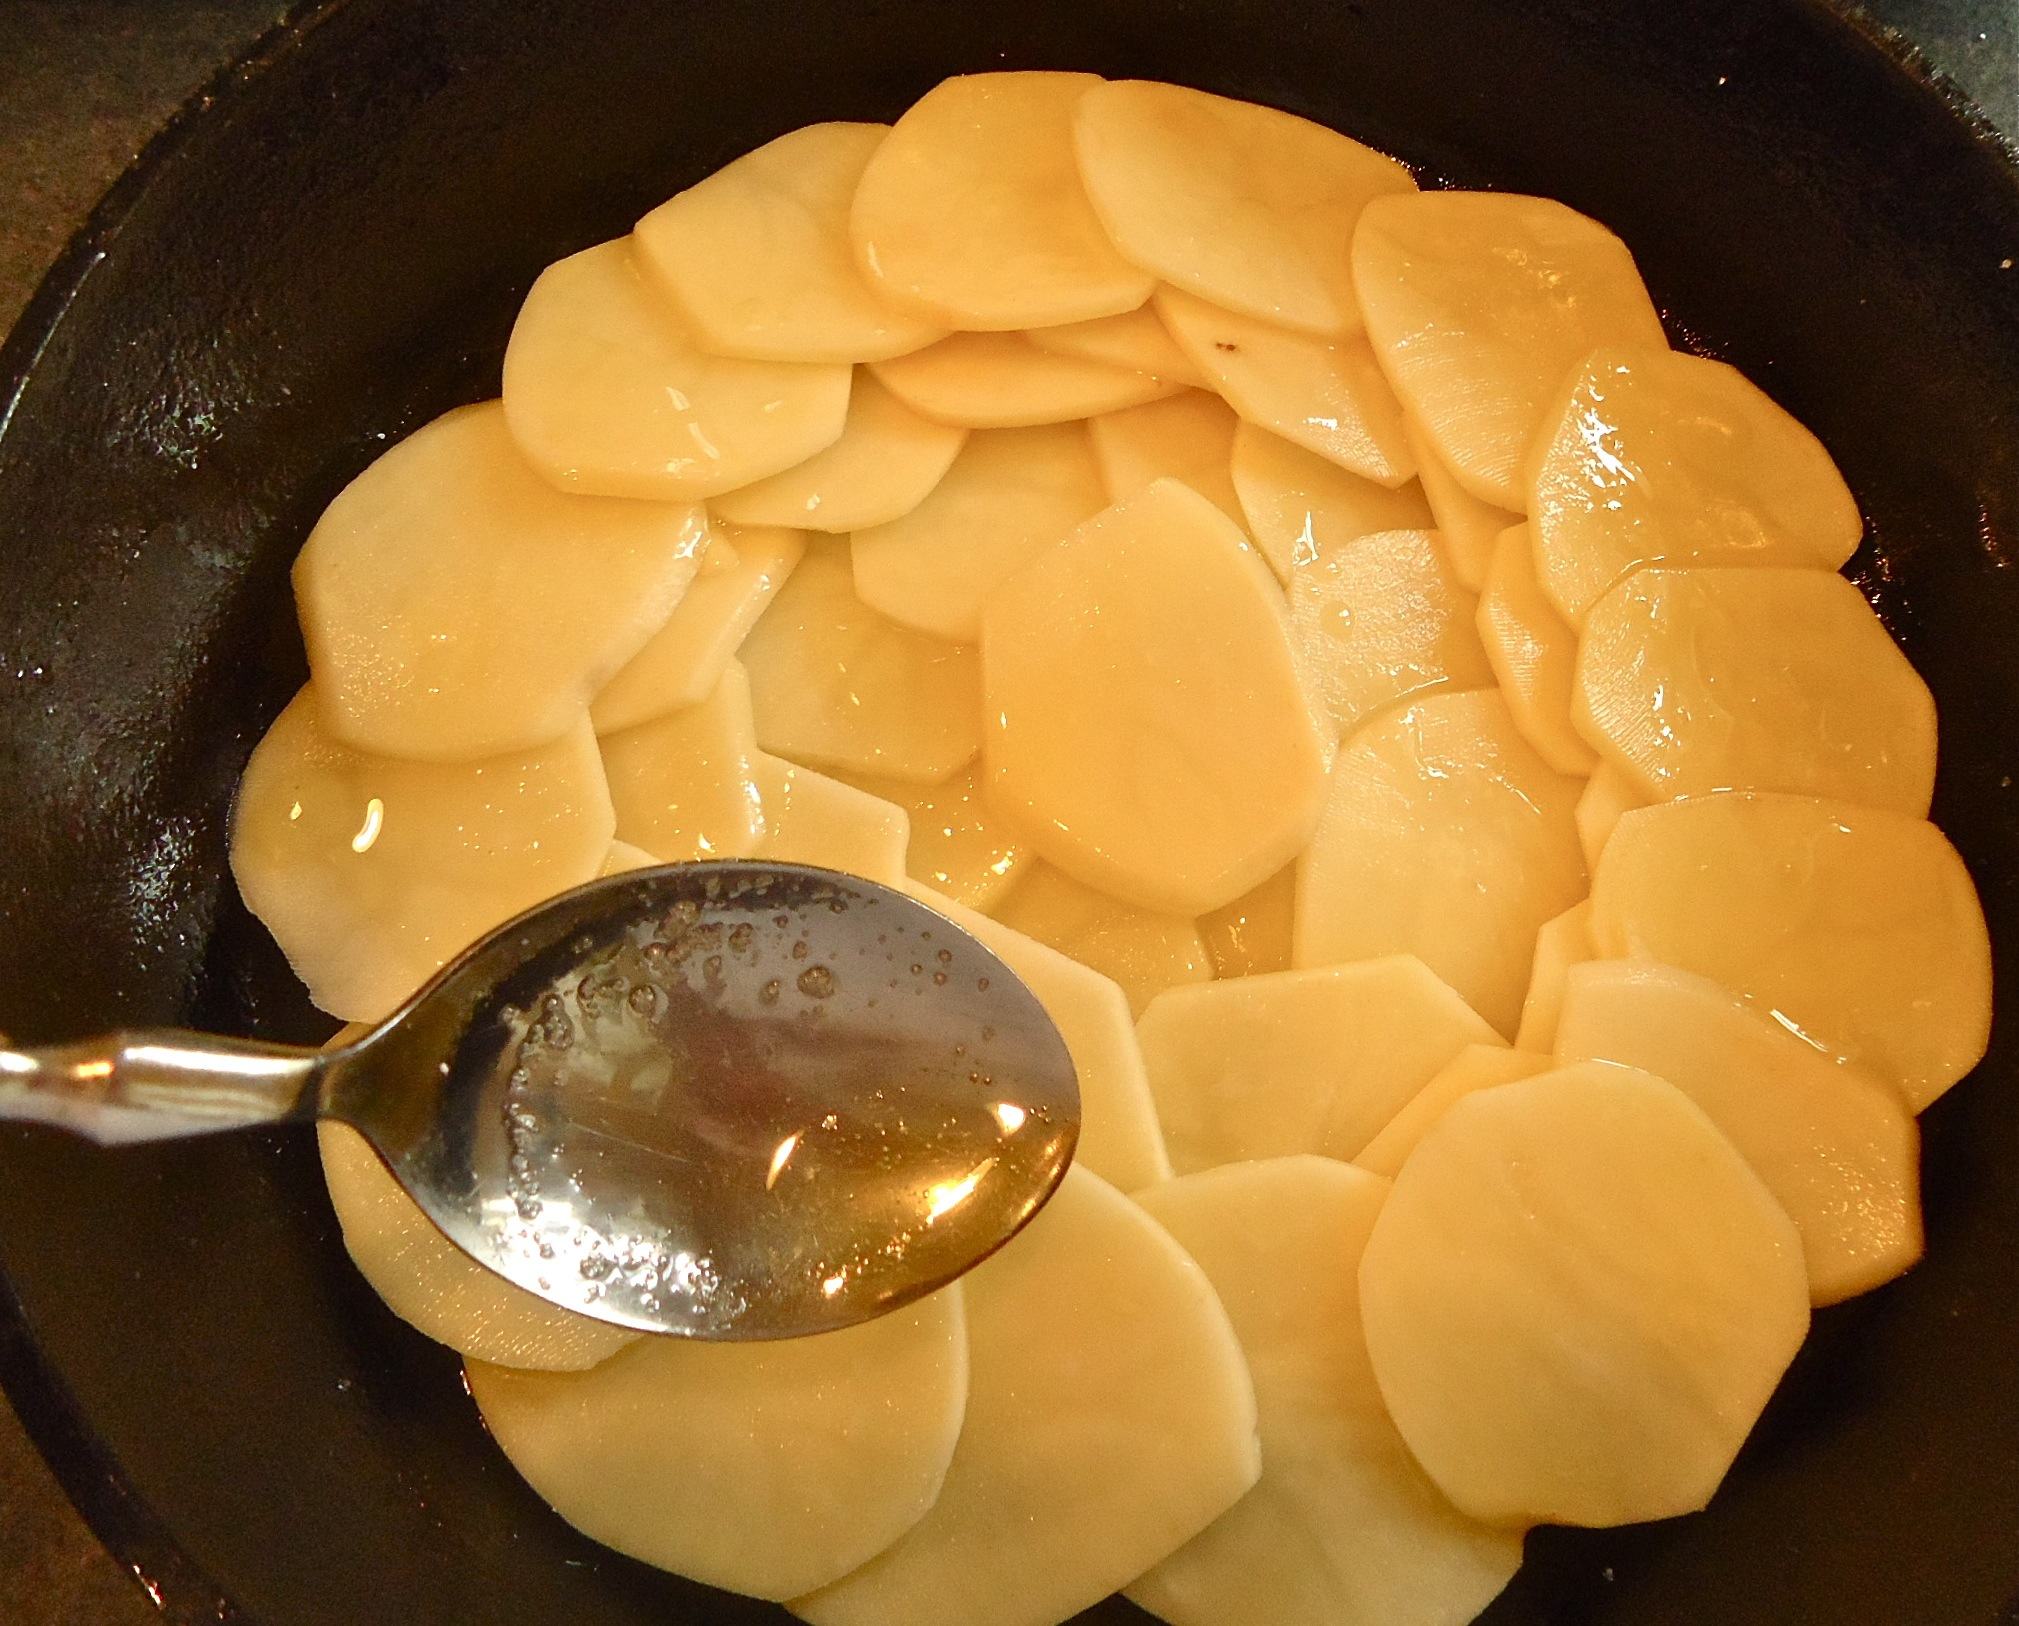
Build out the potato layer and drizzle with clarified butter and sprinkle with salt and pepper. Add the next layer starting on the outside in the opposite direction.
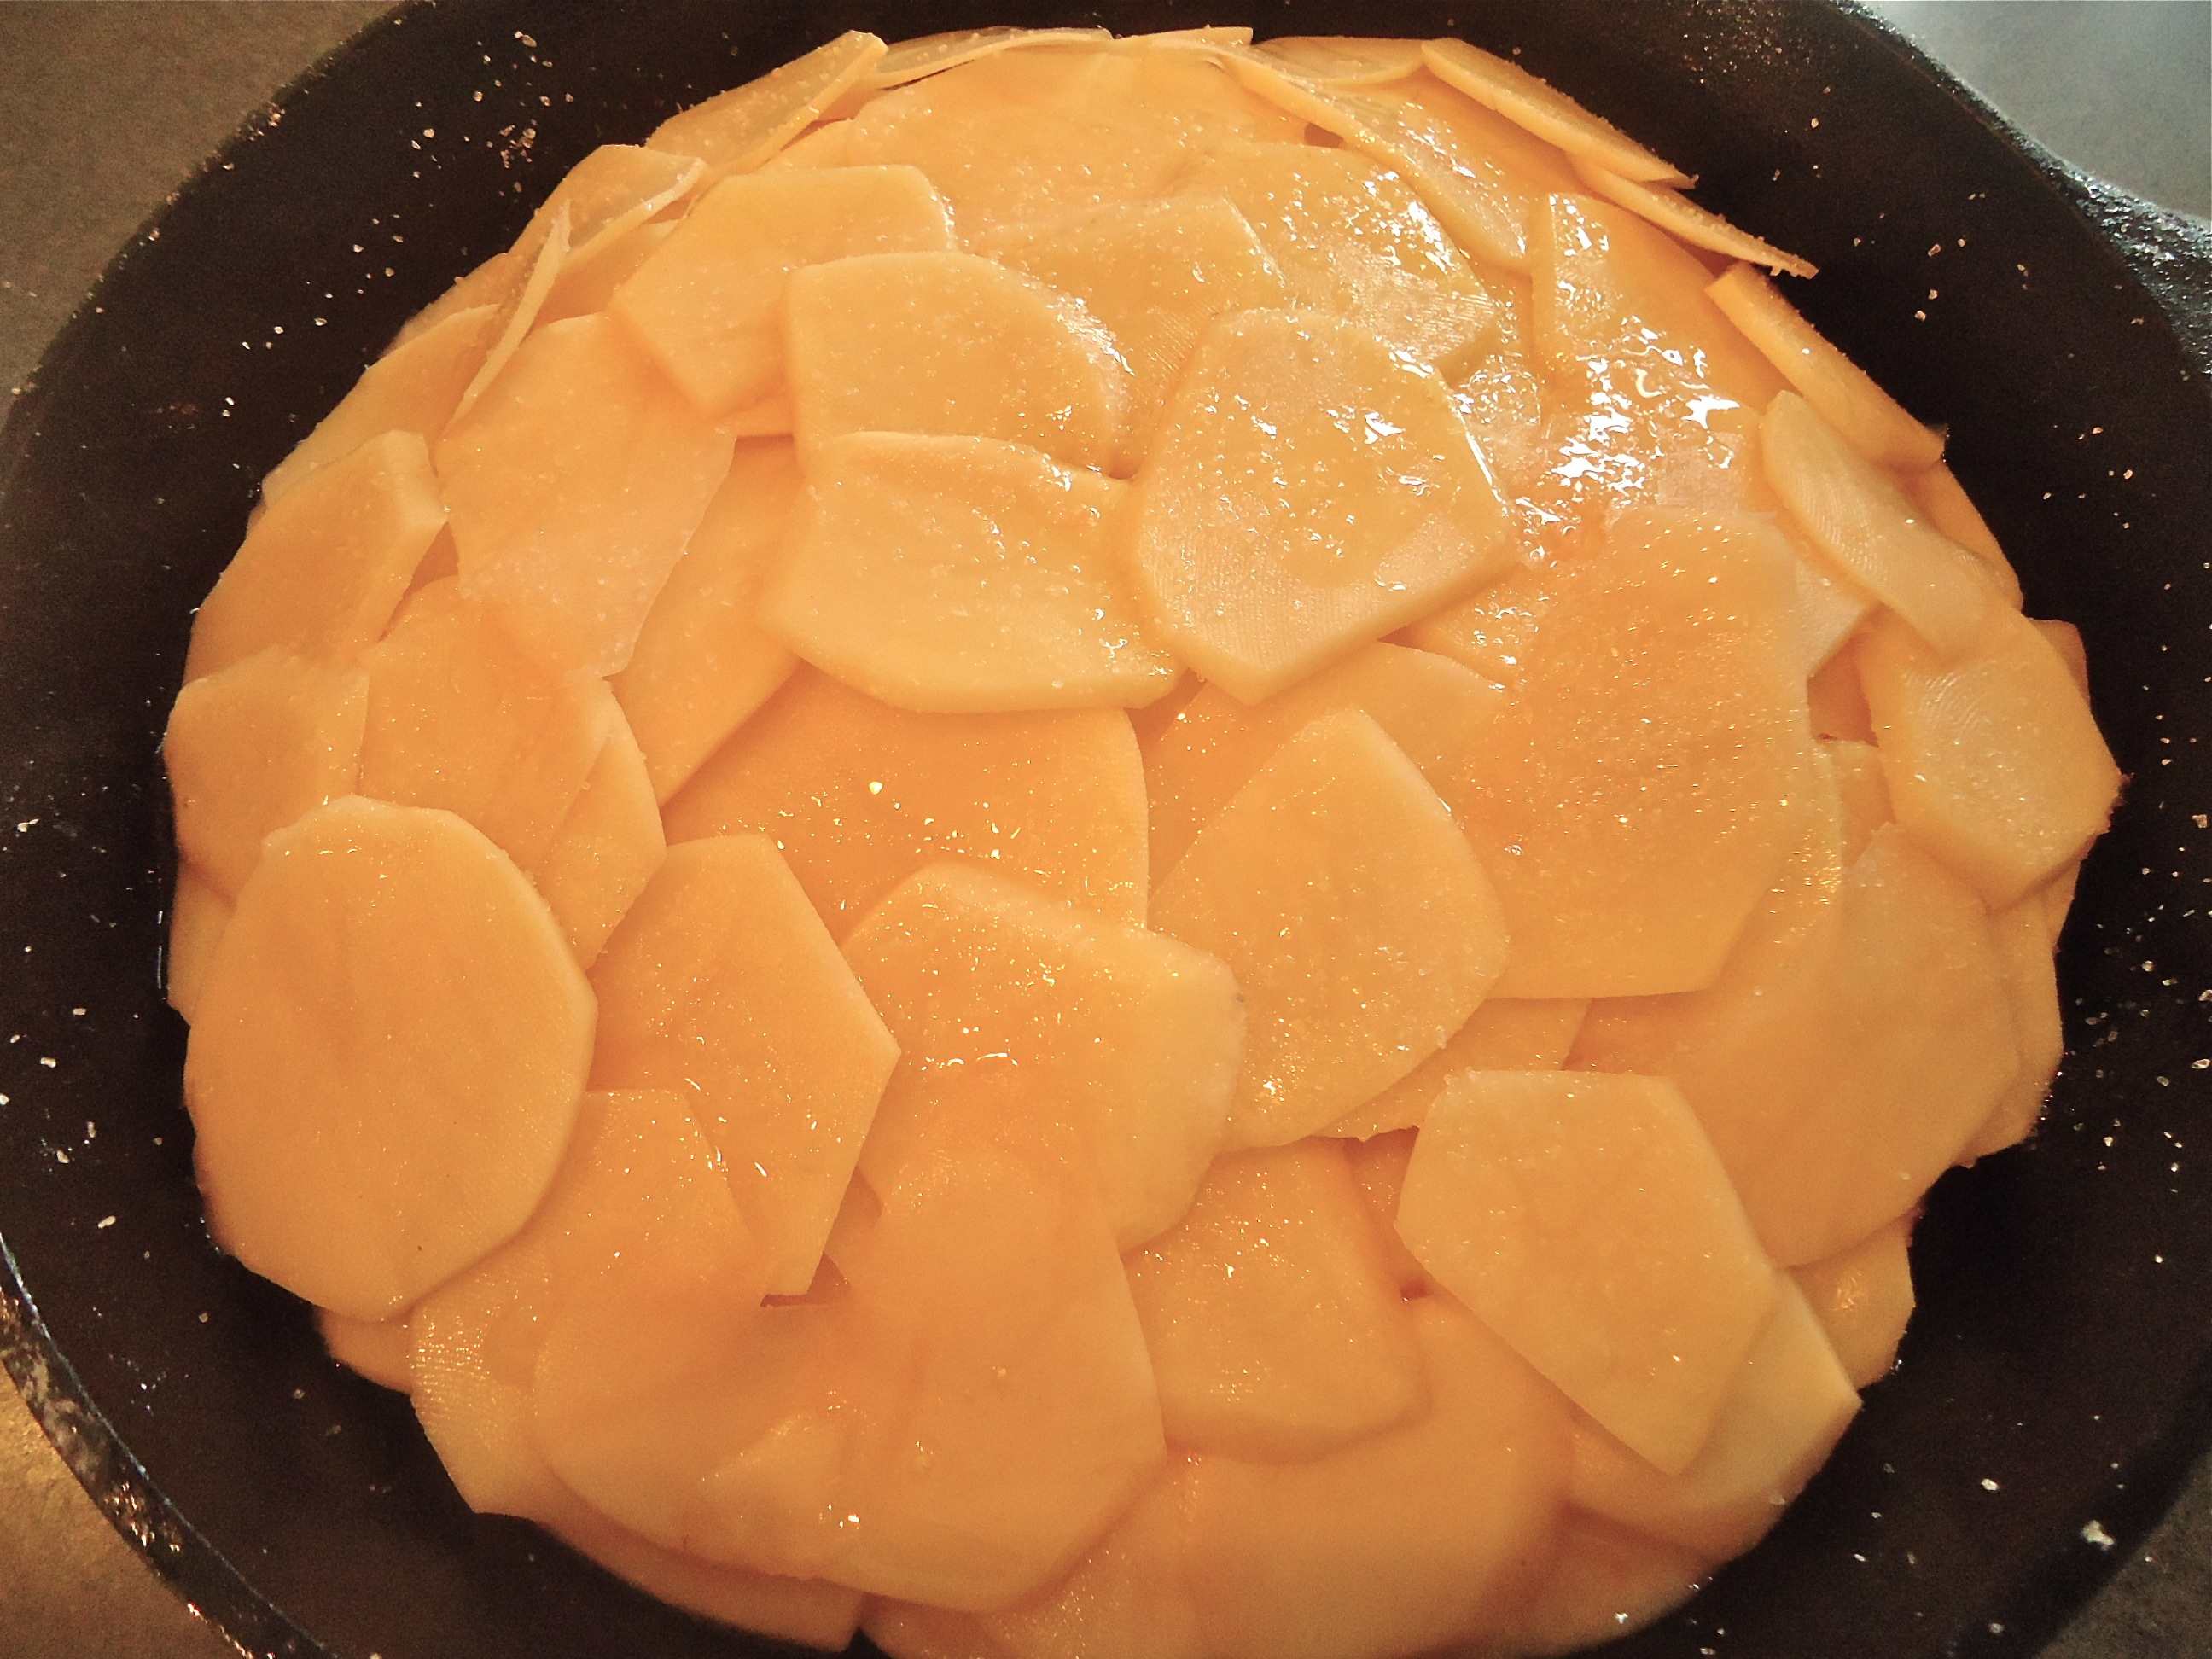
Okay, the layering of the potatoes is finished.

Cover with oiled foil and a very heavy oven proof pot.

After ‘crisping’ on the stove top, check to see if a nice crust has formed. If it has remove to the preheated oven. If not continue on the stove for a few more minutes.

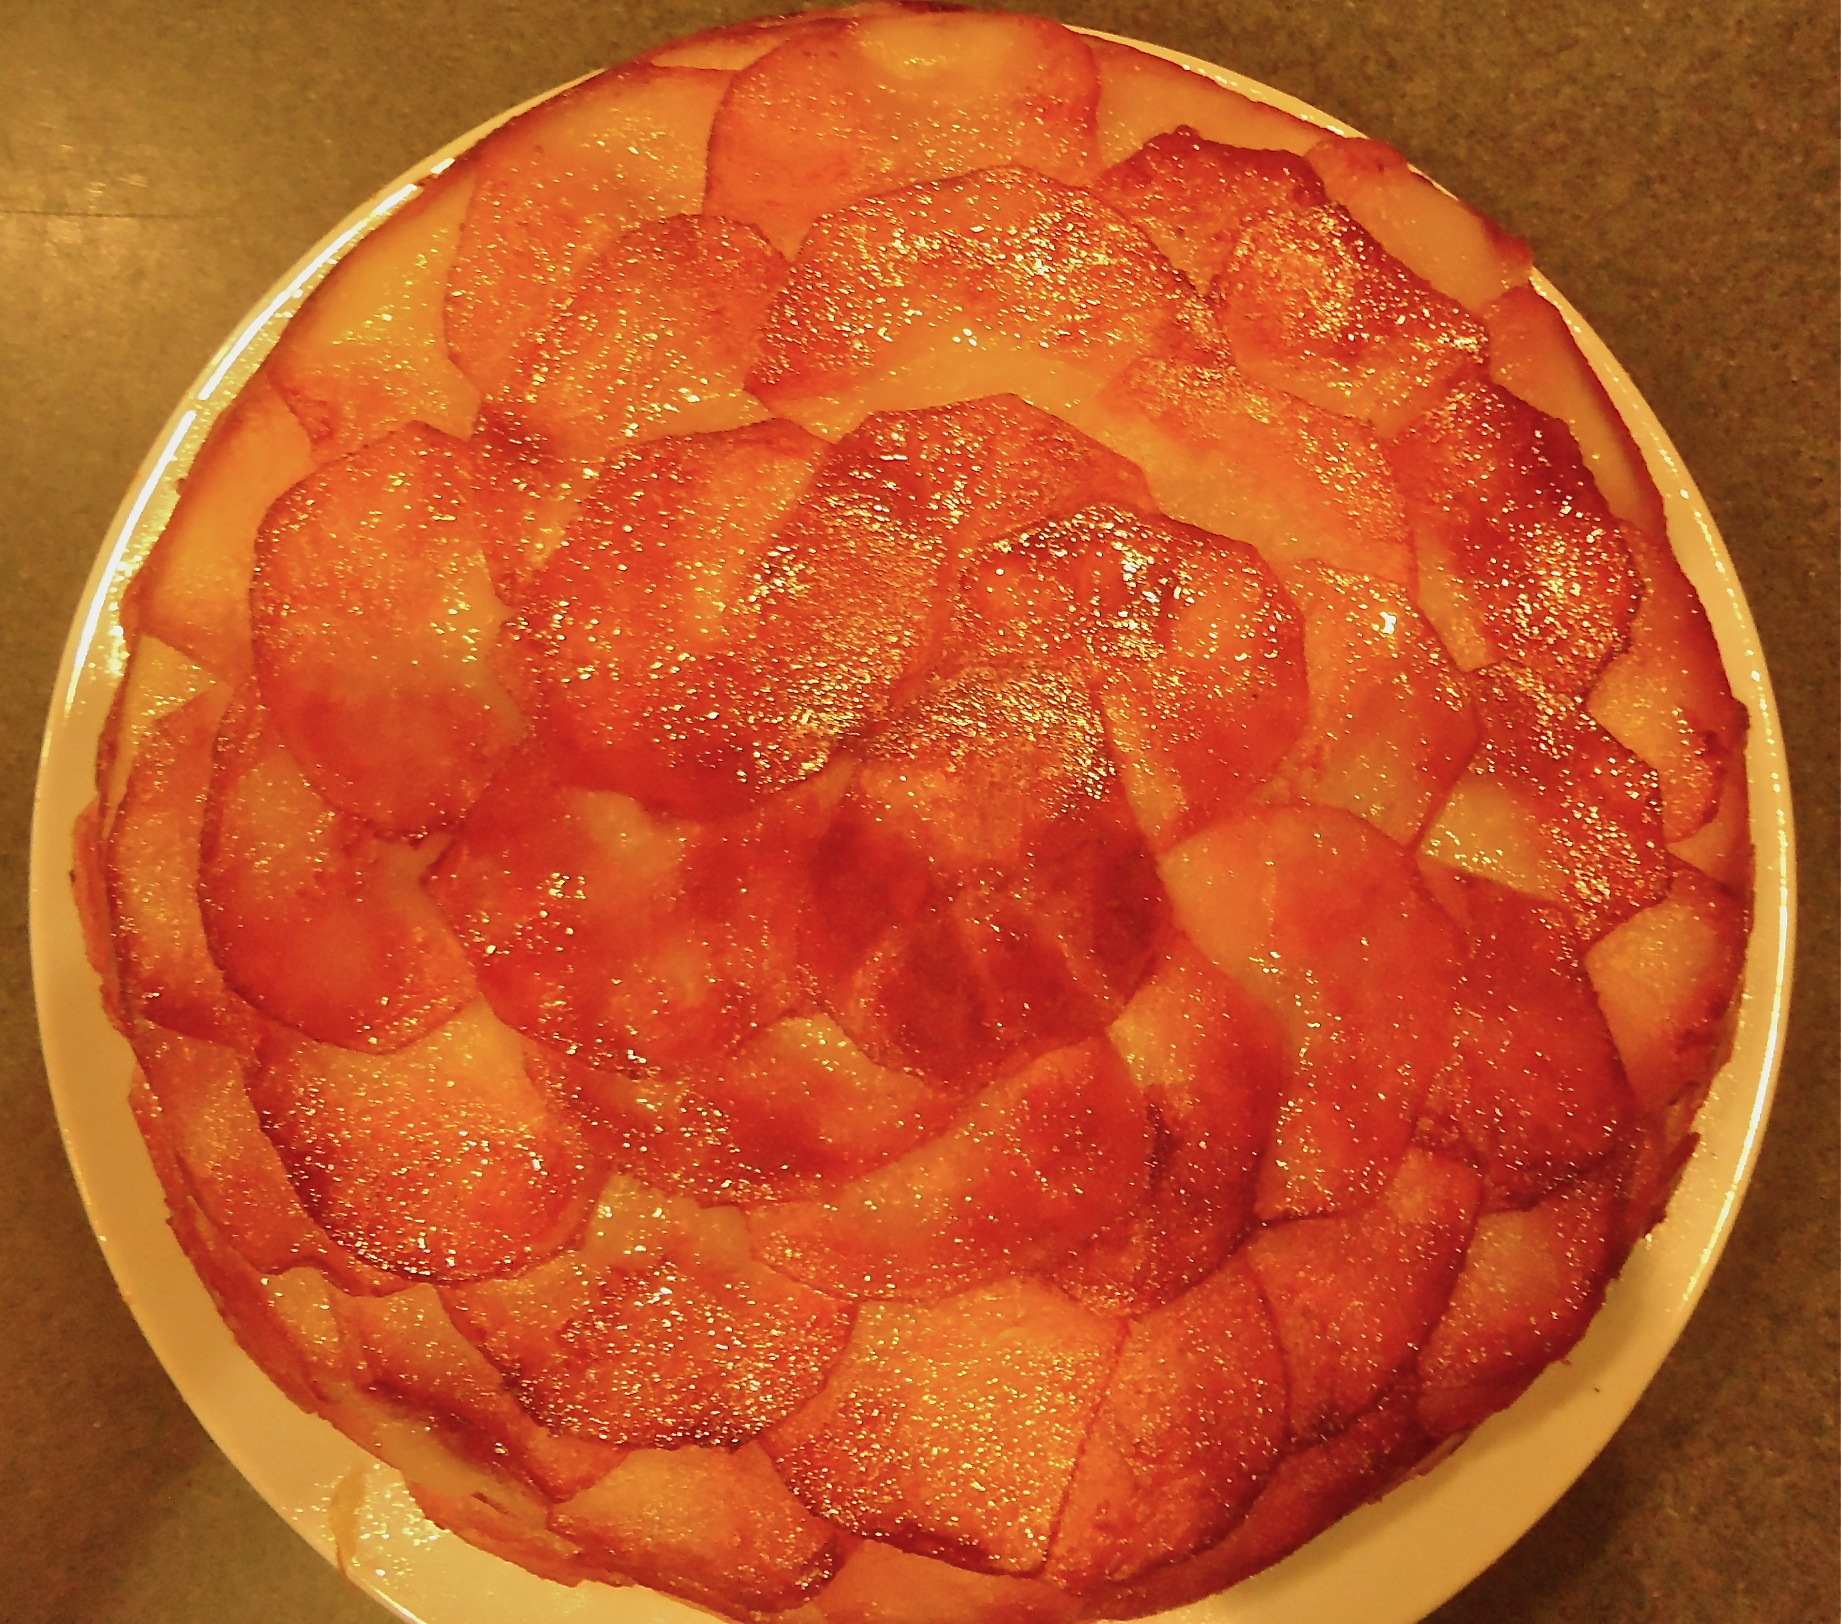
After roasting in the oven (with and without it’s foil and heavy pot) the Potatoes Anna are ready for the platter!
Run a knife around the edge and carefully invert onto your serving platter. Crispy on the outside and layered, buttery creaminess on the inside. Perfect side dish for that Easter ham!
Potatoes Anna
- 3 lb. potatoes – boiling type like Yukon gold or red or your favorite variety of similar size
- ¼ lb. clarified butter* or Ghee
- About 1 ½ tsp. salt
- Fresh ground pepper
If you do not have Ghee or would like to use your own clarified butter, here are the instructions. *Melt best quality butter (about 10 tablespoons) in a heavy saucepan. Slowly bring up the heat to a simmer. You will see foam forming. Skim this off with a spoon. Keep skimming off foam until all that is left is a yellow butterfat. Voila, you have clarified butter. Note that the skimmed foam is very good on popcorn! Set aside the clarified butter.
Peel the potatoes and slice into uniform 1/8” slices using a mandoline or the slicer insert in a food processor.
In a heavy frying pan – I use my handy cast iron skillet – add a tablespoon of clarified butter. Swirling it to coat the pan. Starting in the middle, place the potato slices radiating out toward the sides and overlapping slightly. After adding one layer, drizzle with another 2 tablespoons of the butter and sprinkle lightly with salt and several cracks of fresh pepper. Start the next layer on the outside, in the opposite direction working toward the center. Sprinkle with salt, more butter and cracks of fresh pepper. Keep making layers in this way until all the potatoes are used.
Place a piece of aluminum foil that is slightly larger than the skillet and has been oiled, over the potatoes. Place a very heavy pot that is slightly smaller than the circumference of the skillet you’re cooking the potatoes in, over the skillet. This will help hold the potato slices together as they cook. Heat the skillet over medium high heat on the stove top for about 10 minutes. Do not allow the potatoes to burn but you should see a good crispy crust.
Preheat oven to 400 degrees. After 10 minutes, check the potatoes by removing the heavy pot and carefully lifting the aluminum foil along one side to get a peek. If you do not see a crust forming, place the aluminum foil back over the skillet, the heavy pot back on top, and continue cooking on the stove another 2-4 minutes, increasing heat slightly if necessary.
Remove the skillet (with the heavy pot) to the preheated oven and roast another 30 minutes. Remove heavy pot and aluminum foil and roast uncovered an additional 8-10 minutes. Remove from oven, run a knife around the edge and invert onto a warm serving platter. Serves 6-8.
I like to top mine with a dollop of light sour cream, plain yogurt, or crème fraîche (for you Francophiles out there).
